Manage Email Accounts in cPanel
This documentation will give you a step by step instructions to create and manage Email accounts
associated with your cPanel domains.
You may also refer the following video tutorial :
To beginlog in to cPanel and navigate to “Mail” section.

Create New Email Accounts
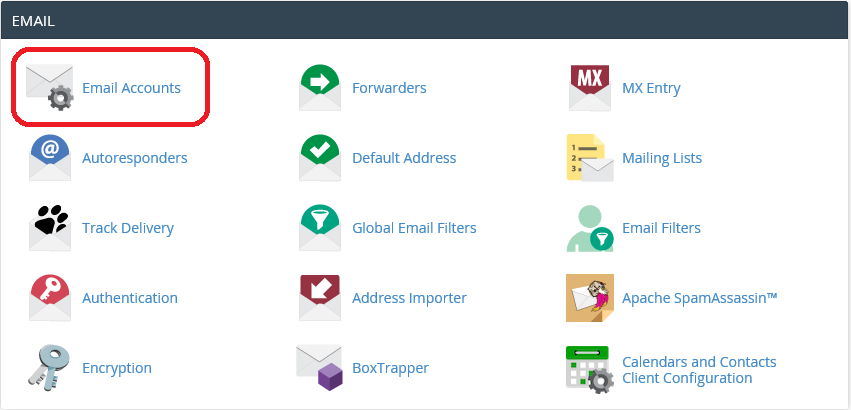
1: Click on Email Accounts
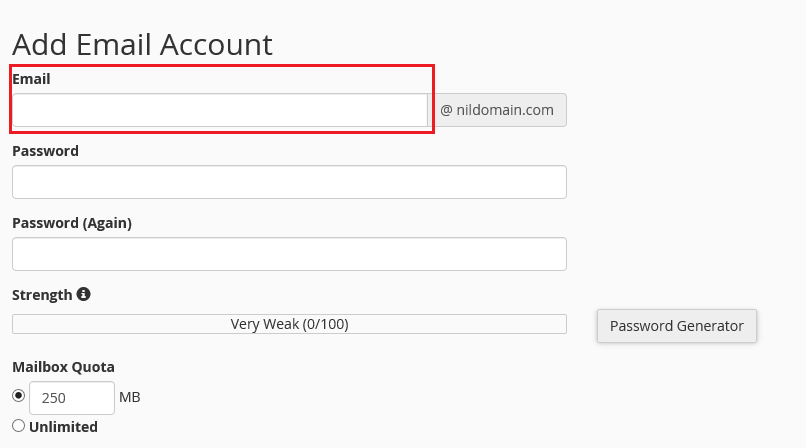
2: Enter the Email user name you wish to create.
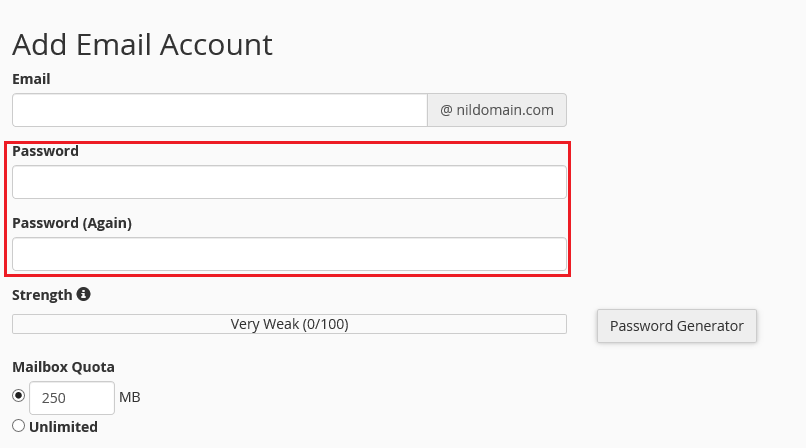
3: Enter and confirm password. (Always use secure passwords or you can use the “Password Generator”.)
4: Set quota for Mailbox.
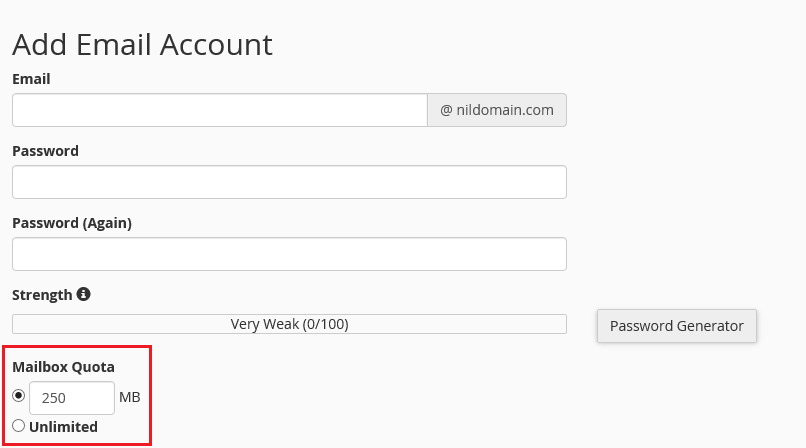
5: Then click “Create Account”.
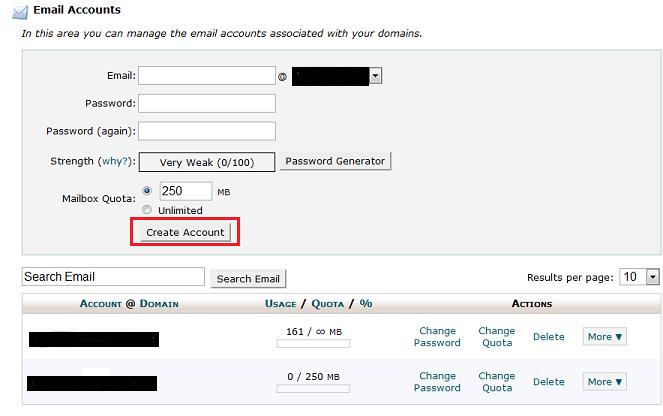
That’s itthe Email account is created now.
Delete an Email Account
1: List Email accounts
2: Click on the “Delete” option that corresponds to the account want to remove.
Access Email account through Webmail.
Webmail is web based Email client to access your Email accounts. You can access Webmail either from cPanel or using the URL http://yourdomain.com/webmail
Steps to access through cPanel:
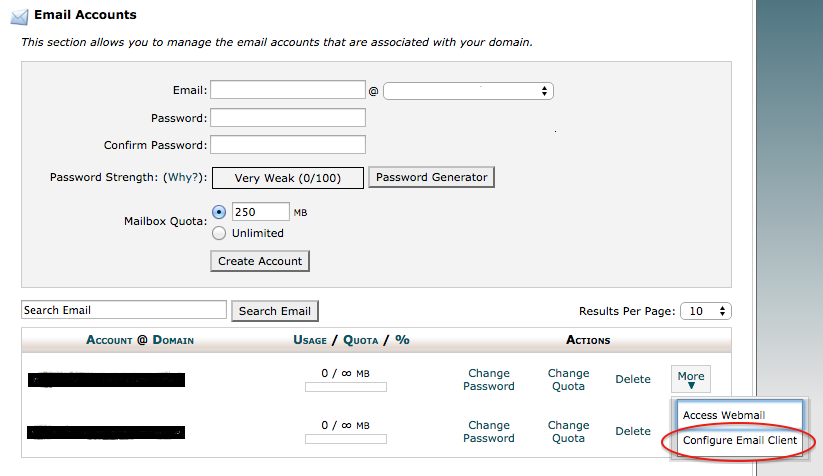
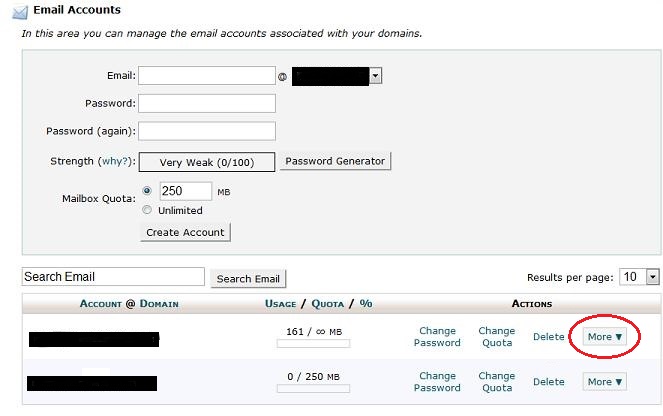
1: Click on “More” option corresponds to the Email account you want to open using Webmail.
2: Click on “Access Webmail”.
3: Then you can see option to enter password of the Email account.
4: Enter the password and click “Log in”.
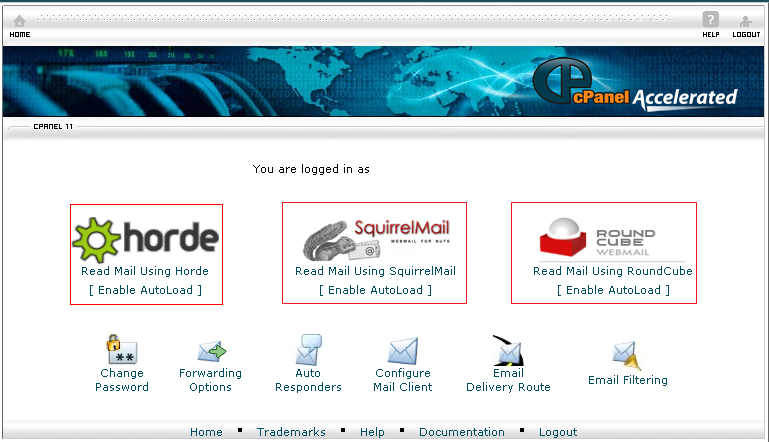
5: Then Click on Read Mail Using horde or RoundCube or SquirrelMail.
Email Client Configuration.
You can configure Email account in Email clients like OutlookThunderbirdApple Mail etc. You can either configure the Email client automatically or manually.
Steps to Access:
1: Click on “More” option corresponds to the Email account.
2: Click on “Configure Email Client”.