Painting over gloss paint can be a daunting taskas the smooth and shiny surface poses challenges for proper paint adhesion. Howeverwith the right approach and techniquesyou can successfully transform your glossy surfaces and achieve a freshupdated look. In this comprehensive guidewe will provide you with step-by-step instructions on how to paint over gloss paintensuring a smooth and durable finish.
Understanding the process of painting over gloss paint is essential for achieving the desired results. We will walk you through the necessary stepsfrom assessing the gloss paint to preparing the surfaceselecting the appropriate materialsand applying the new coat of paint. Along the waywe will address common concerns and provide tips and techniques to overcome the unique challenges of painting over glossy surfaces.
Proper preparation is key when dealing with gloss paint. We will guide you in assessing the type and condition of the existing paintidentifying any imperfectionsand preparing the surface through cleaning and sanding. We will also discuss the importance of priming the surface to enhance paint adhesion and provide a suitable base for the new coat.
Applying the new paint requires attention to detail and careful techniques. We will cover different application methods such as brushingrollingand sprayingand provide tips to ensure even coverage and a professional finish. Additionallywe will guide you in evaluating the paint coverage and addressing any touch-ups or imperfections.
By following the steps outlined in this guideyou’ll be equipped with the knowledge and techniques needed to confidently paint over gloss paint and achieve a beautiful transformation. Say goodbye to the limitations of glossy surfaces and unlock the potential for a freshupdated look in your home or space.
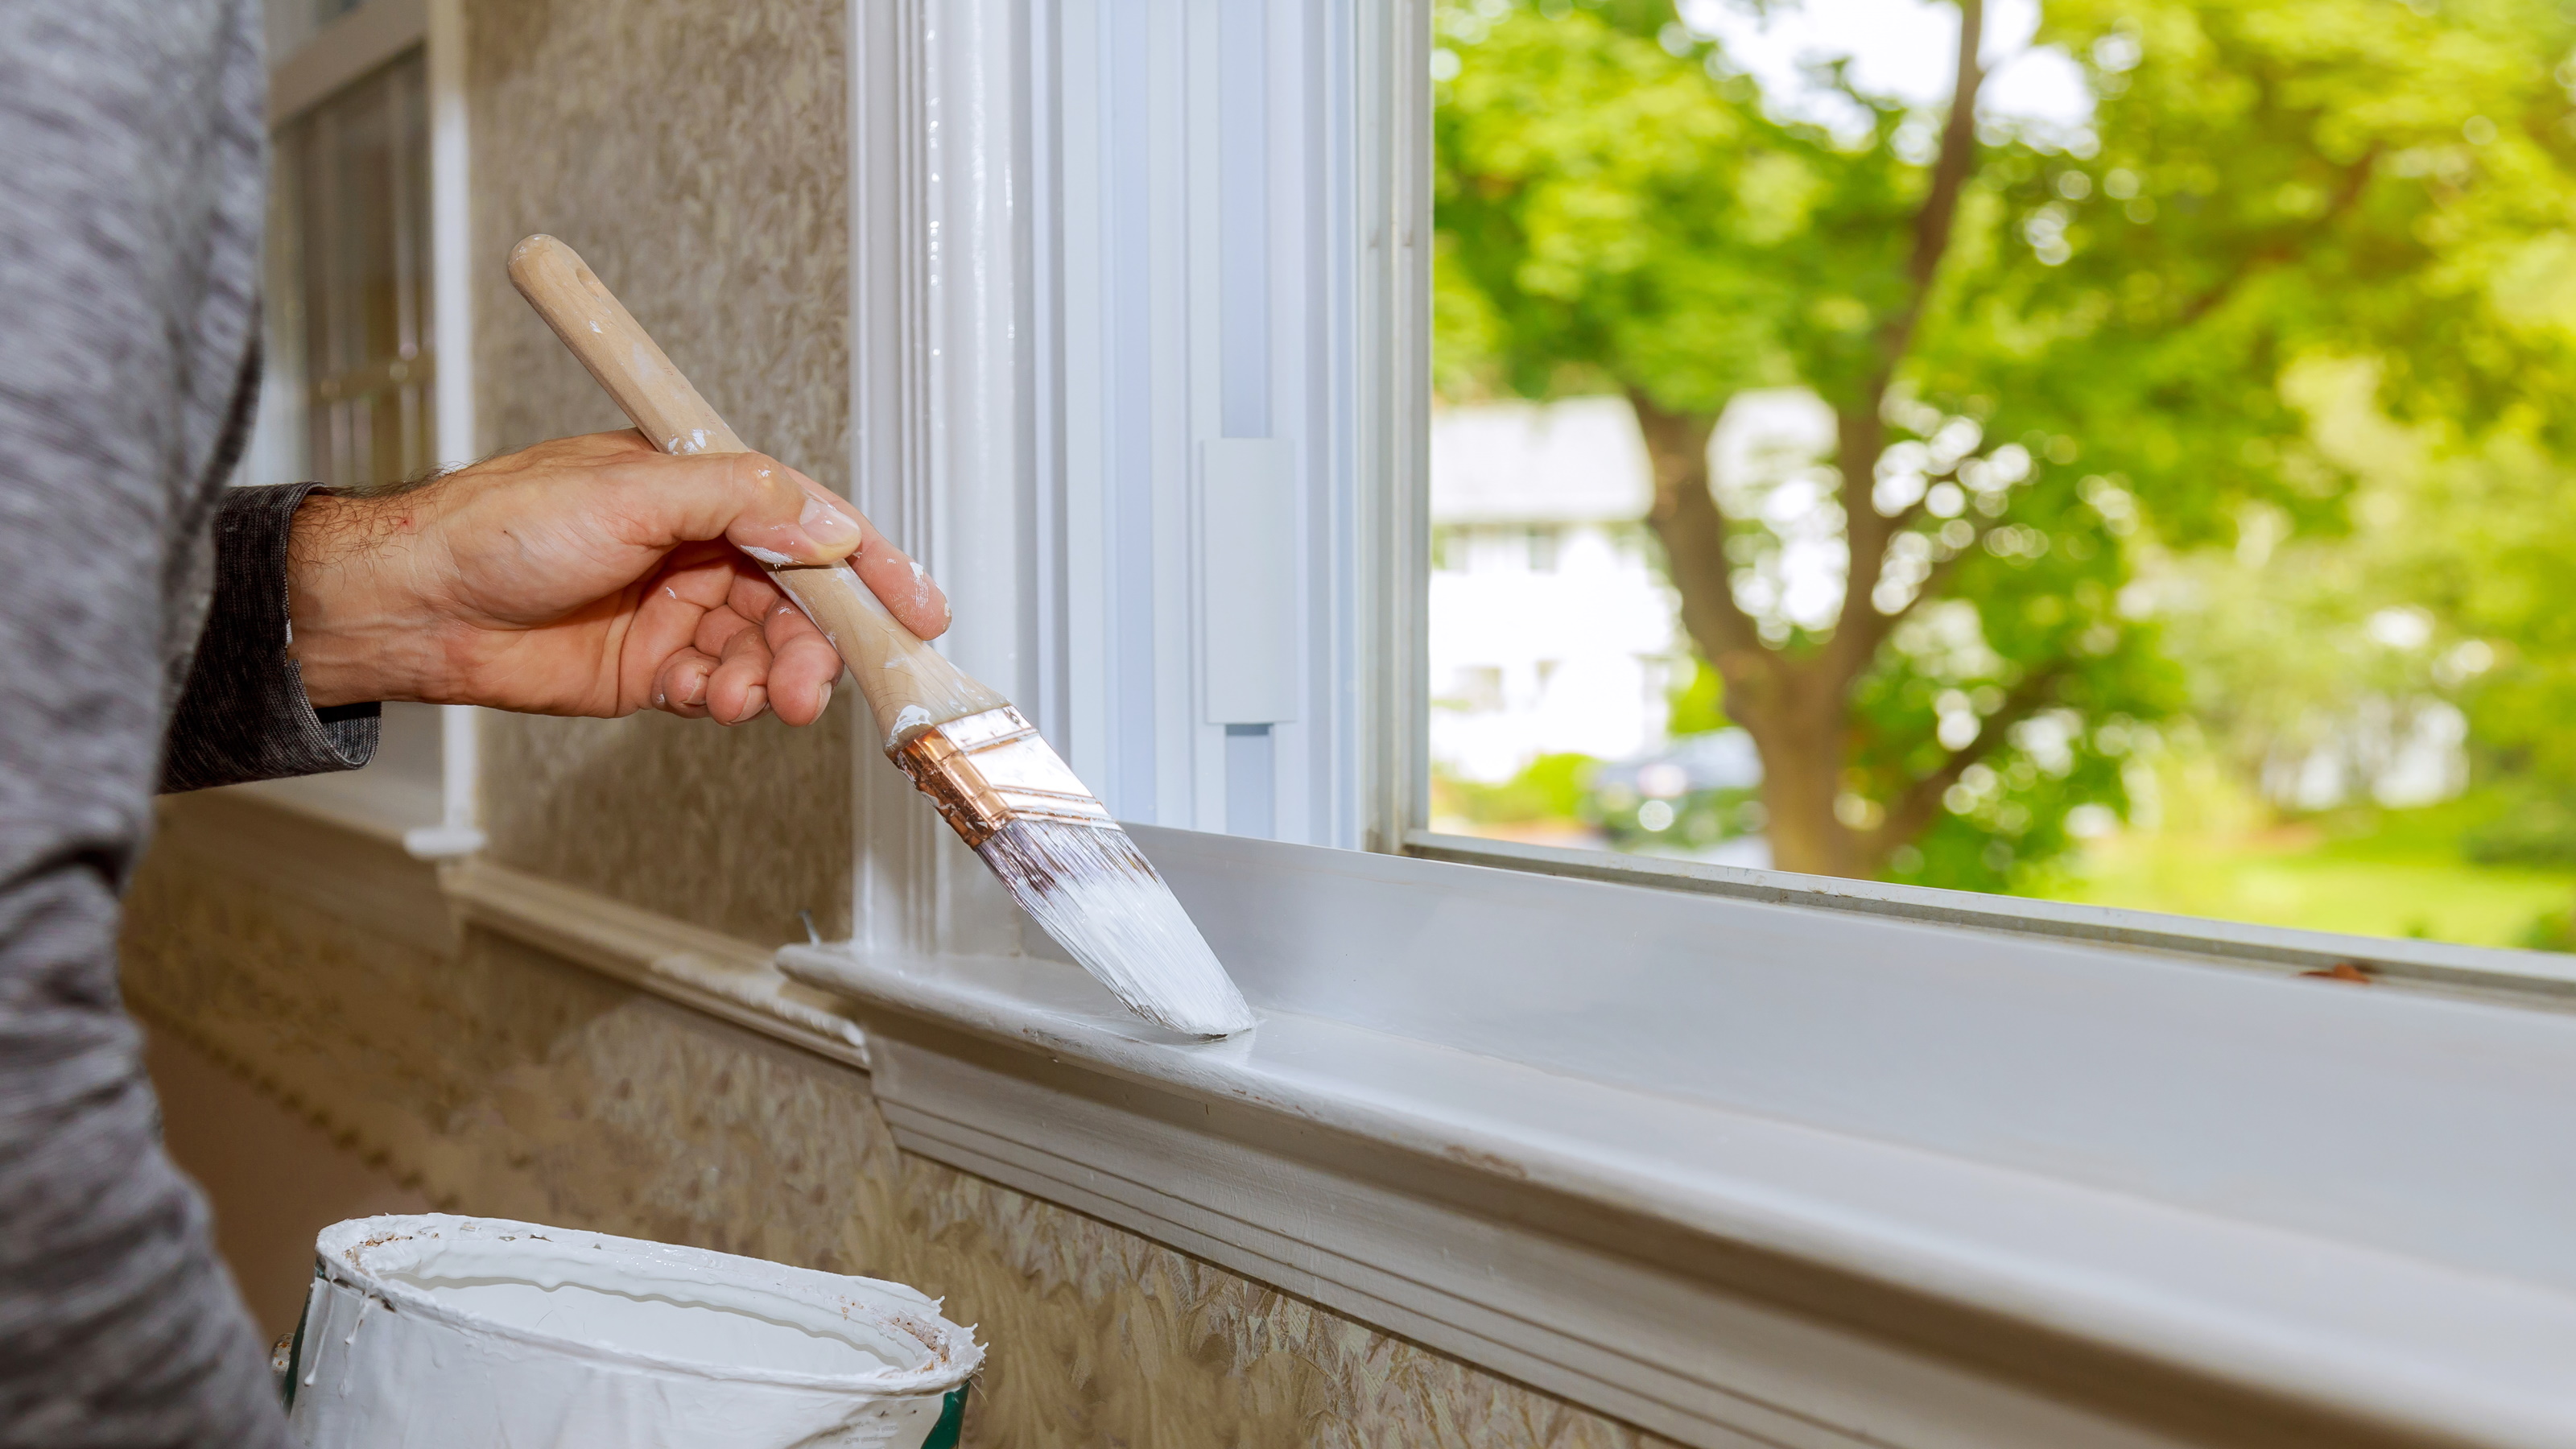
Credit: www.homebuilding.co.uk
Assessing the Gloss Paint
Before diving into the painting processit’s crucial to assess the gloss paint on your surface. Understanding the type and condition of the existing paint will help you determine the necessary steps for proper adhesion. Consider the following aspects when assessing the gloss paint:
Determining the Type and Condition of the Gloss Paint: Identify whether the existing gloss paint is oil-based or water-based. This information is important when selecting the appropriate primer and new paint. Additionallyevaluate the condition of the gloss paint to identify any imperfections or areas that require special attention.
Identifying Any Issues or Imperfections in the Gloss Paint: Inspect the surface for any crackschipsor peeling in the existing gloss paint. These imperfections should be addressed before applying the new coat to ensure a smooth and even finish.
Evaluating the Adhesion of the Gloss Paint: Test the adhesion of the gloss paint by applying a small piece of masking tape to the surface and gently peeling it off. If the tape easily lifts the paintit indicates poor adhesionand additional steps will be necessary to enhance the bond between the new paint and the glossy surface.
To paint over gloss paint effectivelyyou’ll need specific tools and materials that facilitate proper preparation and application. Make sure you have the following items ready:
Tools and Equipment
Materials and Products
Sandpaper
Primer
Tack cloth
Paint (compatible with gloss)
Paint scraper
Paintbrushes
Painter’s tape
Roller and tray
Drop cloths
Paint thinner (if necessary)
Cleaning solution
Safety goggles
Gloves
The selection of paint is crucial when painting over gloss paint. Look for a paint specifically formulated for glossy surfacesas it will offer better adhesion and durability.
Preparing the Surface
Proper preparation is the key to successful painting over gloss paint. Follow these steps to prepare the surface adequately:
Clearing the Area and Protecting Surrounding Surfaces: Before you beginremove furniture and any objects from the area. Cover the floor with drop cloths or plastic sheets to protect it from paint splatters. Use painter’s tape to secure the protective coverings and protect adjacent surfacessuch as trim or baseboards.
Cleaning the Gloss Painted Surface: Thoroughly clean the gloss painted surface to remove dirtgreaseand any contaminants that may affect paint adhesion. Use a mild cleaning solution and a soft cloth or sponge to gently scrub the surface. Rinse with clean water and allow it to dry completely before proceeding.
Sanding the Gloss Paint to Create a Suitable Base: Sanding the gloss paint helps create a rougher texture that promotes better adhesion of the new paint. Start by using medium-grit sandpaper and gradually transition to finer grits. Work in a circular motionapplying light pressure. Be careful not to oversand or damage the underlying surface.
Repairing and Patching
After preparing the surfaceit’s important to address any cracksholesor imperfections in the gloss paint. Repairing and patching these areas will ensure a smooth and flawless finish. Follow these steps:
Filling in CracksHolesand Imperfections in the Surface: Use a paintable caulk or spackling compound to fill in any cracks or holes in the gloss paint. Apply the filler using a putty knifeand smooth it out to create an even surface. Allow it to dry according to the manufacturer’s instructions.
Smoothing and Leveling the Surface: Once the filler has drieduse fine-grit sandpaper to smooth and level the repaired areas. Sand gently in a circular motion until the surface is even with the surrounding painted surface. Wipe away any dust with a tack cloth.
Applying Primer to the Repaired Areas: Apply a thin coat of primer to the repaired areas to ensure proper adhesion of the new paint. Use a brush or roller to apply the primerand allow it to dry completely before proceeding.
Priming the Surface
Priming is essential when painting over gloss paint. It helps create a suitable base for the new paint and improves adhesion. Follow these steps to prime the surface effectively:
Importance of Priming Over Gloss Paint: Priming creates a bonding layer between the gloss paint and the new coat of paint. It helps the new paint adhere better and provides a smooth and consistent surface for the topcoat.
Selecting the Right Primer for the Job: Choose a primer specifically designed for glossy surfaces. Look for a bonding primer or an adhesion primer that offers excellent grip on smooth and glossy surfaces. Ensure compatibility with the type of paint you’ll be using.
Applying Primer to Create a Suitable Base: Use a brush or roller to apply the primer evenly over the entire surface or the areas where you’ve made repairs. Follow the manufacturer’s instructions regarding the recommended drying time.
Choosing the Appropriate Paint and Finish: Select a high-quality paint specifically formulated for glossy surfaces. Opt for a paint with a sheen level that matches or exceeds the glossiness of the existing paint. This will help create a cohesive and uniform appearance.
Techniques for Applying Paint Over Gloss Paint: When applying the paintyou can choose between using a brushrolleror sprayerdepending on your preference and the size of the surface. Consider the following tips for each technique:
Brushing: Use a high-quality synthetic bristle brush specifically designed for the type of paint you’re using. Apply the paint in smooth and even strokesfollowing the natural contours of the surface.
Rolling: Use a roller with a short nap for a smooth finish. Dip the roller into the paint trayremoving any excess paint. Apply the paint in a “W” or “M” patternthen fill in the gaps with vertical or horizontal strokes.
Spraying: If you have experience with a paint sprayerit can provide a fast and even application. Follow the manufacturer’s instructions for proper setup and techniqueensuring proper ventilation and covering surrounding areas.
Allowing Sufficient Drying Time
After applying the new paintit’s crucial to allow sufficient drying time for a durable and long-lasting finish. Consider the following points:
Understanding the Drying Process of the New Paint: Different types of paint and environmental conditions can affect drying times. Follow the manufacturer’s instructions regarding drying times and ventilation requirements. Keep in mind that higher humidity levels and lower temperatures can prolong drying times.
Factors Affecting Drying Time: Several factors can impact the drying timeincluding the type of paintthickness of the coat appliedhumidity levelsand temperature. Ensure proper airflow and ventilation in the room to facilitate drying.
Tips for Properly Curing the Paint: It’s important to note that drying and curing are two different processes. While the paint may feel dry to the touch within a few hoursit may take several weeks for it to fully cure and harden. During this timeavoid any contact or friction with the painted surface to prevent damage.
Once the paint has driedit’s important to assess the coverage and quality of the new coat. Follow these steps to evaluate the paint coverage:
Inspect the Painted Surface for Adequate Coverage: Carefully examine the painted surface under proper lighting conditions to ensure that the new paint has provided complete coverage over the existing gloss paint. Look for any areas where the old paint is still visible or where the new coat appears uneven.
Assess the Need for Additional Coats of Paint: If the coverage is insufficient or if the old paint is still visibleyou may need to apply additional coats. Consider the opacity of the paint and the color you’re usingas some colors may require more coats for complete coverage.
Touching Up and Correcting Imperfections: If you notice any imperfectionssuch as brush marks or roller linesyou can touch them up by applying a small amount of paint to the affected areas. Use a brush or roller to blend the touch-up with the surrounding painted surface for a seamless finish.
Final Tips and Considerations
As you complete the process of painting over gloss paintkeep the following tips and considerations in mind:
Proper Cleanup and Storage of Painting Tools: Clean your brushesrollersand other painting tools thoroughly after use. Follow the instructions on the paint can or consult the manufacturer’s guidelines for the appropriate cleaning methods. Properly store your tools for future use.
Maintaining and Caring for the Newly Painted Surface: Allow the painted surface to cure fully before subjecting it to any cleaning or maintenance. Once curedclean the surface with a mildnon-abrasive cleaner and a soft cloth. Avoid using harsh chemicals or abrasive materials that can damage the paint.
Exploring Alternative Options to Cover Gloss Paint: If you’re dealing with a particularly stubborn gloss paint or if you prefer not to paint over itconsider alternative options such as using a primer specifically designed for adhesion to glossy surfaces or employing a decorative technique like wallpaper or textured finishes.
By following these guidelines and taking the necessary precautionsyou can successfully paint over gloss paint and achieve a fresh and renewed surface. With proper preparationapplicationand evaluationyou’ll be rewarded with a beautiful and long-lasting finish.
Conclusion
Painting over gloss paint requires careful preparationproper techniquesand patience. By assessing the gloss paintgathering the right tools and materialspreparing the surfaceapplying primer and new paintallowing sufficient drying timeand evaluating the coverageyou can overcome the challenges and achieve a successful paint job. With attention to detail and adherence to the steps outlined in this guideyou’ll be able to transform your glossy surfaces into beautifully painted onesadding a new dimension to your space.