33 Easy DIY Home Projects for Beginners to Try
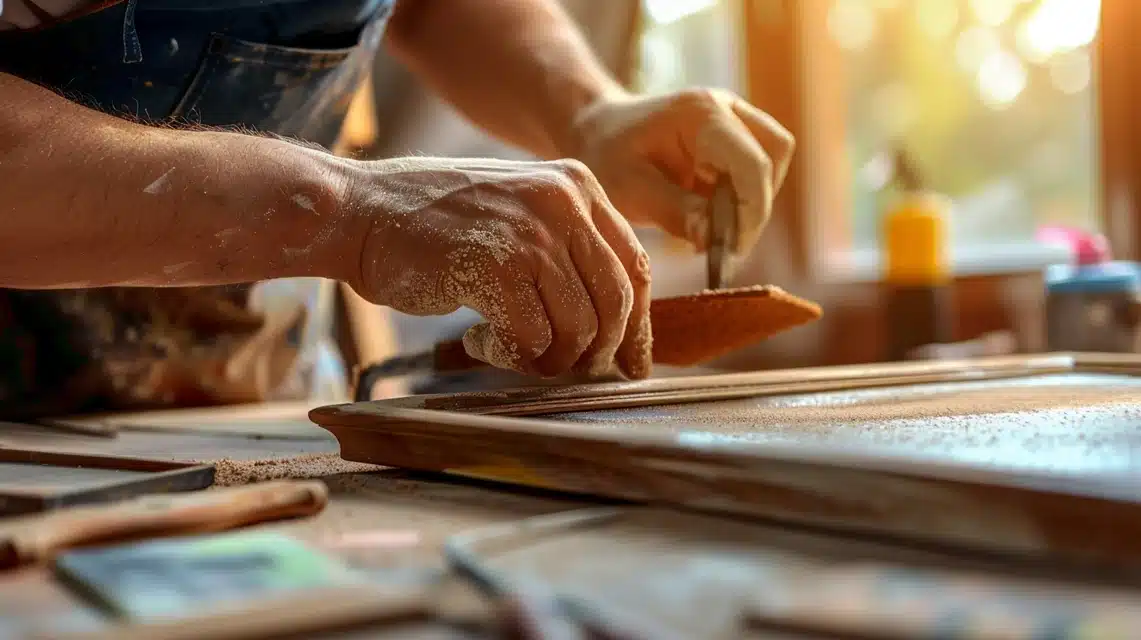
DIY home projects can feel intimidating at firstbut with the right materials and some clear guidanceyou’ll be creating beautiful pieces in no time!
If you’re looking to add functional shelvesbuild furnitureor personalize your spacethis guide will walk you through essential DIY projects that are perfect for beginners.
In this blog we’ll show you how to choose the best materialsavoid common mistakesand ensure that your projects turn out great while staying within your budget.
Let’s fall into the world of DIY and start changing your space with these easyfun projects.
Choosing the Right Materials for Your DIY Projects
When starting DIY home projectspicking the right materials makes a big difference. Good materials help your project last longer and look better. Your choice depends on what you’re makinghow much money you want to spendand how long you need it to last.
Wood is great for many projects like shelvestablesand chairs. For beginnerspine is cheap and easy to work with. Oak and maple cost more but are stronger. For outdoor projectscedar and redwood stand up better to rain and sun.
Metal works well for stronglong-lasting items. Steel is tough but can rust. Aluminum doesn’t rust but isn’t as strong. Plastic is light and doesn’t rotmaking it good for outdoor use. It’s often cheaper than wood or metal.
Always buy a bit extra of each material. This helps if you make mistakes or need to fix something later. Check what tools you’ll need before you start. Some materials require special tools to cut or join them.
Step-by-Step Guide to Completing DIY Projects
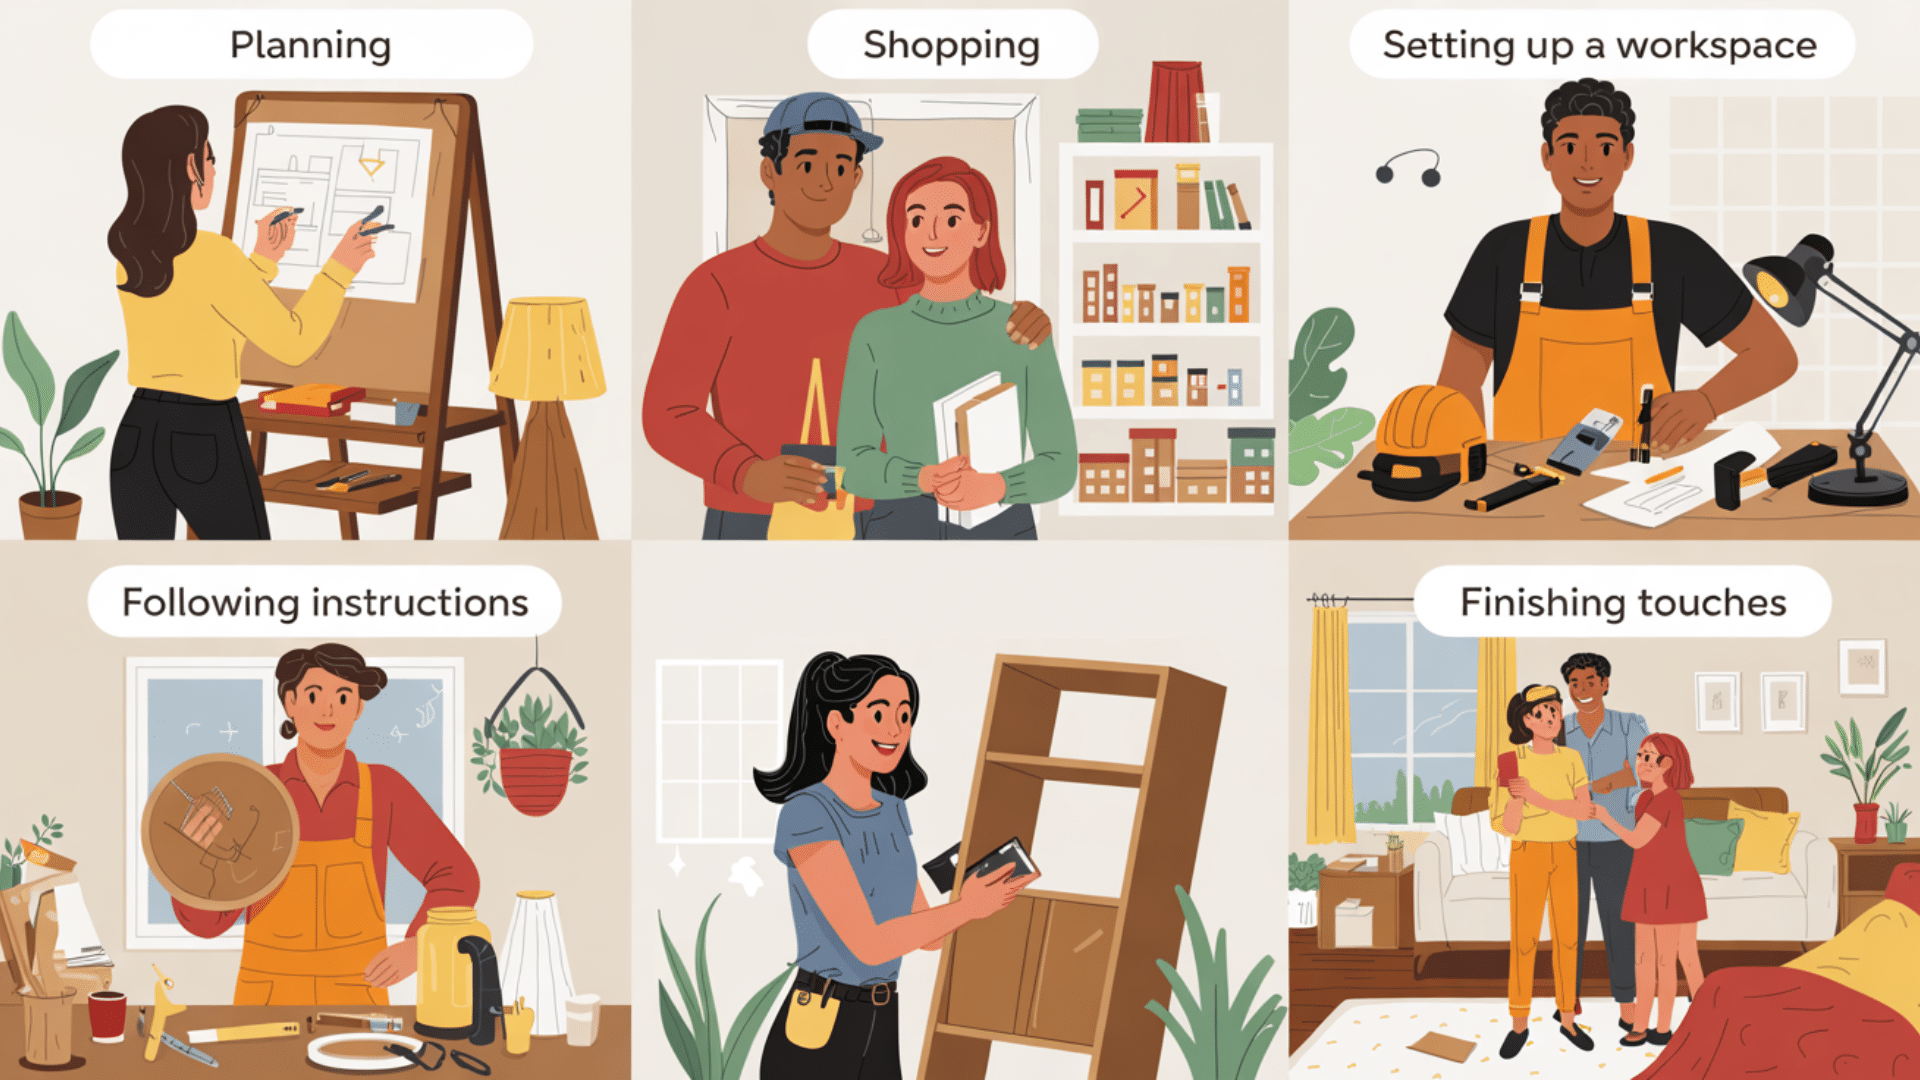
Starting a DIY project can seem difficult at first. Howeverbreaking it down into simple steps makes it much easier. Here’s how to approach any home project to get good results without feeling lost or giving up halfway through.
Plan Your Project
Start by knowing exactly what you want to make. Draw a simple sketch with measurements. Look at similar projects online for ideas. Make a list of all the materials and tools you’ll need.
Check if you have the right skills or if you need to learn something new first. Set a budget and stick to it. Allow more time than you think you’ll need. Good planning cuts down on mistakes and makes the whole project go smoother.
Get Your Materials
Make a complete shopping list before you go to the store. Check prices at different stores to save money. Buy a little extra material in case of mistakes.
For wood projectspick straight boards without cracks or warps. For paintget samples to test colors first.
Ask store staff for advice if you’re not sure about something. Don’t forget safety items like glovesmasksand eye protection. Bring your measurements with you to make sure pieces will fit in your space.
Set Up Your Work Area
Clear a space big enough for your project. Put down drop cloths to protect the floors. Make sure you have good lighting to see what you’re doing. Set up a stable work surfacelike a table or workbench.
Keep tools within reach but not in your way. Have a plan for dust and mess before you start. Make sure the area has good air flow for paint or stain fumes. Keep children and pets away from work zones for safety.
Follow Instructions Carefully
Read all the instructions before you start. Look up words or steps you don’t understand. Take your time and don’t rush. Do one step at a time in the right order.
Measure twice before cutting once to avoid waste. Test things like paint or glue on scrap material first. Take breaks when you need them.
Keep track of small parts in labeled containers. If you get stucklook online for help or ask someone with more experience.
Finish Strong
Sand rough edges for a smooth finish. Clean up dust before painting or staining. Apply thin coats of finish rather than one thick coat. Let things dry completely between steps.
Add any final touches like knobs or handles. Test that everything works as it should. Take photos of your finished project. Clean your tools and put them away properly. Enjoy what you’ve made and share it with others.
List of DIY Home Projects for Beginners
Home improvement doesn’t need to be difficult or expensive. These 33 simple projects can change your living space without special skills or costly tools.
Perfect for weekend warriors and first-time DIYersthese projects offer quick ways to update your home while learning basic building skills.
1. DIY Floating Shelves
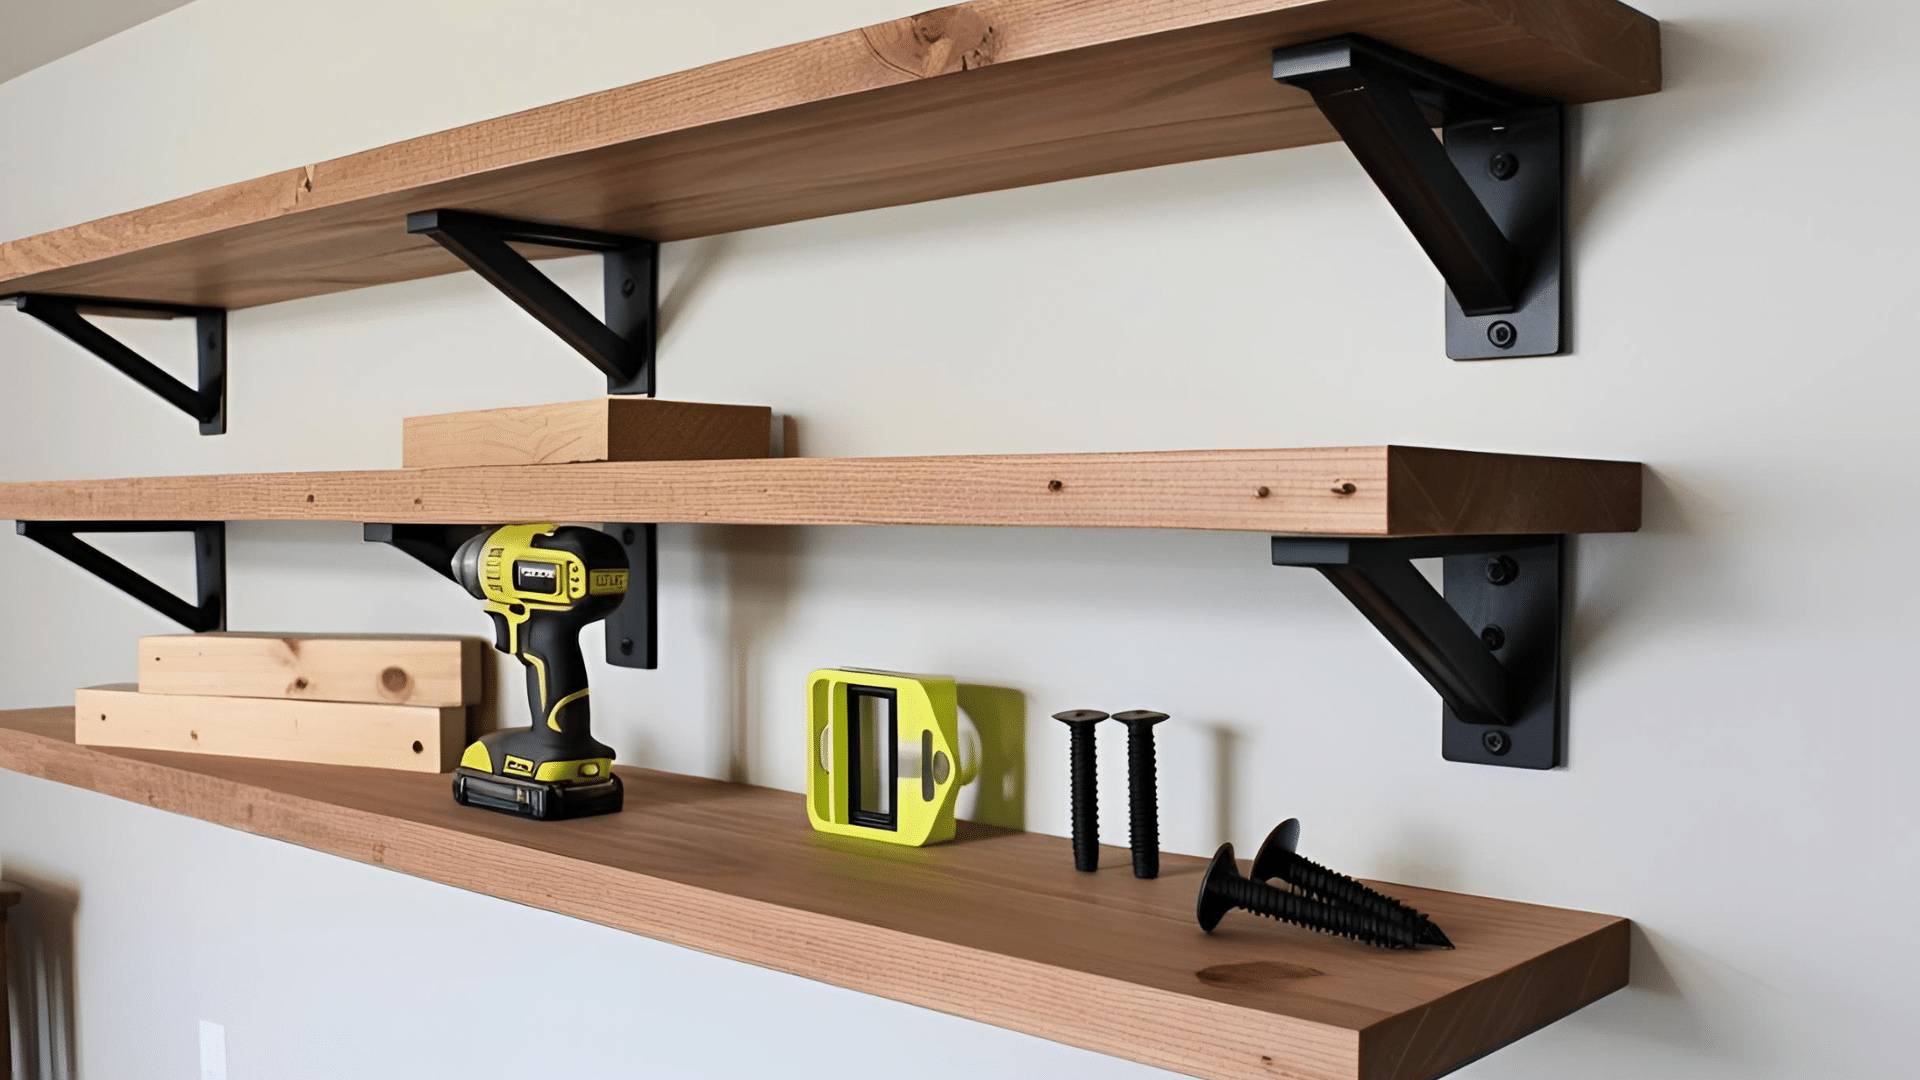
Floating shelves add both and function to any room without taking up floor space. To make themyou’ll need wood boardsbracketsscrewsa drillleveland wall anchors.
Find and mark wall studs for proper support before attaching the hidden bracket system. Cut your boards to sizesand all edges smoothand finish with paint or stain that matches your room’s .
Once dryslide the wood over the mounted brackets and secure it in place. These shelves work wonderfully in kitchens for spicesliving rooms for photos and small plantsor bathrooms for extra storage of everyday items.
2. Build a Simple Coffee Table
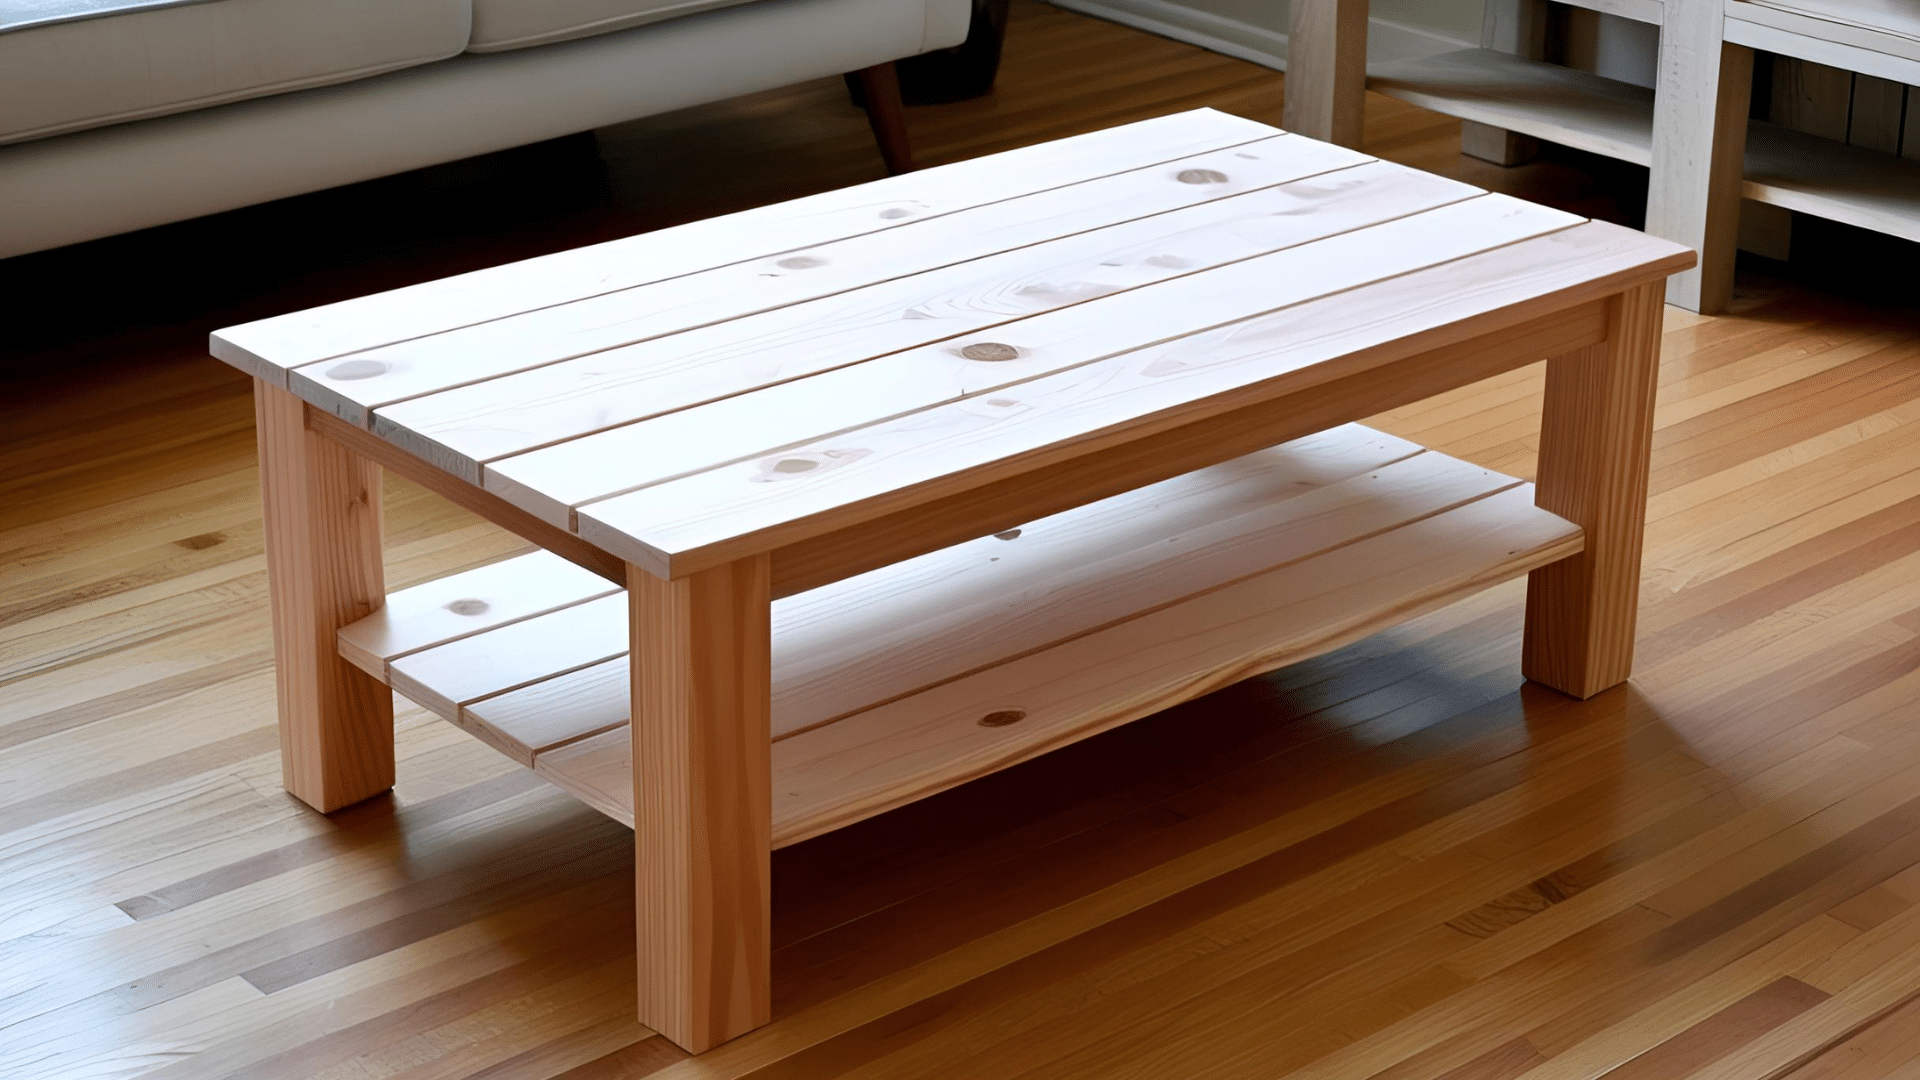
A custom coffee table can become the centerpiece of your living room without costing too much money. Start by selecting the right wood—pine is budget-friendlywhile oak or maple offers more durability.
You’ll need a sawdrillsandpaperwood gluescrewsand finishing materials. Cut the pieces according to your measurementssand all surfaces until smoothand assemble using wood glue and screws.
For a professional lookfill any holes with wood filler before painting or staining. Add a clear topcoat to protect the surface from water rings and scratches. Your new coffee table will serve as both a functional piece and a conversation starter.
3. Make a Window Seat
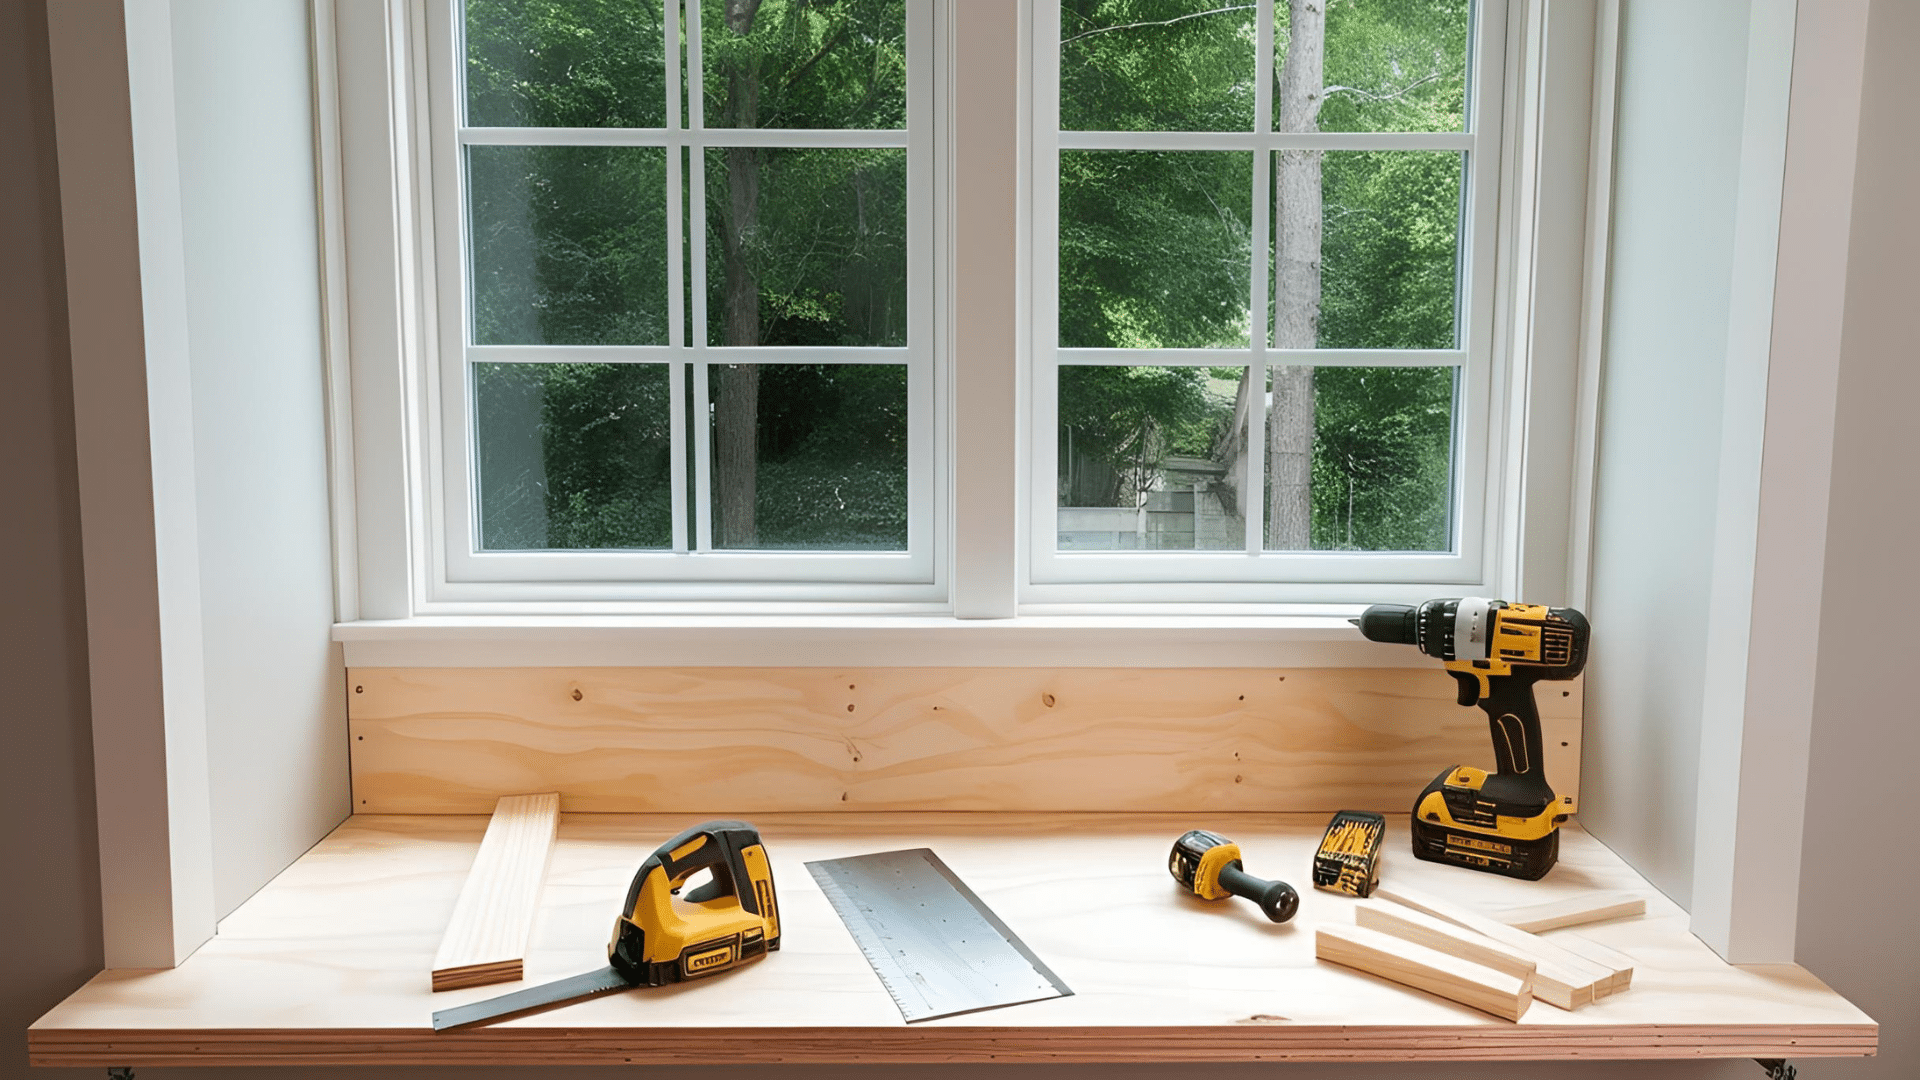
A window seat creates a cozy spot to read or relax while making use of often unused space. Begin by gathering plywood2x4sscrewsa sawdrilland measuring tape.
Build a simple box frame that fits your window spacemaking sure it’s sturdy enough to support weight. Secure it to the wall studs for stability. Add a plywood top and sand all edges smooth.
For comfortcut foam to fit the topthen cover with fabric of your choice using a staple gun to secure underneath. Finish with colorful pillows that complement your room’s colors. This project changes a plain window into a charming nook.
4. Create a Wooden Planter Box
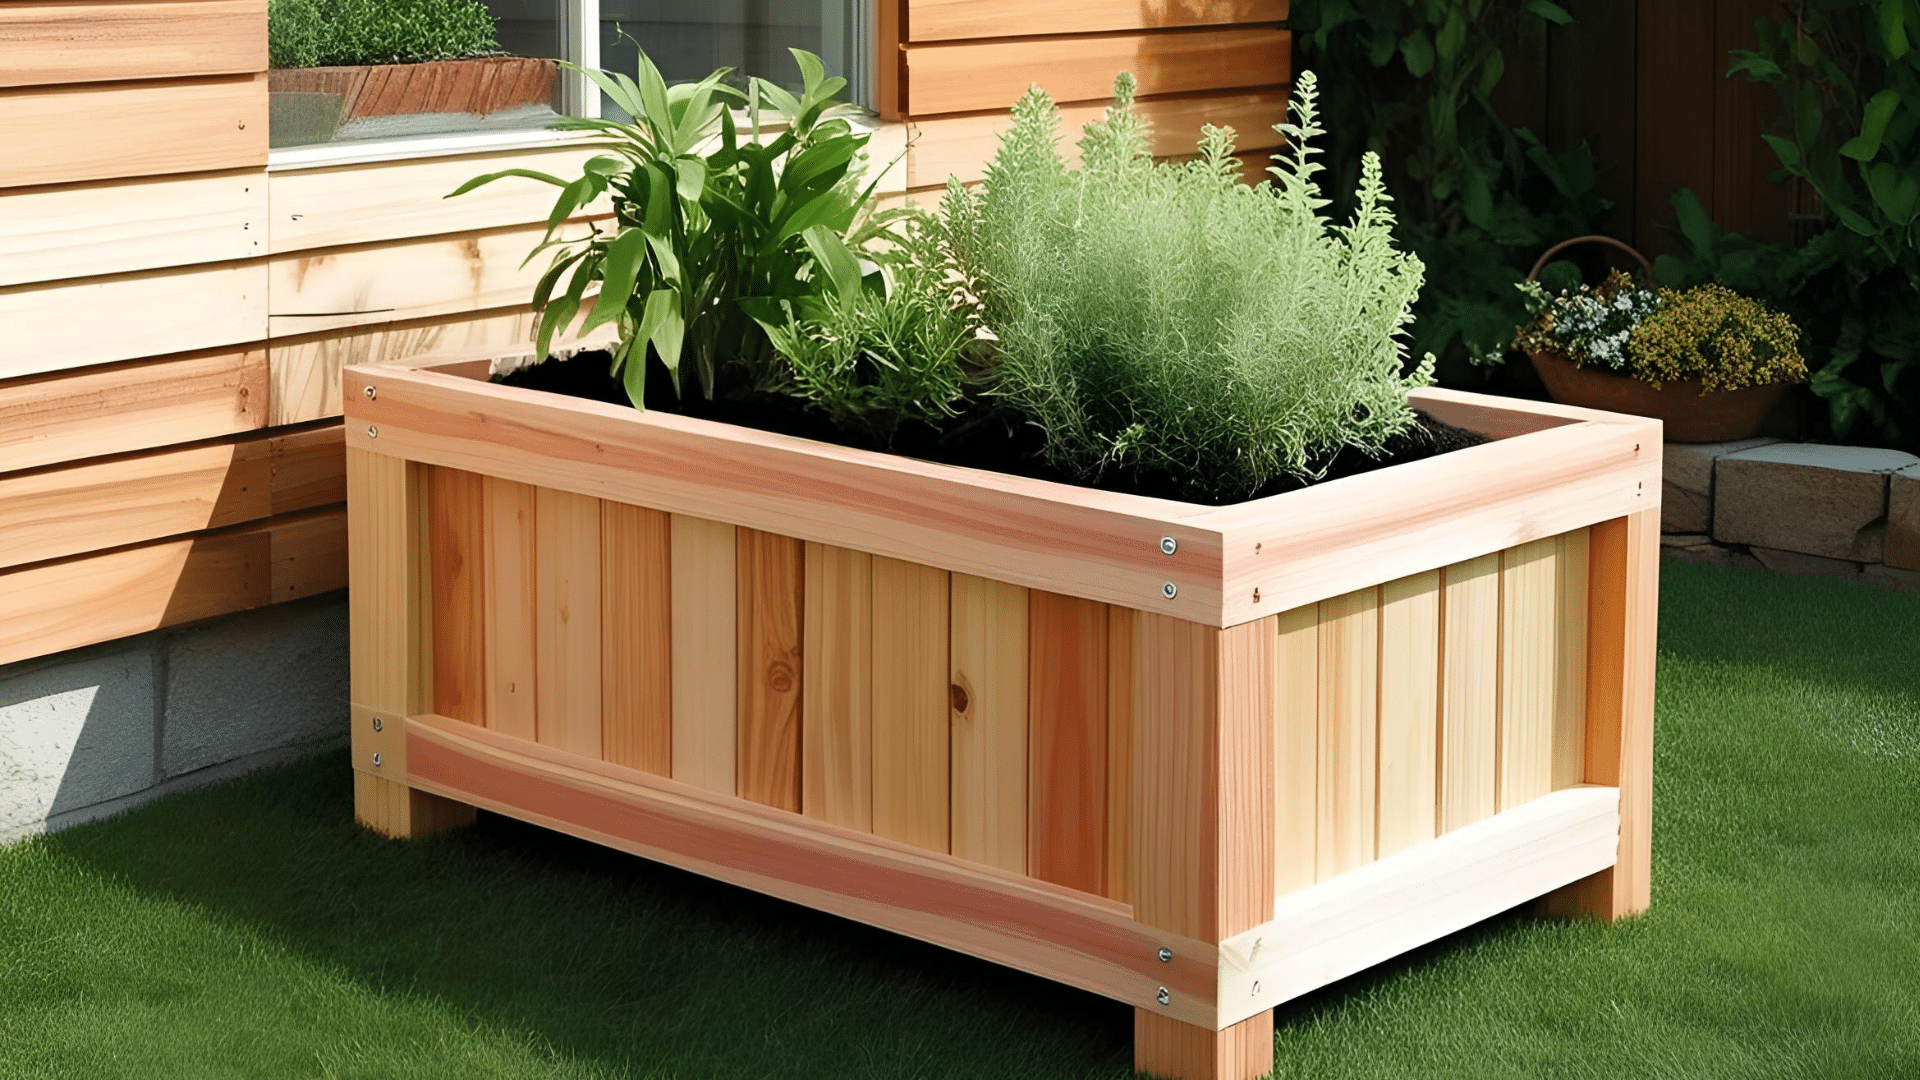
Adding a wooden planter box brings natural beauty into your home. Cedarredwoodor cypress work best as they resist rot and moisture.
Cut your boards to your desired sizesand all edgesand assemble using galvanized or stainless-steel screws to prevent rusting. Drill small drainage holes in the bottom and consider adding a liner to protect the wood.
You can stain or paint your planter box to match your home’s or leave it natural for a more organic look. Place your new planter in sunny spots for herbs and flowers or use it on a patio for a mini garden.
5. Install Wall-Mounted Shelves

Wall-mounted shelves offer practical storage without using floor space. Start by planning your layout on paperconsidering both function and look.
Mark shelf positions with a pencil and use a level to ensure straight lines. You’ll need a stud finderdrillscrewsanchorsa leveland your chosen shelves. Secure brackets into wall studs when possibleor use proper wall anchors for drywall.
Once the brackets are firmly attachedplace your shelves and secure them according to the bracket type. These shelves work perfectly for bookssmall plantsor showing off special items throughout your home.
6. Build a Custom Bookshelf
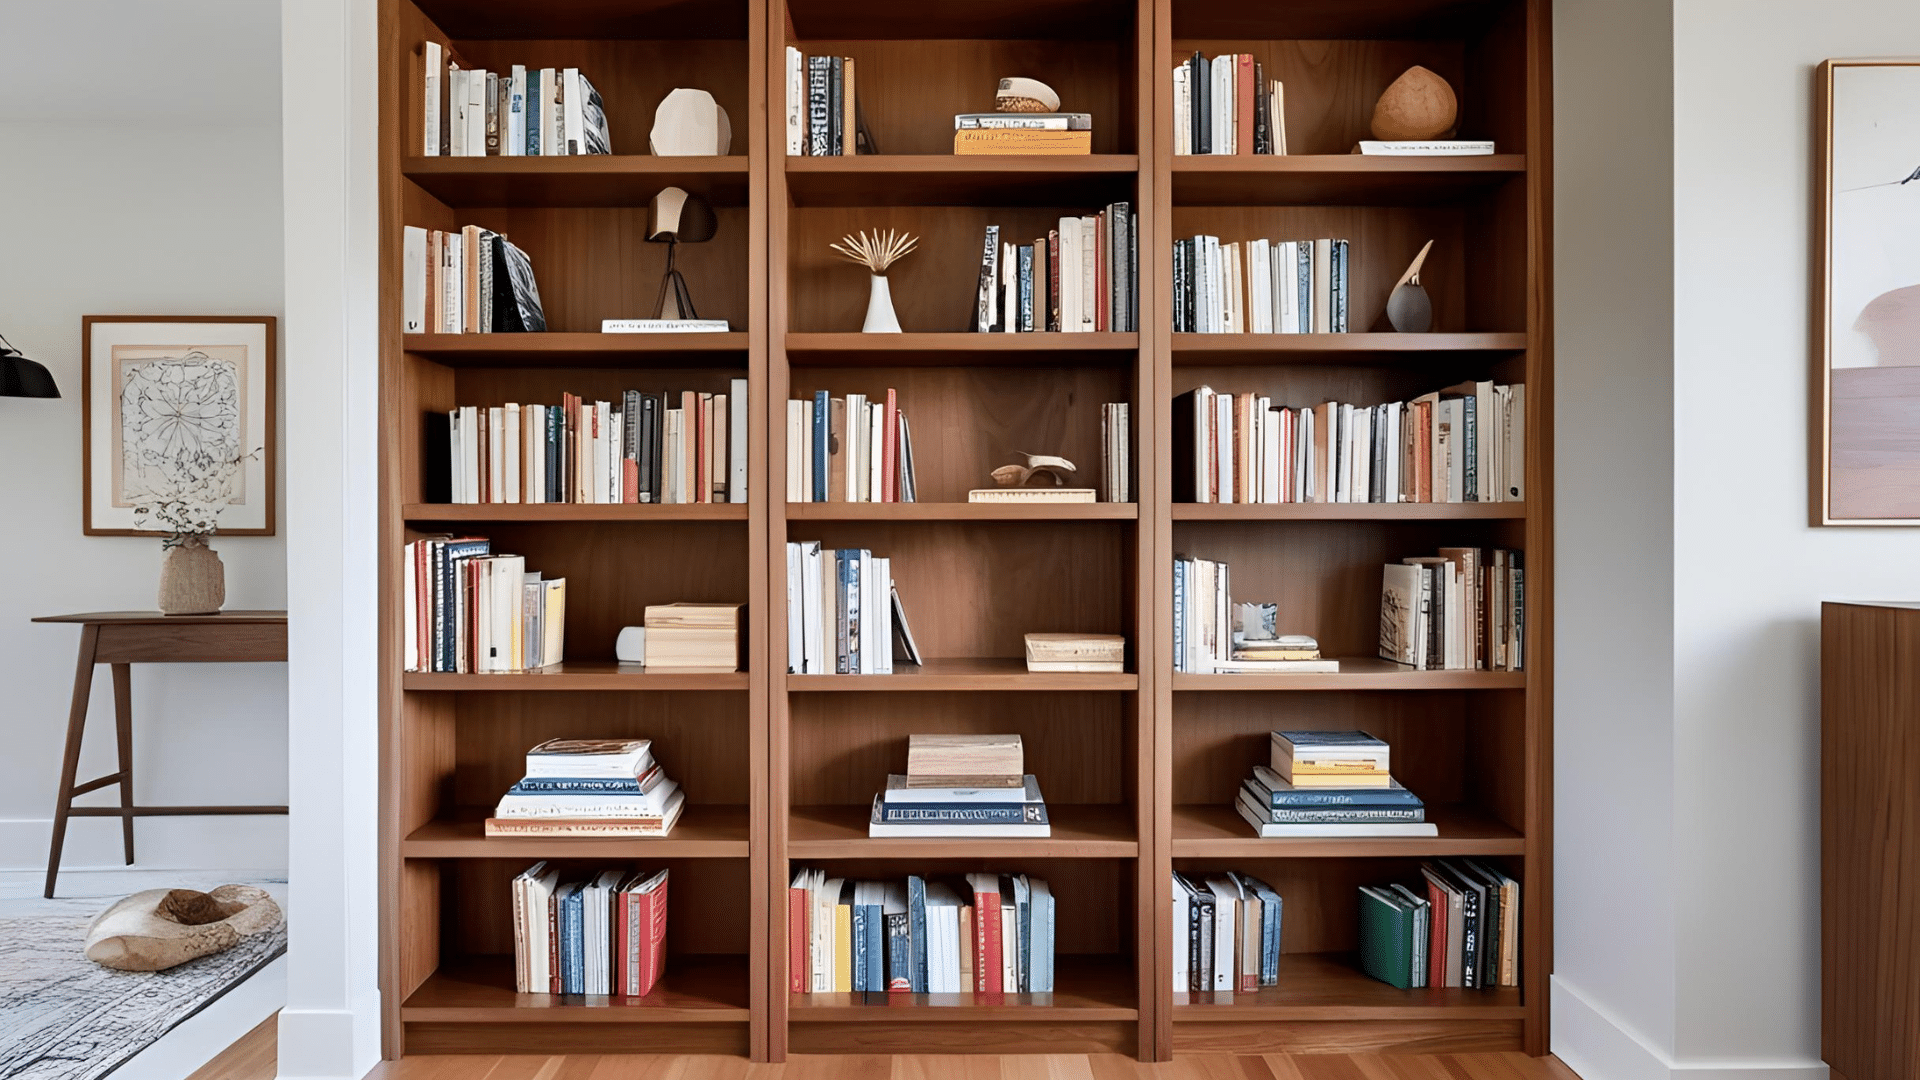
A custom bookshelf gives you exactly what you need for your space while showing off your . Select materials that match the weight of what you’ll store – plywood works for light itemswhile solid wood is better for heavy books.
Measure your space carefullyallowing room for baseboards and ceiling clearance. Cut your boards to sizesand all edgesand assemble using wood screws and glue.
Add backing board for stability. Finish with paint or stain that complements your roomfollowed by a clear sealant. Adjust shelf heights to fit your specific items for maximum usefulness.
7. Make a Wooden Coat Rack
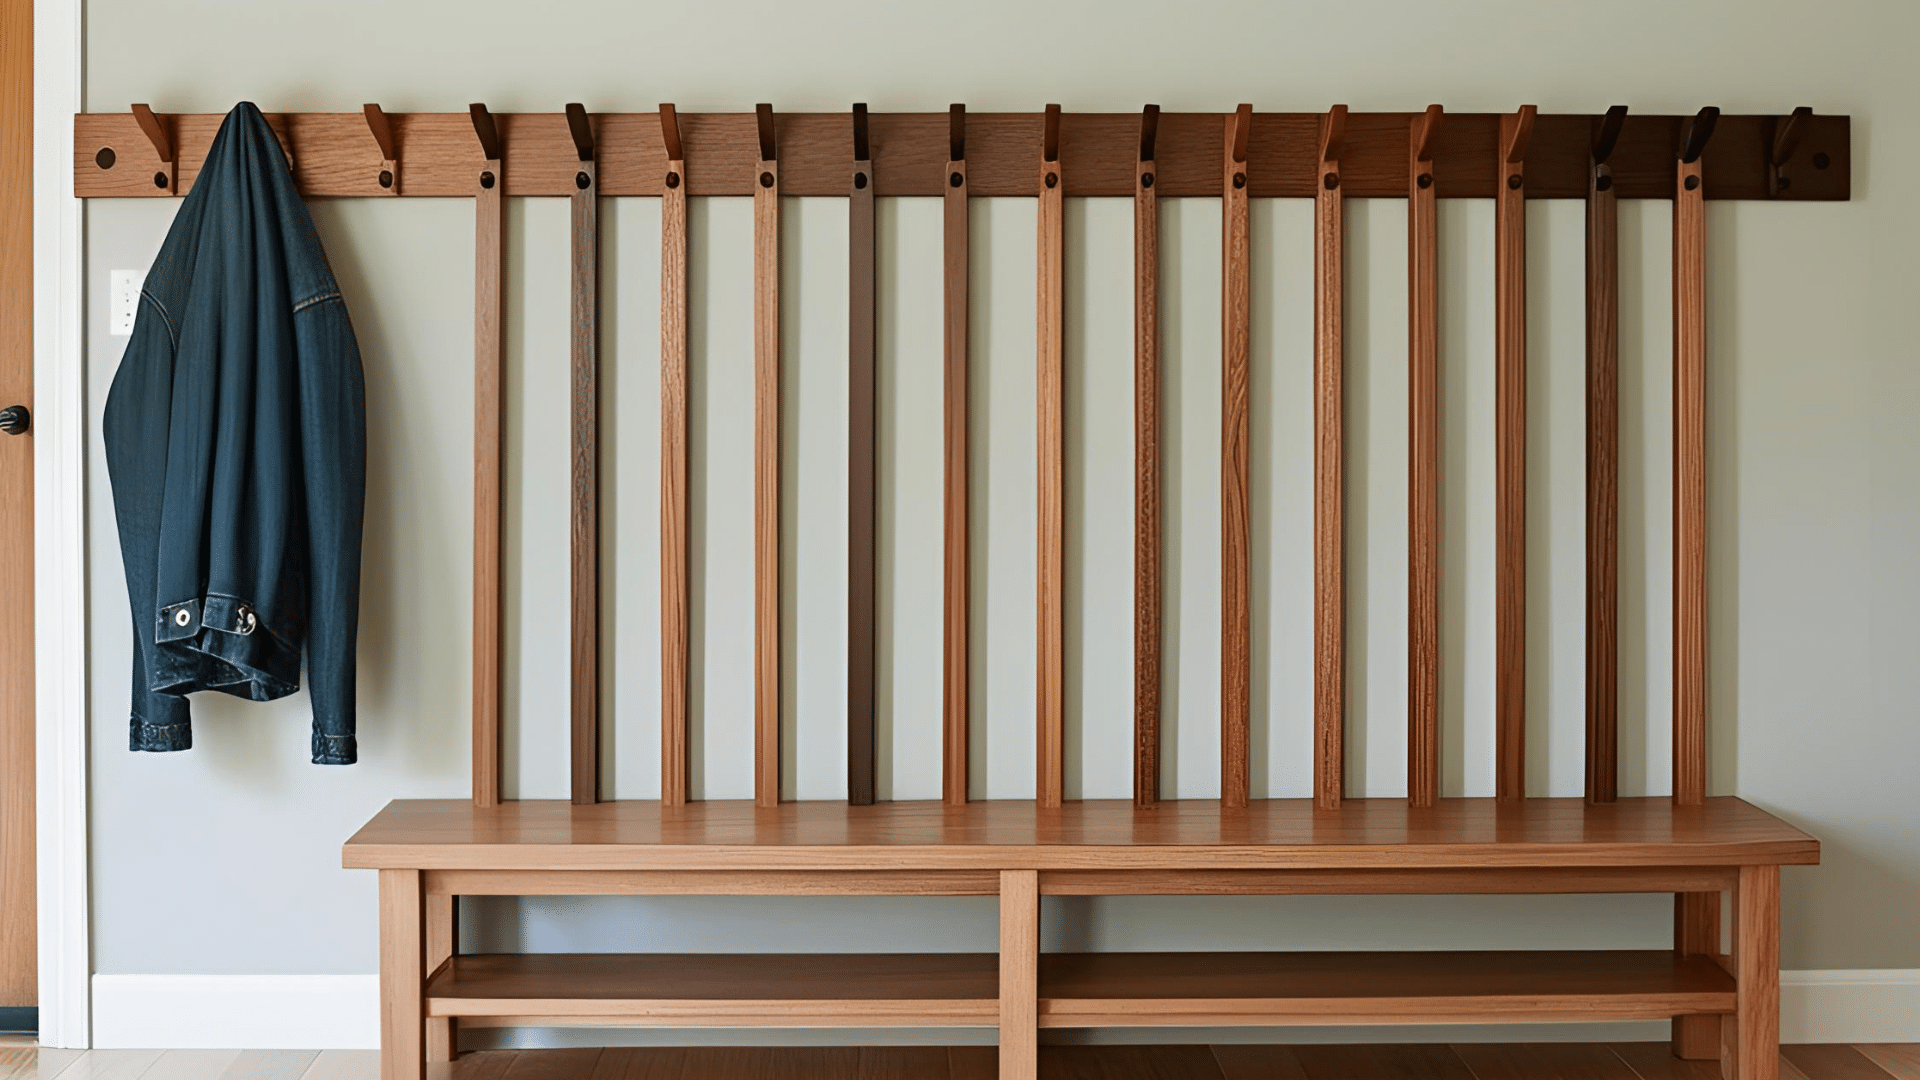
A wooden coat rack offers both function and for your entryway. Select a hardwood board like oak or maple for durabilitytypically 3-4 feet long.
Sand all edges until smooth and apply your chosen finish – paintstainor natural sealer. Mark even spacing for your hookspre-drill holes to prevent splittingand attach decorative hooks securely.
Mount the rack to your wall by finding studs or using proper wall anchorsplacing it at a comfortable height for daily use. For a personal touchadd family initialsa welcome messageor decorative elements that match your home’s .
8. DIY Headboard for Your Bed
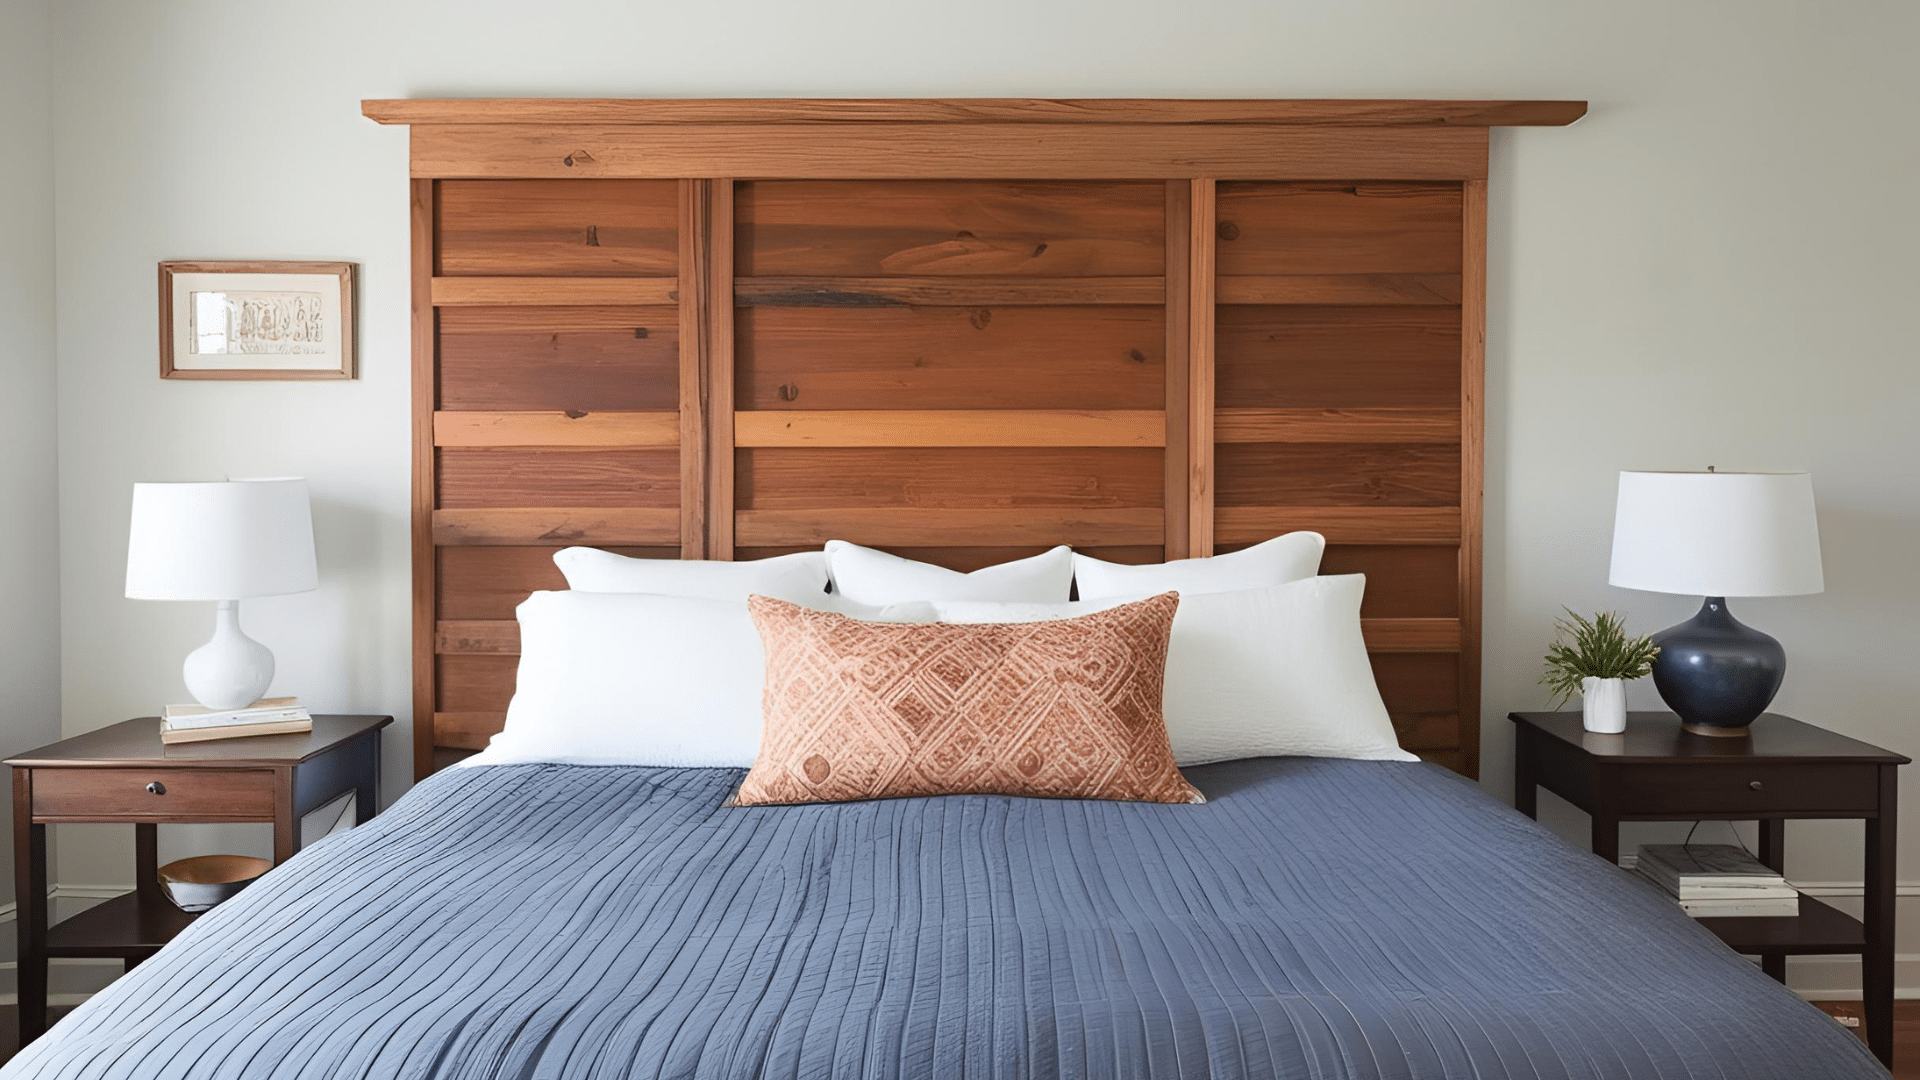
Creating your headboard lets you customize the exact look you want for your bedroom. For materialsconsider wood panelsplywoodor even a repurposed door or window frame.
Measure the width of your bed and decide on a height that works with your room. Cut materials to sizesand all edgesand assemble into your desired shape.
Add foam padding covered with fabric for a softupholstered lookor finish wood with paint or stain for a more natural . Mount securely to the wall or bed frame. Add personal touches like decorative nailsbuttonsor wood trim to make it uniquely yours.
9. Paint Your Front Door
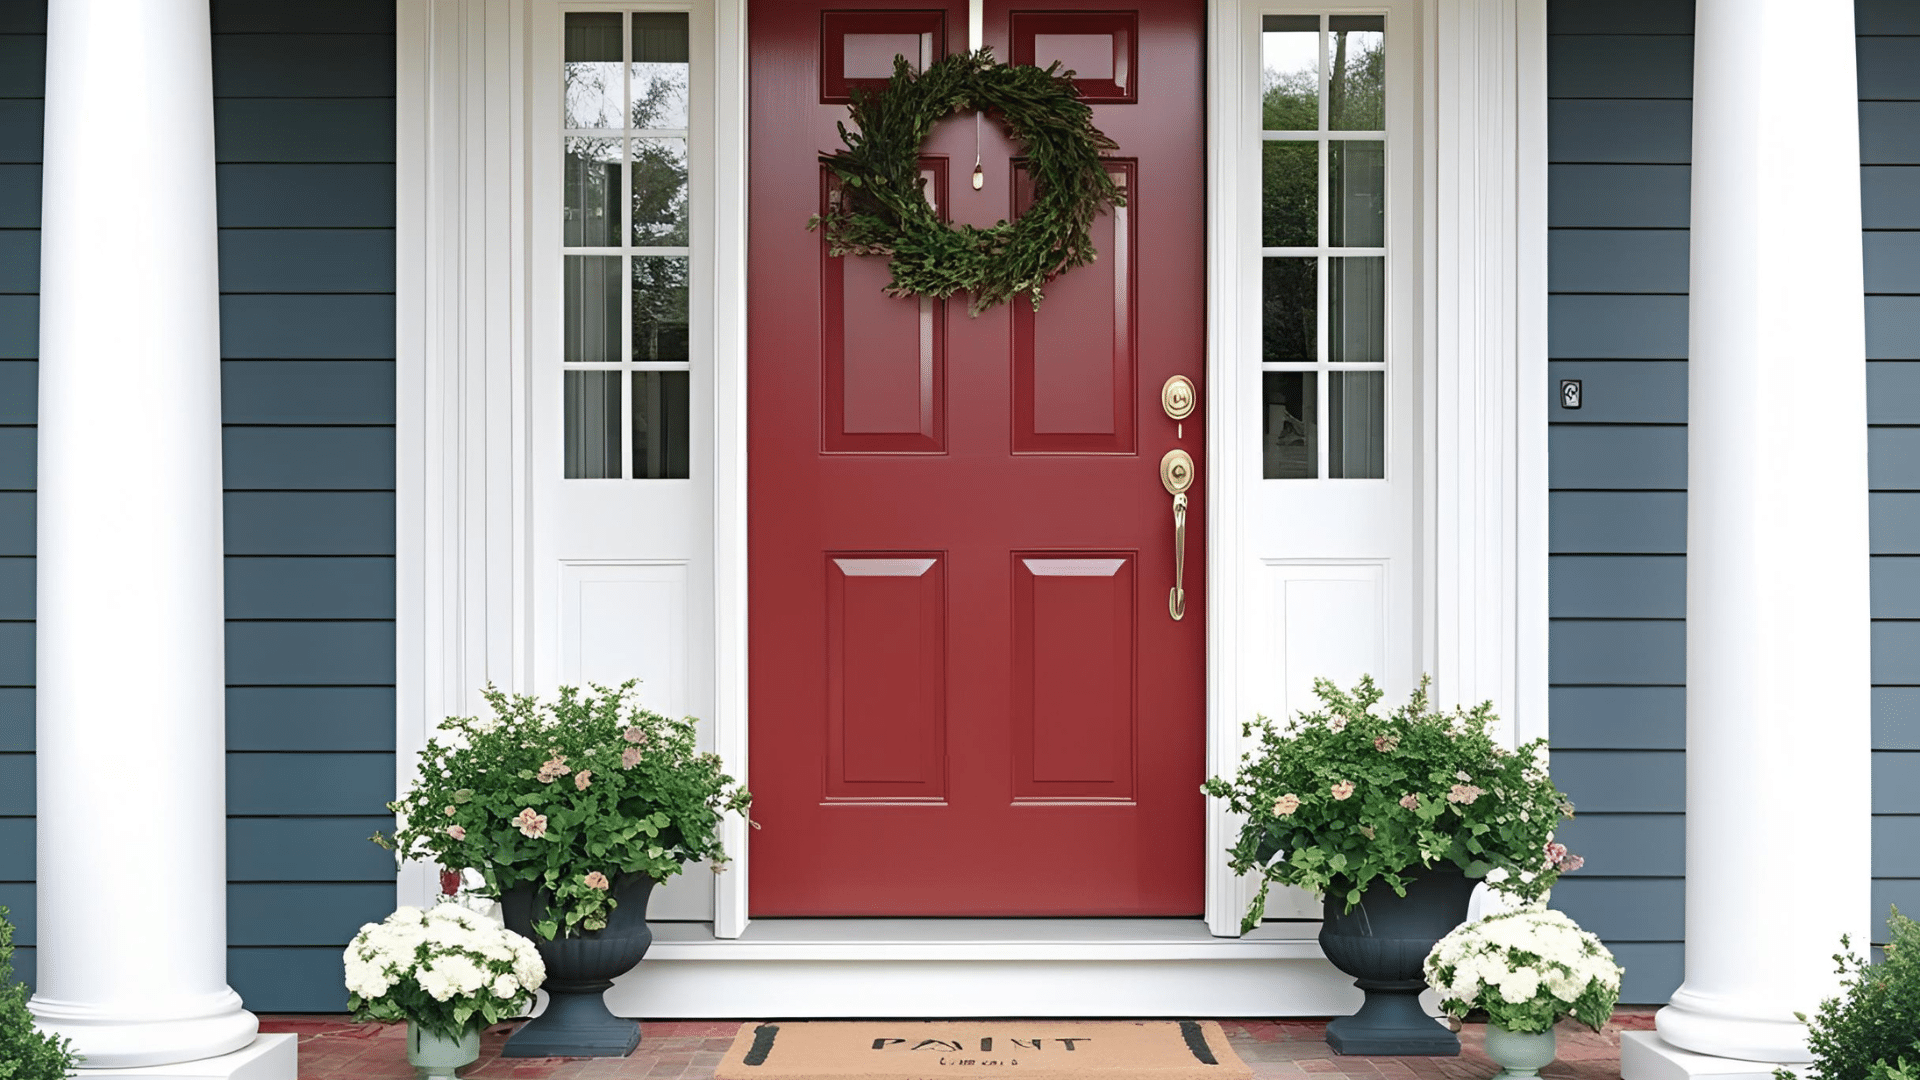
A freshly painted front door instantly boosts your home’s curb appeal. Choose exterior paint specifically made for doors in a color that complements your home’s exterior.
Remove the hardware and clean the door thoroughly before starting. Lightly sand any rough spots and apply primer if the colors are changing dramatically.
Paint in thineven coatsworking with the wood grain and allowing proper drying time between coats.
Consider updating door hardware like knobsknockersand house numbers for a complete refresh. This simple weekend project creates a welcoming entrance that reflects your and makes a great first impression.
10. Build a Simple Desk
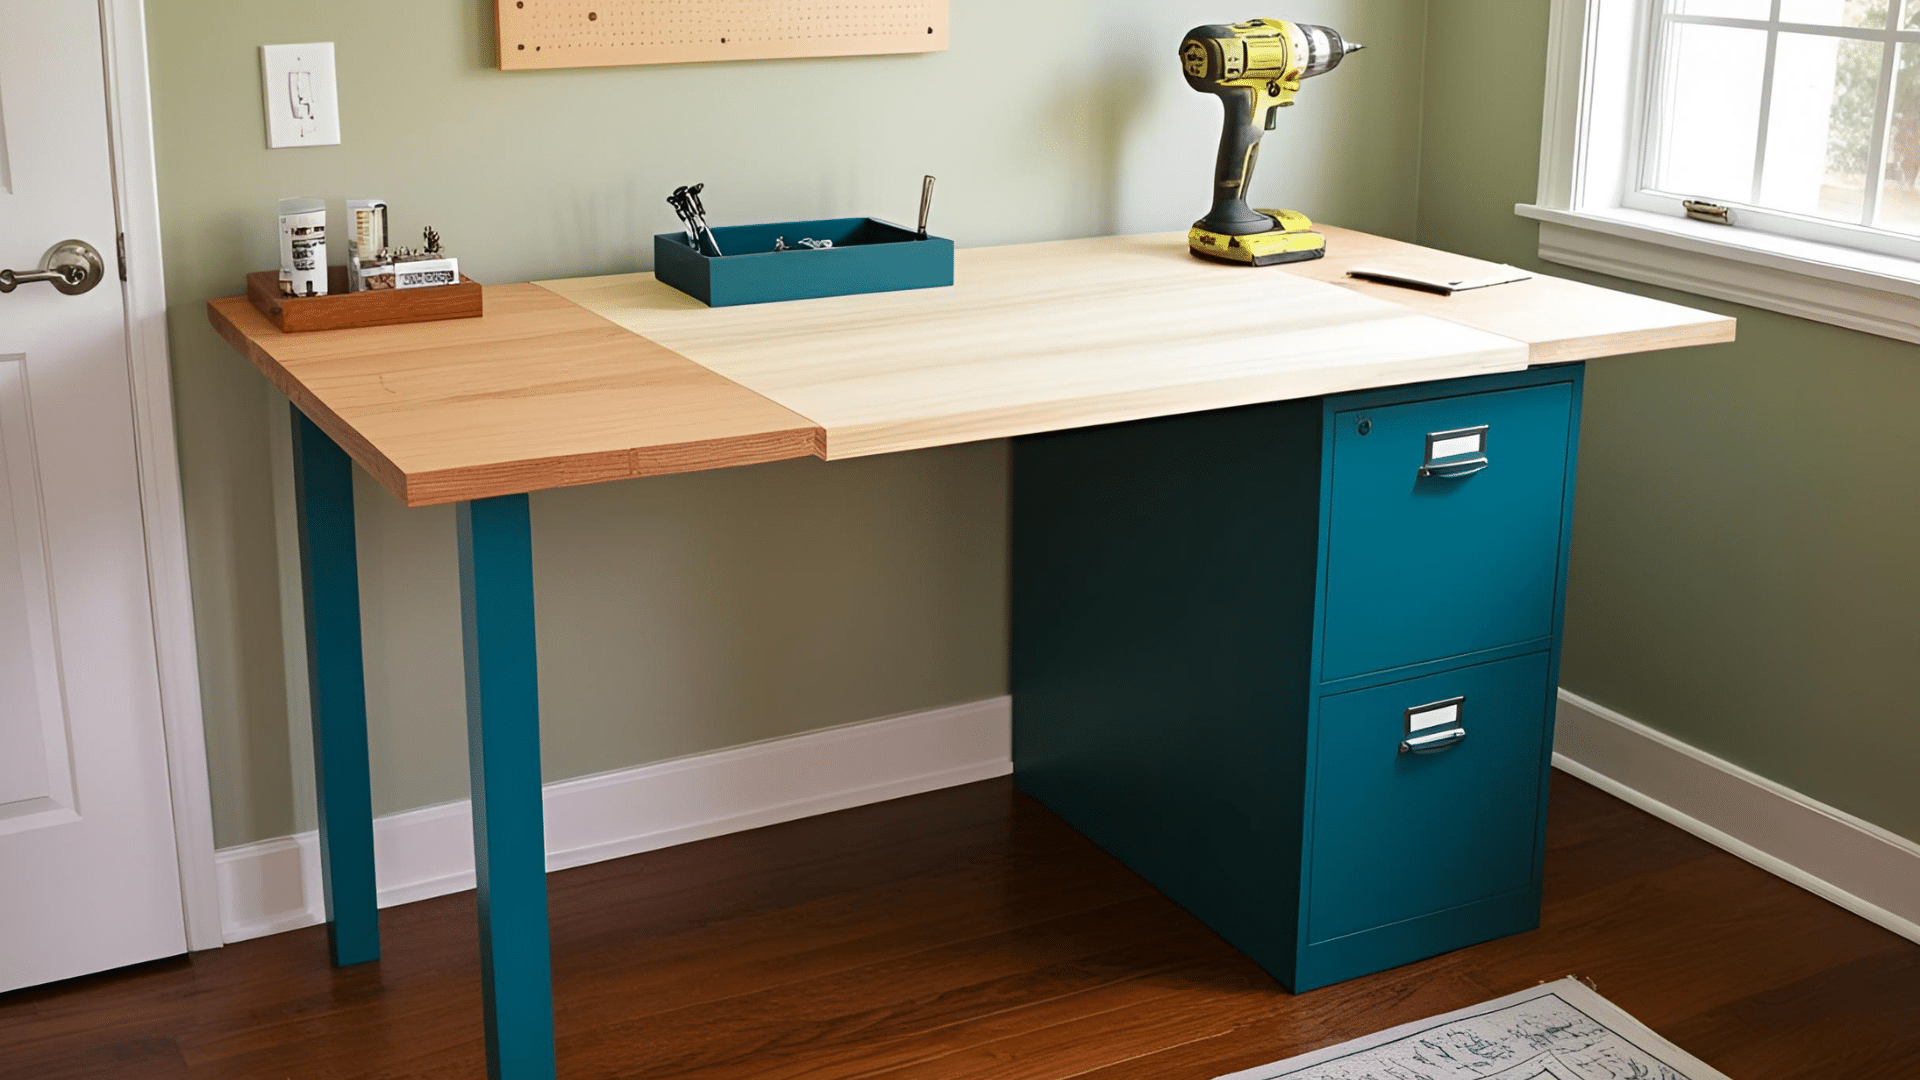
A custom desk gives you the perfect workspace tailored to your needs. For a basic deskyou’ll need a large wood panel for the desktopfour legs or two filing cabinets for supportscrewsa drilland finishing materials.
Cut the desktop to your ideal sizesand all edges smoothand apply paint or stain. Attach the legs or place atop filing cabinets for instant stability.
Add a keyboard tray or small drawers for extra function. Complete your workspace with proper lighting and organizing tools like pencil holders and file sorters. This practical project creates a dedicated spot for work or hobbies.
11. Install a Chalkboard Wall
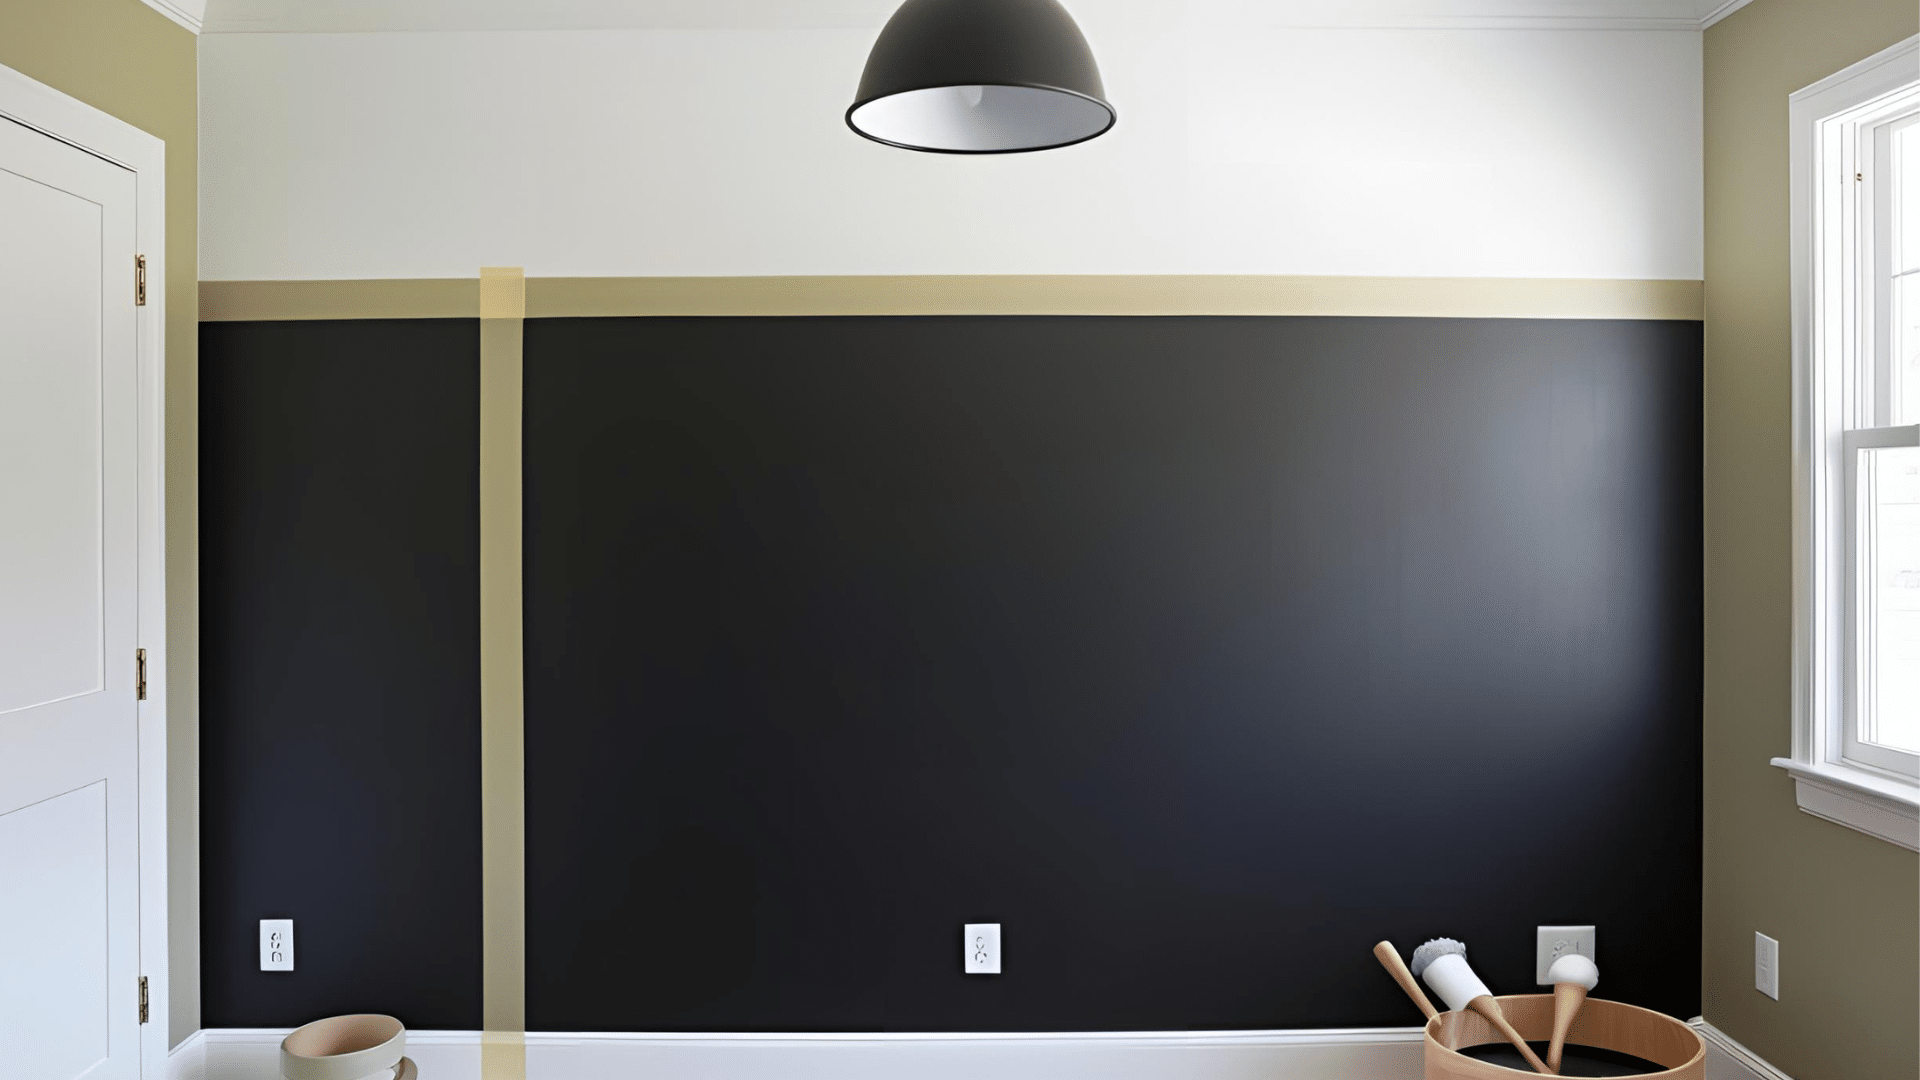
A chalkboard wall adds fun and function to kitchensplayroomsor home offices. You’ll need chalkboard paintpainter’s tapea rollera trayand chalk for conditioning.
Clean and sand your wall surfacethen apply painter’s tape around the edges for clean lines. Apply 2-3 thin coats of chalkboard paintwith a drying time between each.
Once completely dry (usually 24 hours)condition the surface by rubbing the side of the chalk over the entire areathen wipe clean.
Your new wall works great for shopping listschildren’s artworkfamily messagesor menu planning—a practical and creative addition to any home.
12. Create a Custom Rug
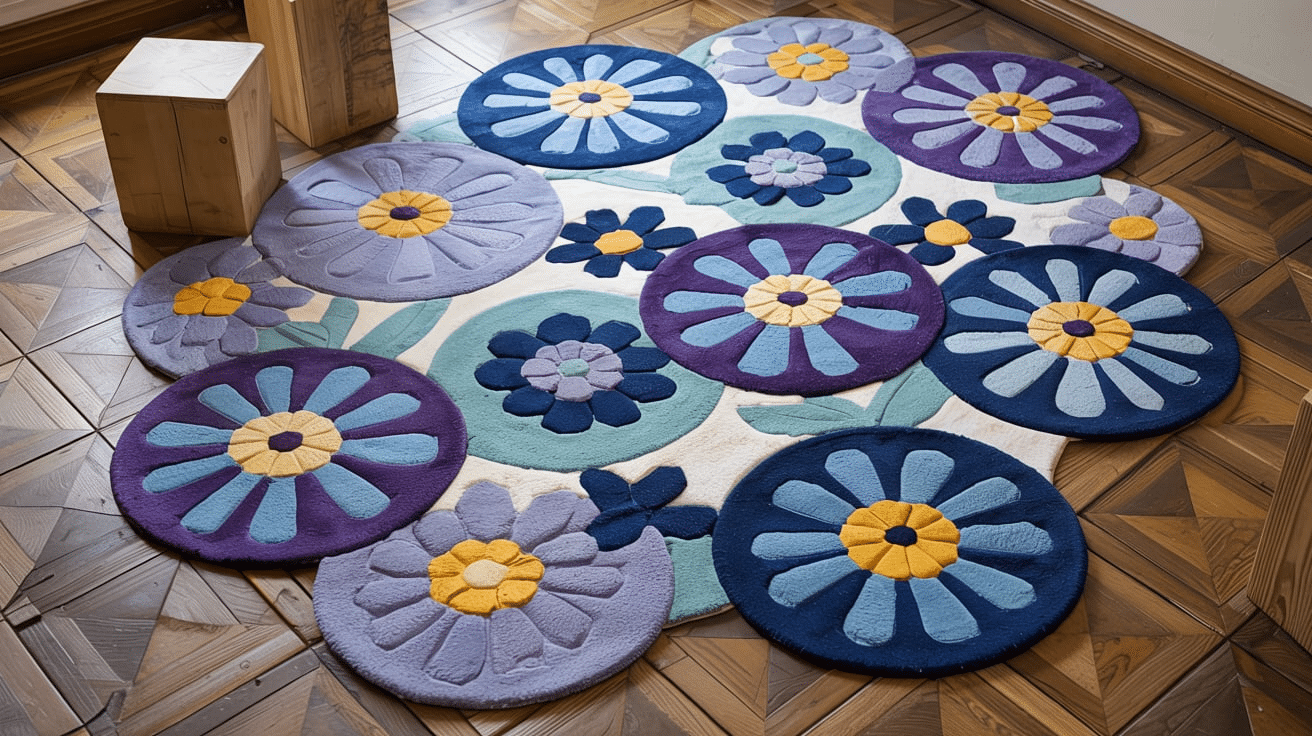
Making your rug lets you match your exact color scheme and size needs. Choose durable fabric like canvasheavy cottonor recycled materialsdepending on where you’ll use it.
Cut your base fabric to sizeallowing extra for hemming edges. For a simple painted ruguse fabric paint and painter’s tape to create patterns or stripes.
For a no-sew optionuse fabric glue to secure edges. Keep your rug clean by vacuuming regularly and spot-cleaning spills immediately. For high-traffic areasconsider adding a non-slip backing. This custom piece adds warmth and personality to any room.
13. DIY Plant Stand

A custom plant stand shows off your greenery while adding to your home. Select wood that matches your decor – pine is easy to work withwhile bamboo adds a natural look.
For a simple designcut four legs and cross supportssand all piecesand assemble with wood glue and screws. Add shelves at different heights to create visual interest and hold various plant sizes.
Finish with paintstainor clear sealer to protect from water damage. Personalize with decorative elements like carved details or metal accents. Place near windows where plants can get proper light.
14. Build a Simple Bench
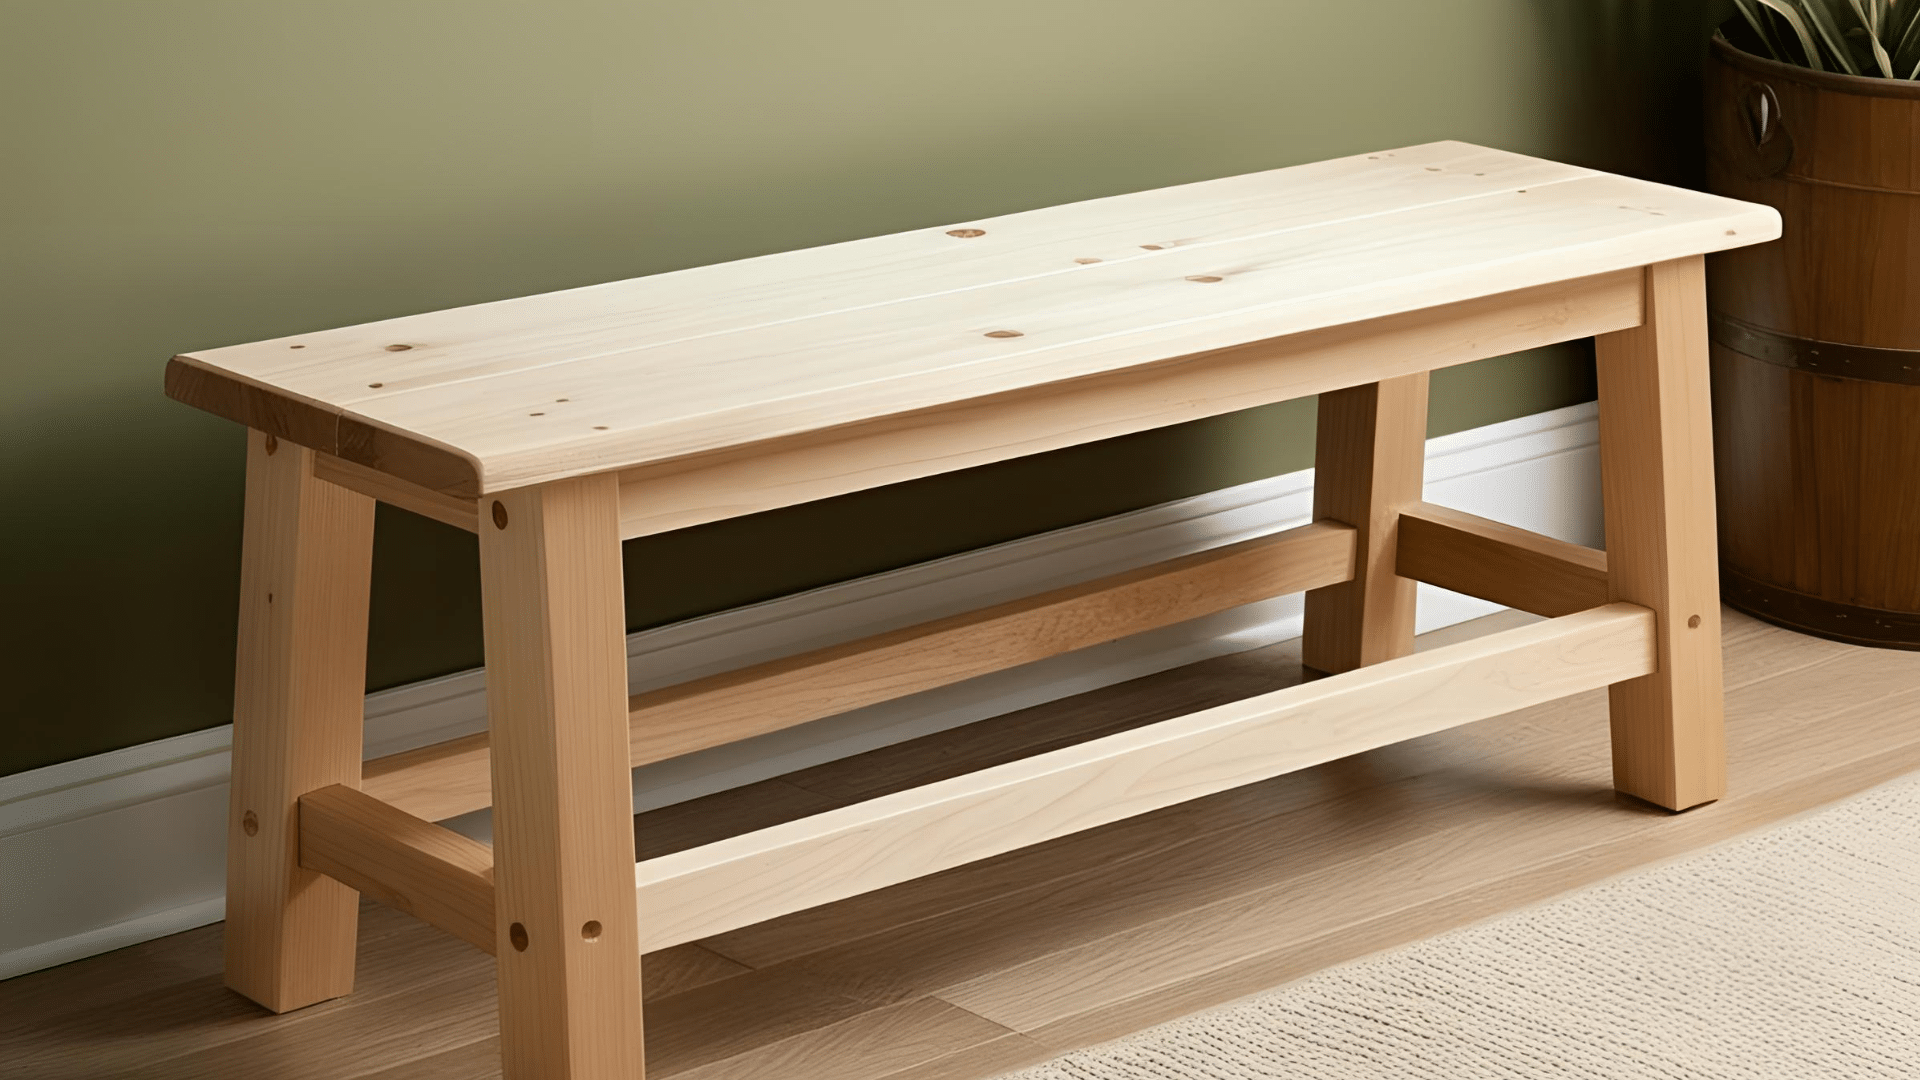
A handmade bench works perfectly in entrywaysat the foot of bedsor in living spaces. Choose solid wood like pine or oak for durability. Cut your seat boardlegsand support pieces according to your measurements.
Sand all parts until smooth before assembly. Connect pieces using wood screws and glue for strength. For added comfortcut foam to fit the top and cover with durable fabricsecuring underneath with staples.
For entryway benchesconsider adding storage underneath with baskets or building in compartments. Finish with paint or stain that matches your home’s for a useful and attractive addition.
15. Revamp Your Bathroom with New Shelving
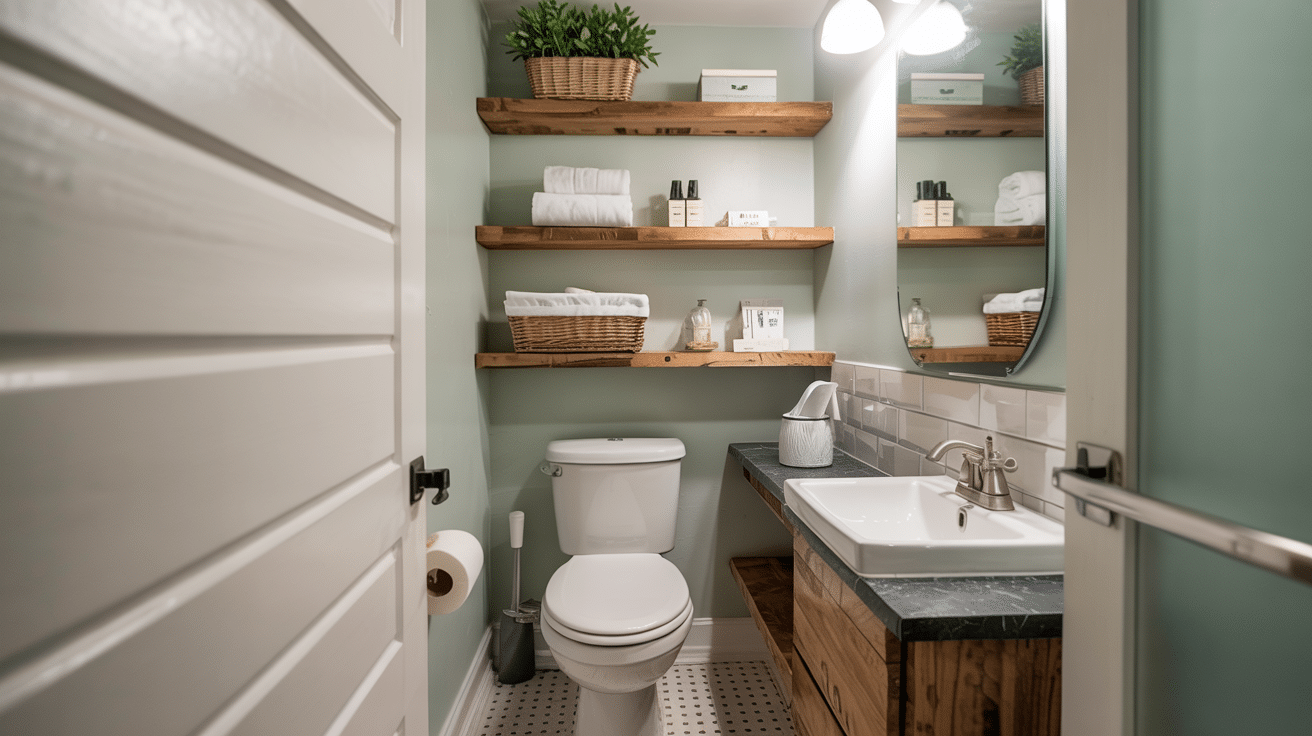
New bathroom shelving creates storage in one of the most space-challenged rooms. For small bathroomscorner units or floating shelves work best to save floor space.
Choose moisture-resistant materials like treated woodglassor metal. Locate wall studs for secure mounting or use proper anchors rated for bathroom weight and moisture.
Install shelves above toiletsnext to mirrorsor in unused corners. Organize items by frequency of usekeeping everyday products within easy reach.
Add small baskets or containers to group similar items together. This simple update increases function while adding to your bathroom.
16. Make Your Wall Art
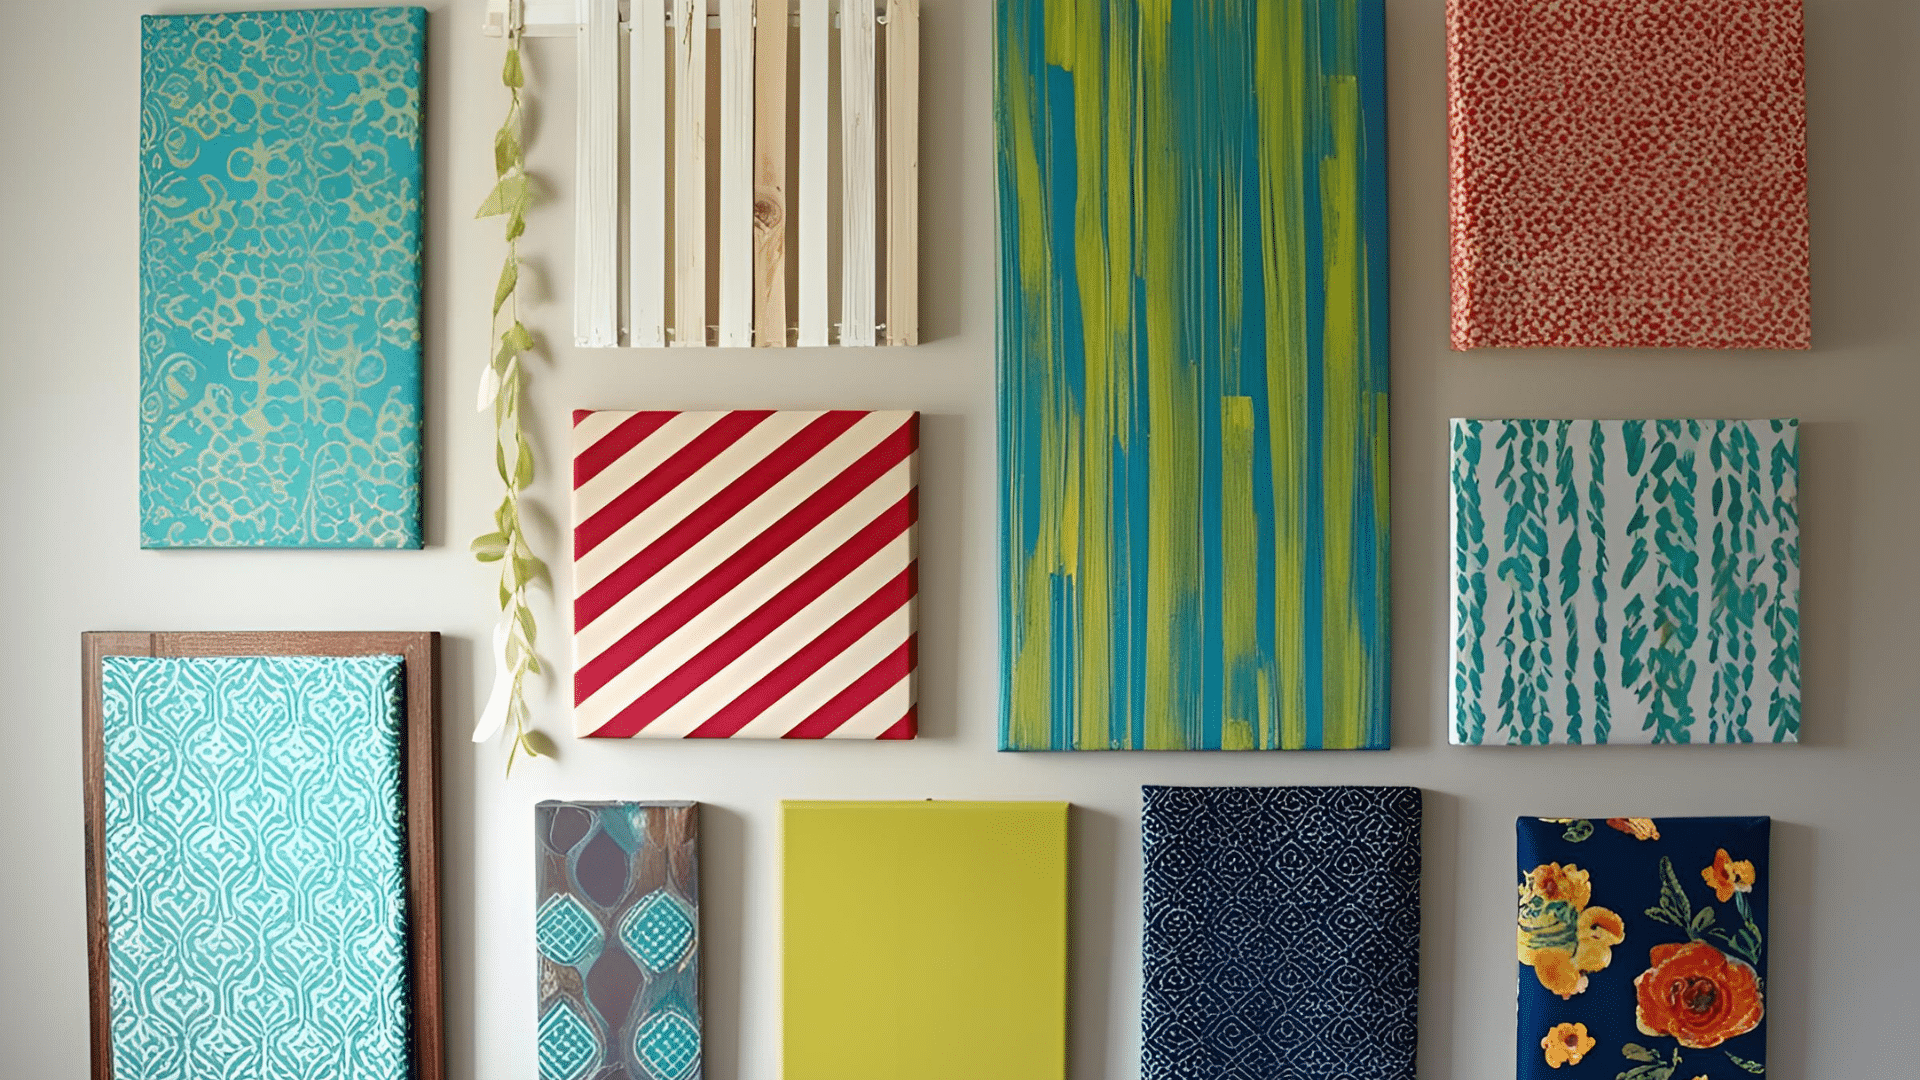
Creating personal wall art adds character to any room without spending much money. Use materials like canvaswood panelsfabricor even repurposed items.
For simple artapply paint in bold colors or patterns that match your decor. Create texture by layering materials or adding 3D elements. Arrange multiple small pieces in a gallery wall for greater impact.
When hangingplace art at eye level and consider the overall balance of the wall. Try temporary hanging solutions if you like changing your art seasonally. This innovative project lets you express your personality while filling blank walls with meaningful pieces.
17. Update Your Kitchen Backsplash
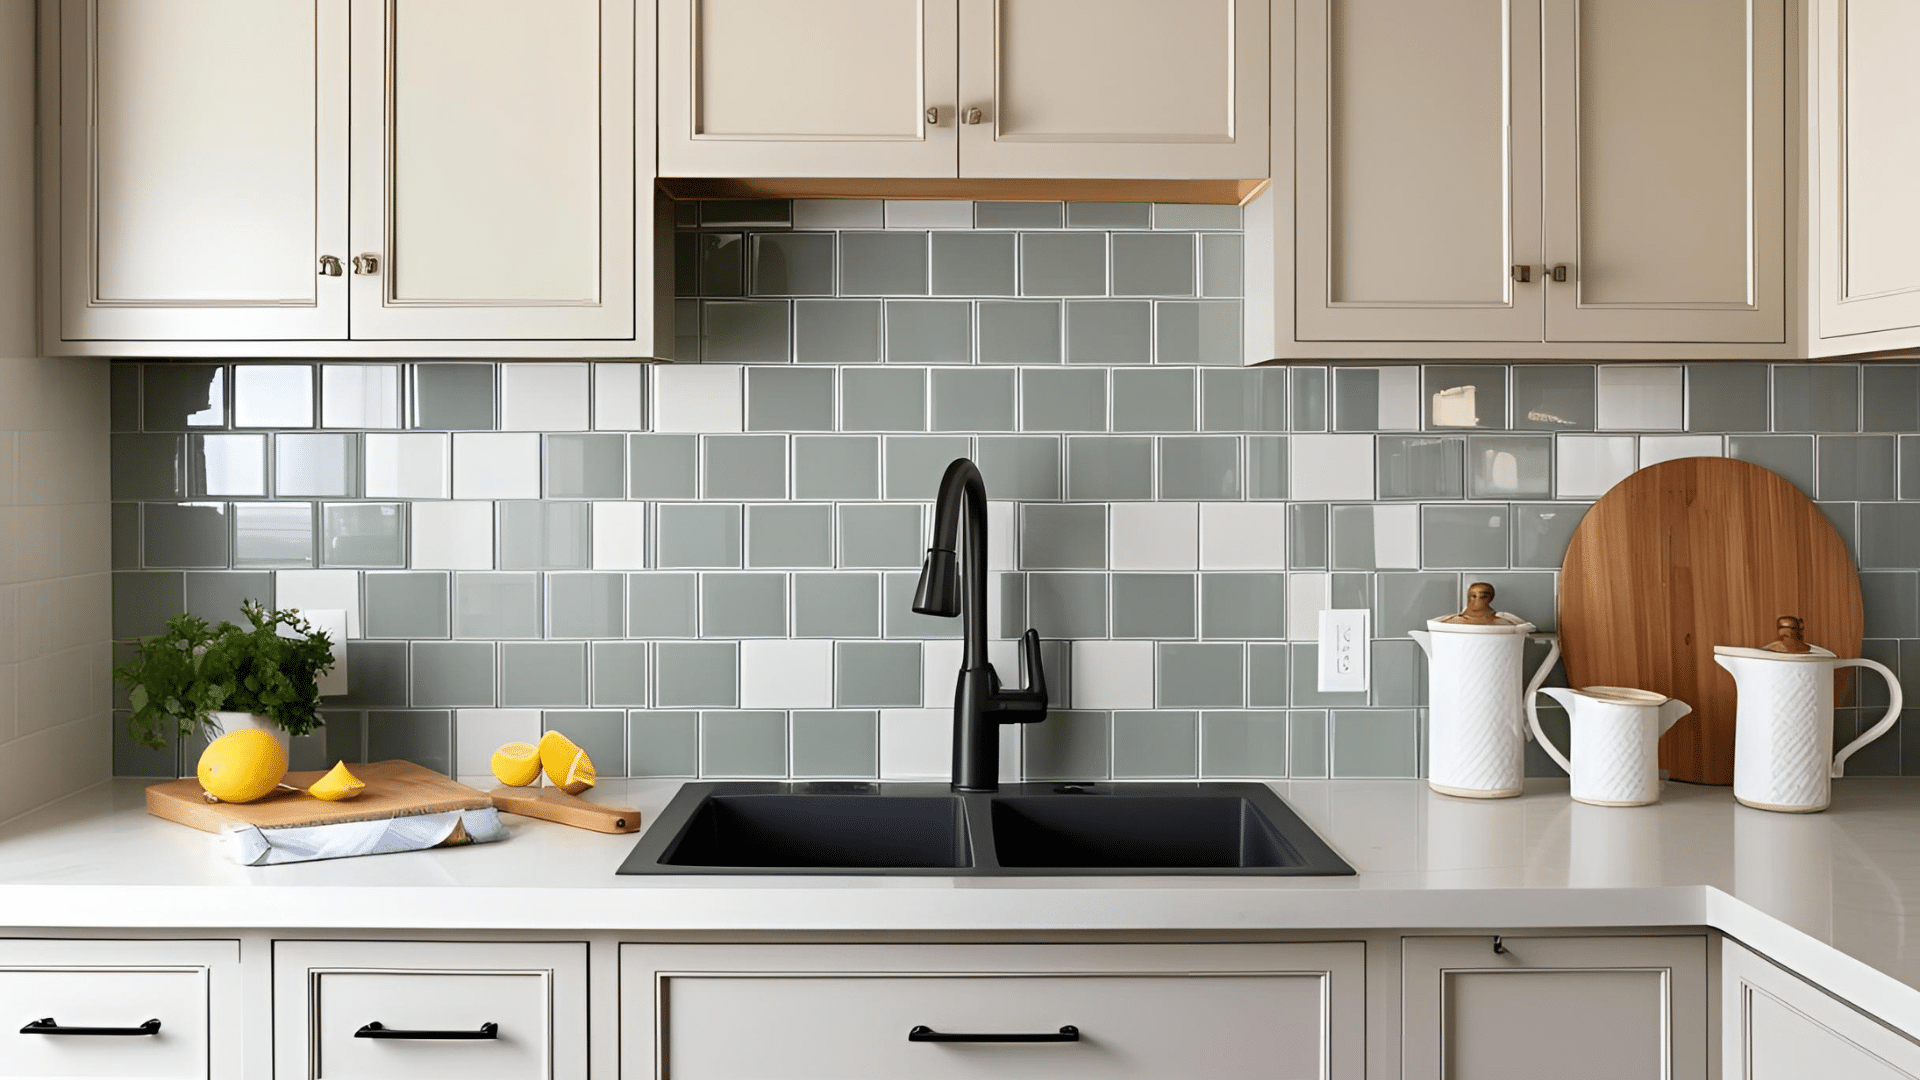
A new backsplash can changes your kitchen with minimal effort. Select tiles that complement your countertops and cabinets – ceramicglassor peel-and-stick options all work well for beginners. Measure your space carefully and buy extra tiles for mistakes.
Clean the wall surface thoroughly before starting. For traditional tilesapply adhesive in small sectionsplace tiles using spacers for even gapsand let dry completely before applying grout.
For cutting tilesrent a tile cutter or use a scoring tool for straight cuts. This weekend project adds colorpatternand protection to your kitchen walls.
18. Build a Wooden Jewelry Box
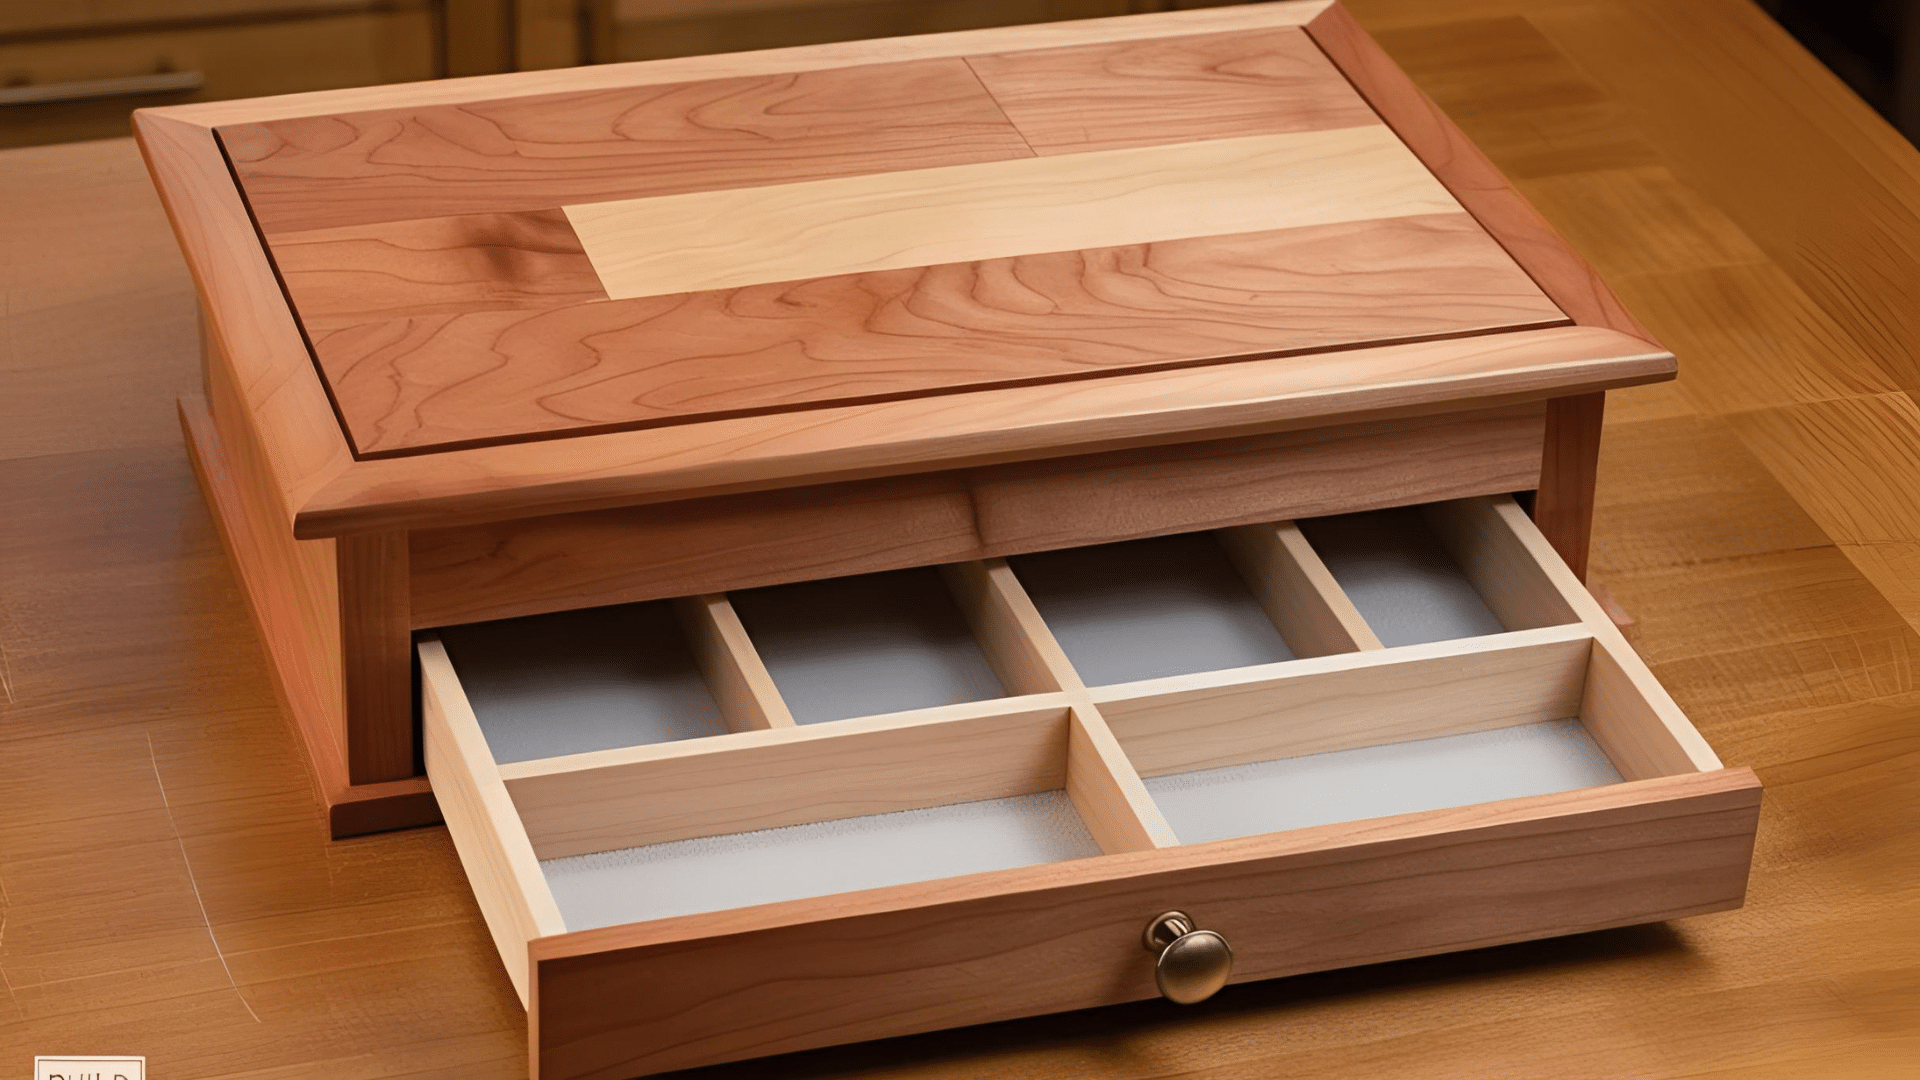
A handmade jewelry box keeps treasures safe while showing off your crafting skills. Select a fine-grained hardwood like cherry or maple for a smooth finish.
Cut panels for all six sidesplus any dividers or trays you want inside. Sand all pieces until very smooth before assembly. Join corners with small nails and wood glue for strength.
Add hinges for the lid and a small latch or lock if desired. Line the interior with felt or velvet for a soft touch that protects jewelry from scratches. Finish the exterior with several coats of clear polyurethane for lasting protection and shine.
19. Create a Custom Mirror Frame
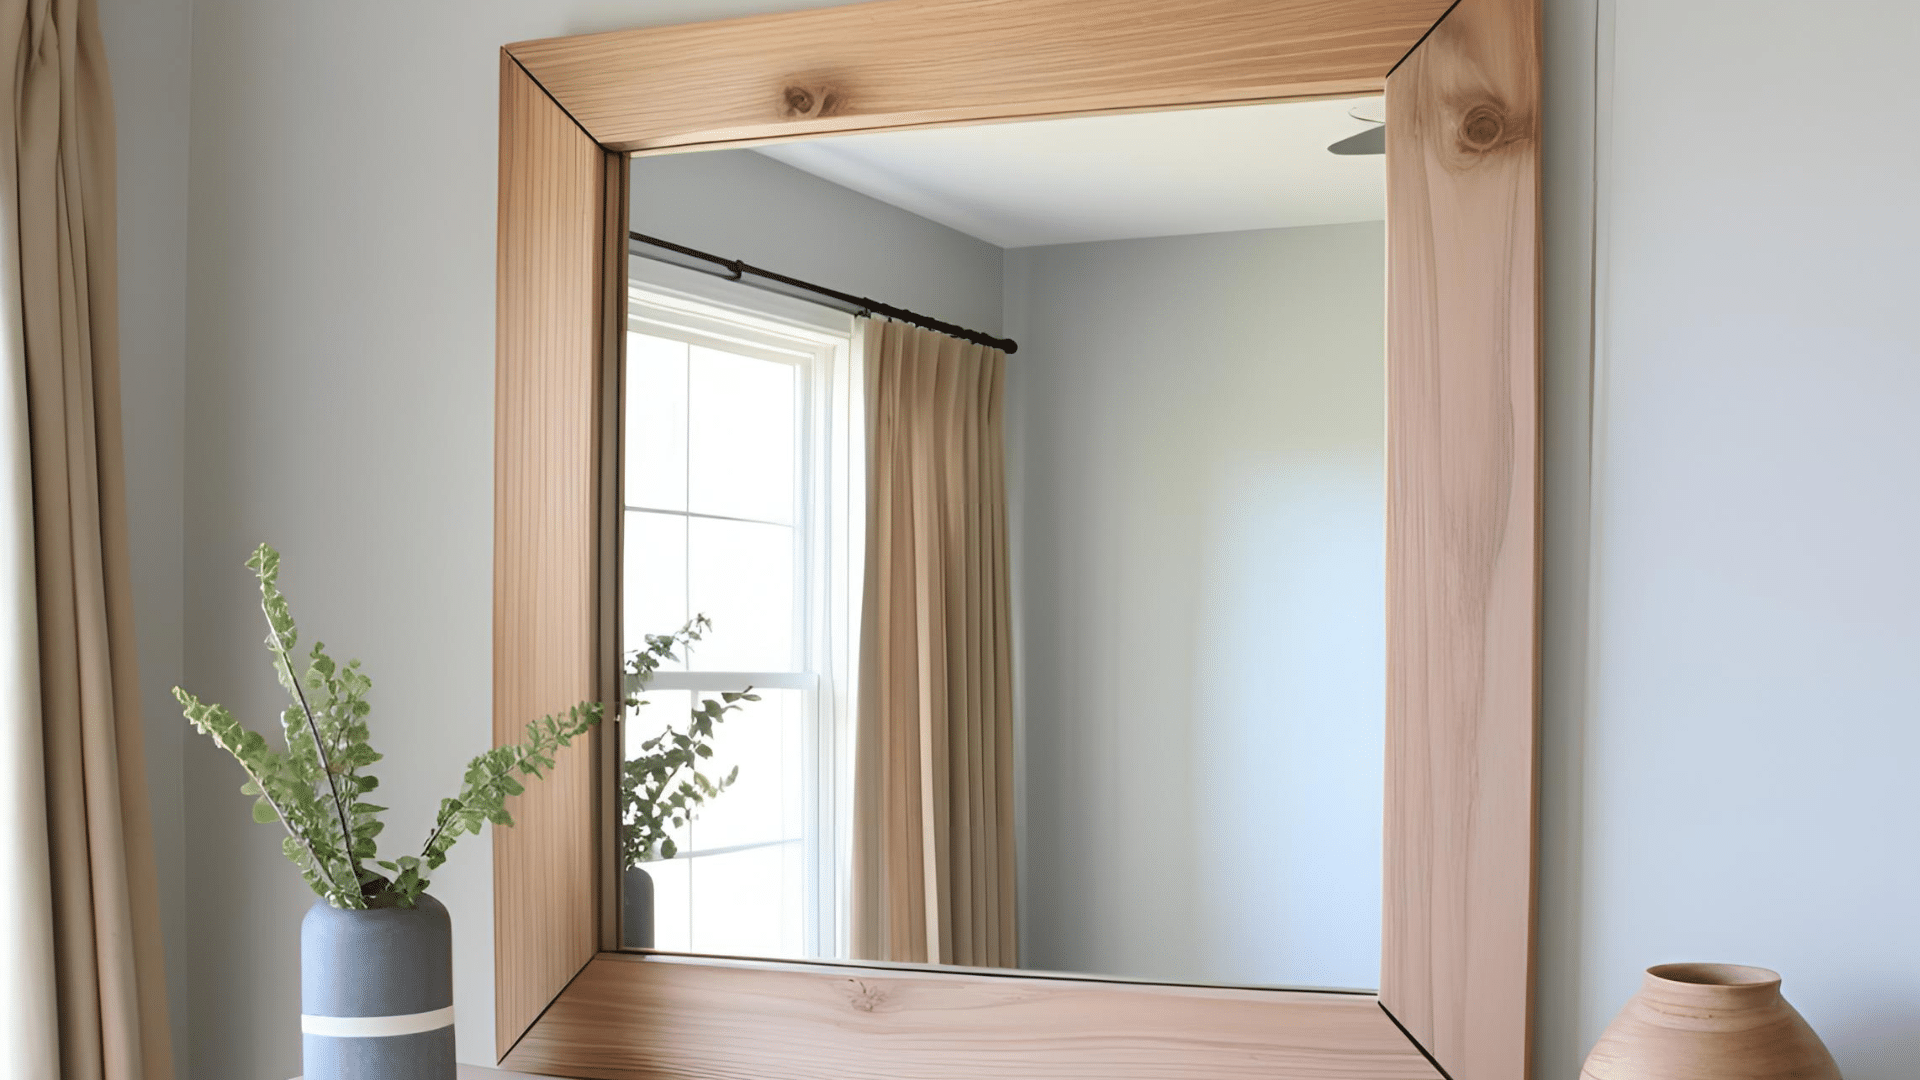
Adding a frame to a plain mirror updates your space without much cost. Choose wood that matches your room’s – pineoakor even reclaimed wood all work well.
Measure your mirror and cut four pieces at 45-degree angles for corners that meet perfectly. Sand all pieces until smooth and apply paint or stain.
Let dry completely before assembly. Join corners using wood glue and small corner brackets for strength. Attach the frame to your mirror using mirror adhesiveor build the frame to slip over the existing mirror. This simple change adds character and to bathroom or bedroom mirrors.
20. Install a Pegboard Wall Organizer
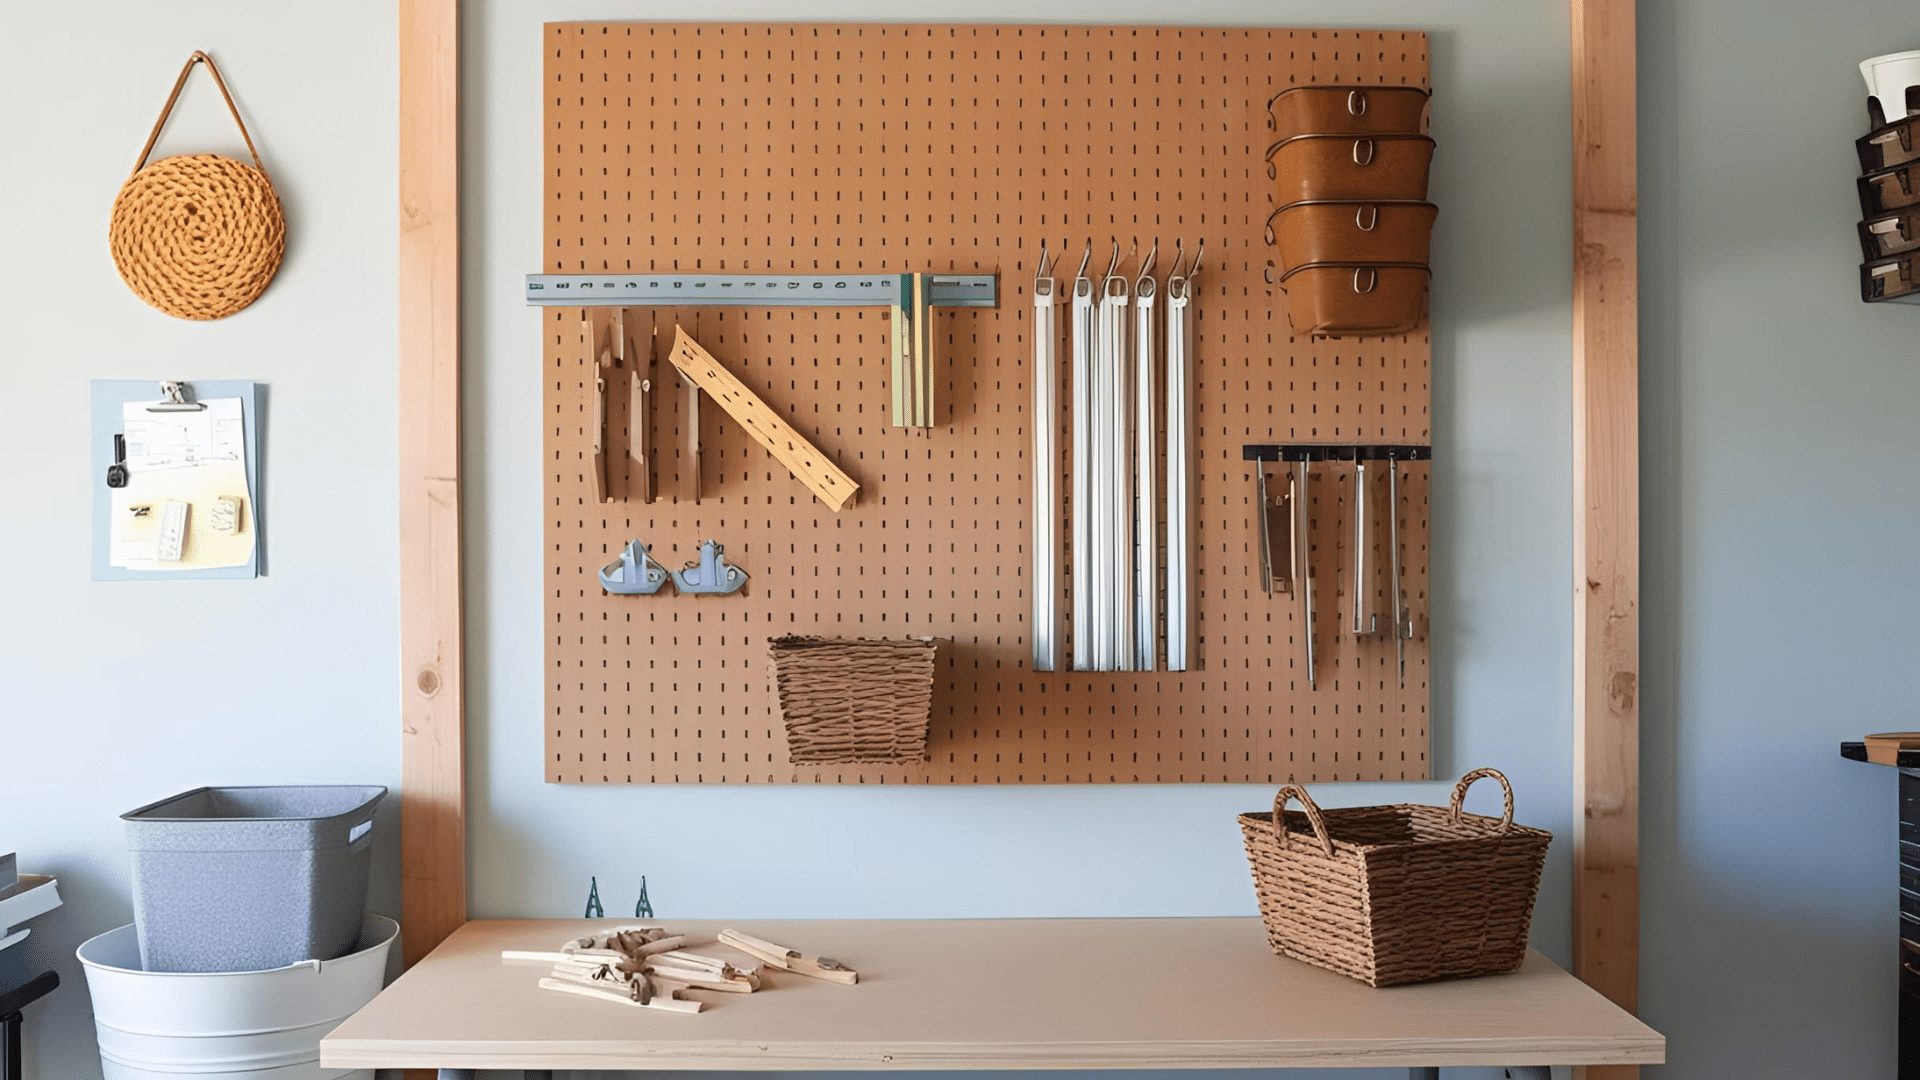
A pegboard organizer brings order to cluttered spaces like officescraft roomsor garages. You’ll need a pegboard sheetfurring stripsscrewshooksand baskets.
Mount furring strips to wall studscreating space between the wall and the pegboard for hook insertion. Attach the pegboard to the strips with screws.
Add a variety of hooksshelvesand containers to hold your specific items. Group similar tools or supplies together and place frequently used items within easy reach.
Leave room for future additions as your needs change. This adaptable system keeps everything visible and accessible in one organized space.
21. Make Your Curtain Rods
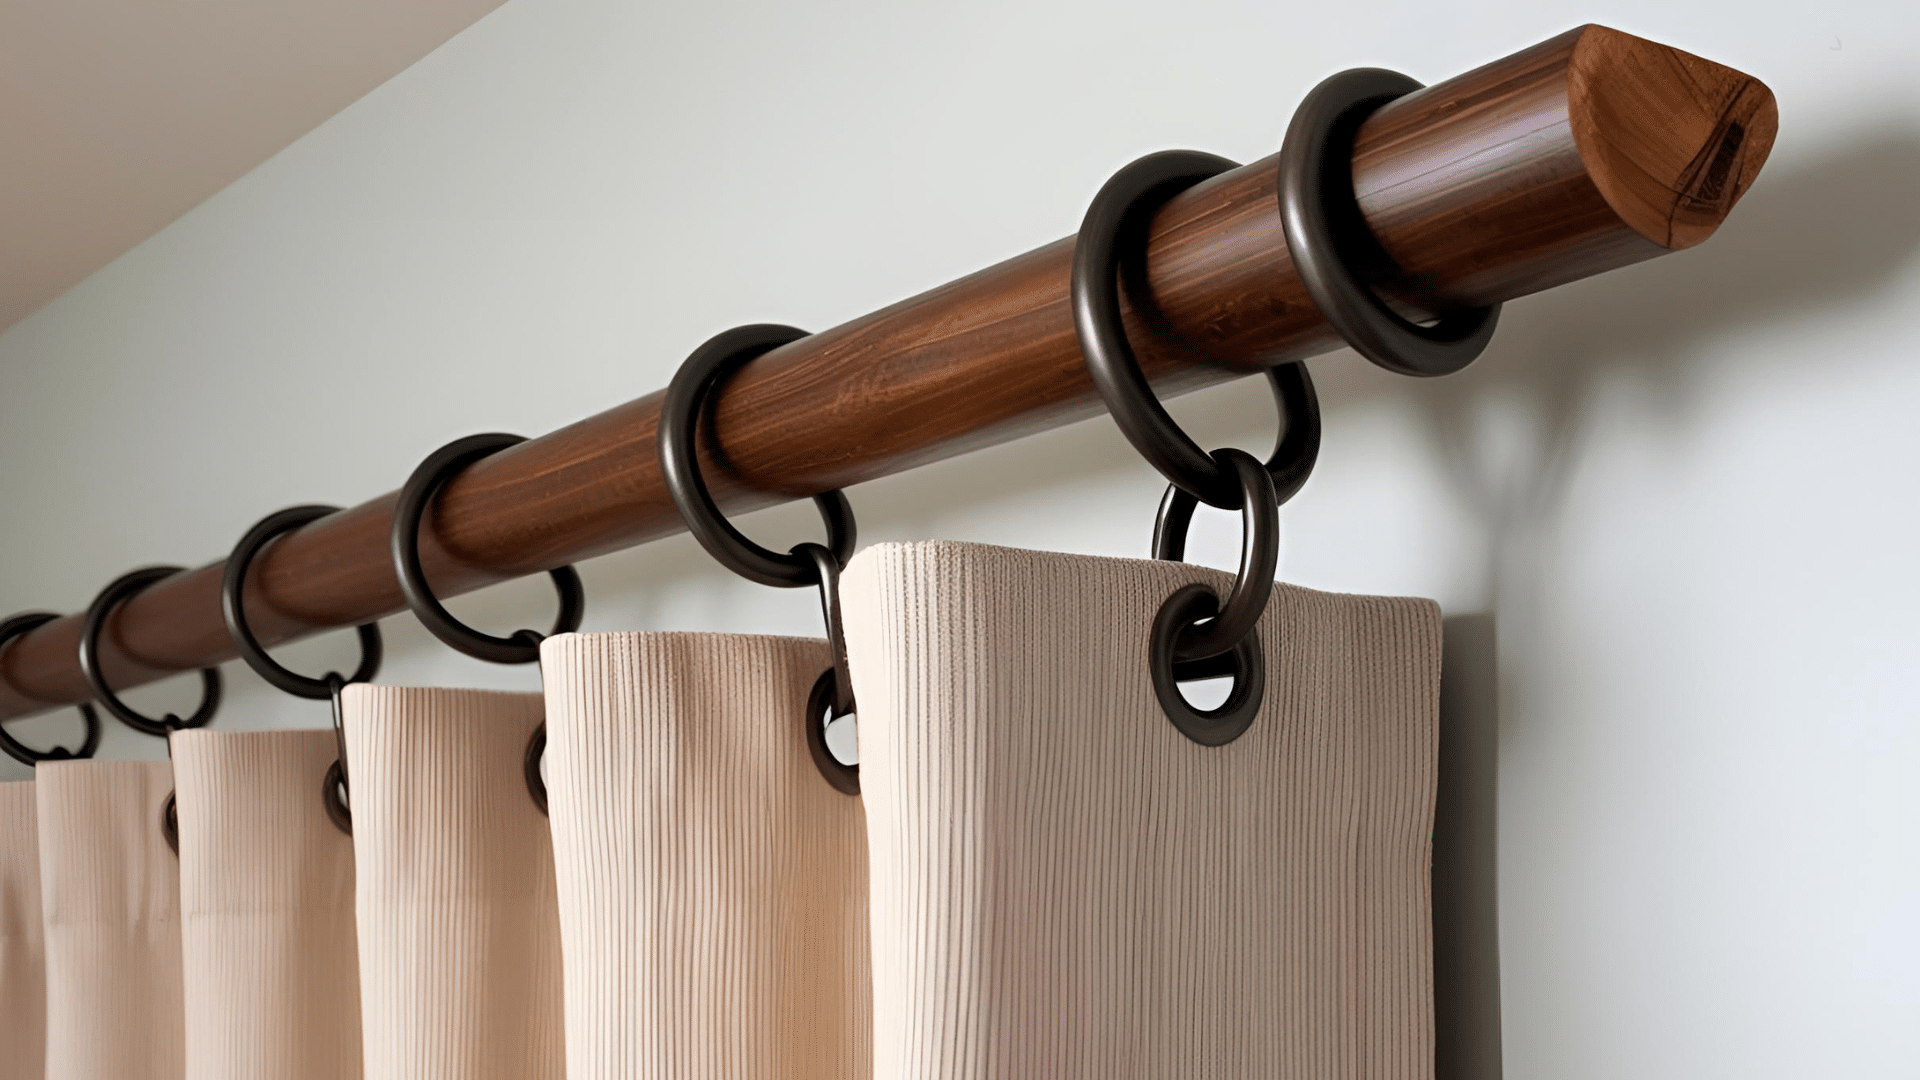
Custom curtain rods cost much less than store-bought options while matching your exact . Select materials like wooden dowelsmetal pipesor even branches for a natural look.
Cut to lengthallowing extra for curtains to slide and for decorative ends. Sand wood rods smooth and apply paint or stain as desired. Install brackets securely into wall studs or use proper anchorstypically 4-6 inches above the window frame.
Add finials or decorative ends to complete the look. Create matching tiebacks using smaller versions of your rod materialbent into hooks or loops and mounted on either side of the window.
22. Build a Simple Shoe Rack
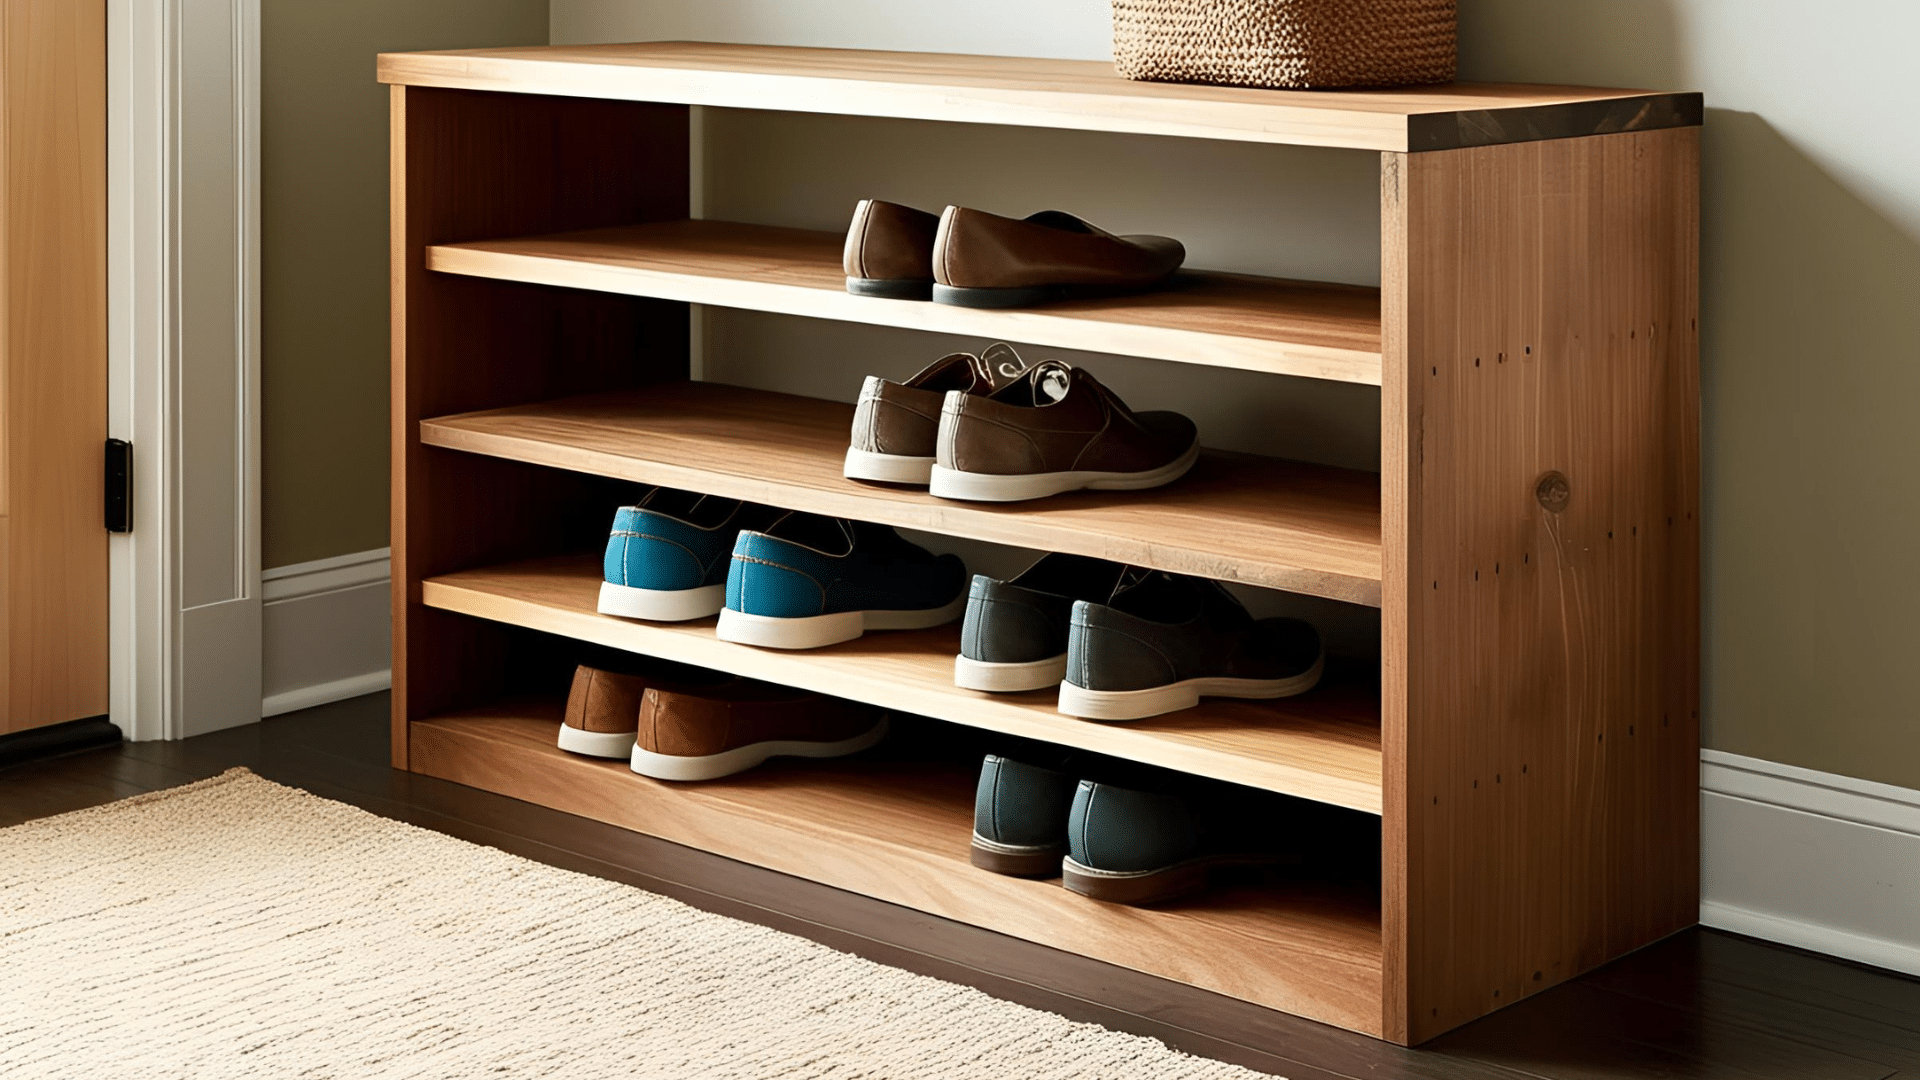
A custom shoe rack keeps entryways neat and organized. For basic materialsselect wood boards for shelves and supports that can handle daily use.
Decide on your ideal height and width based on available space and shoe quantity. Cut all piecessand edges smoothand assemble using wood screws and glue.
For stabilityattach the finished rack to the wall or add anti-tip features if it is freestanding. Consider angling the lower shelves slightly to improve shoe visibility.
Paint or stain to match your entryway decor. This practical project reduces clutter and makes finding the right pair quick and easy.
23. Create a Custom Wall Shelf for Your Bathroom
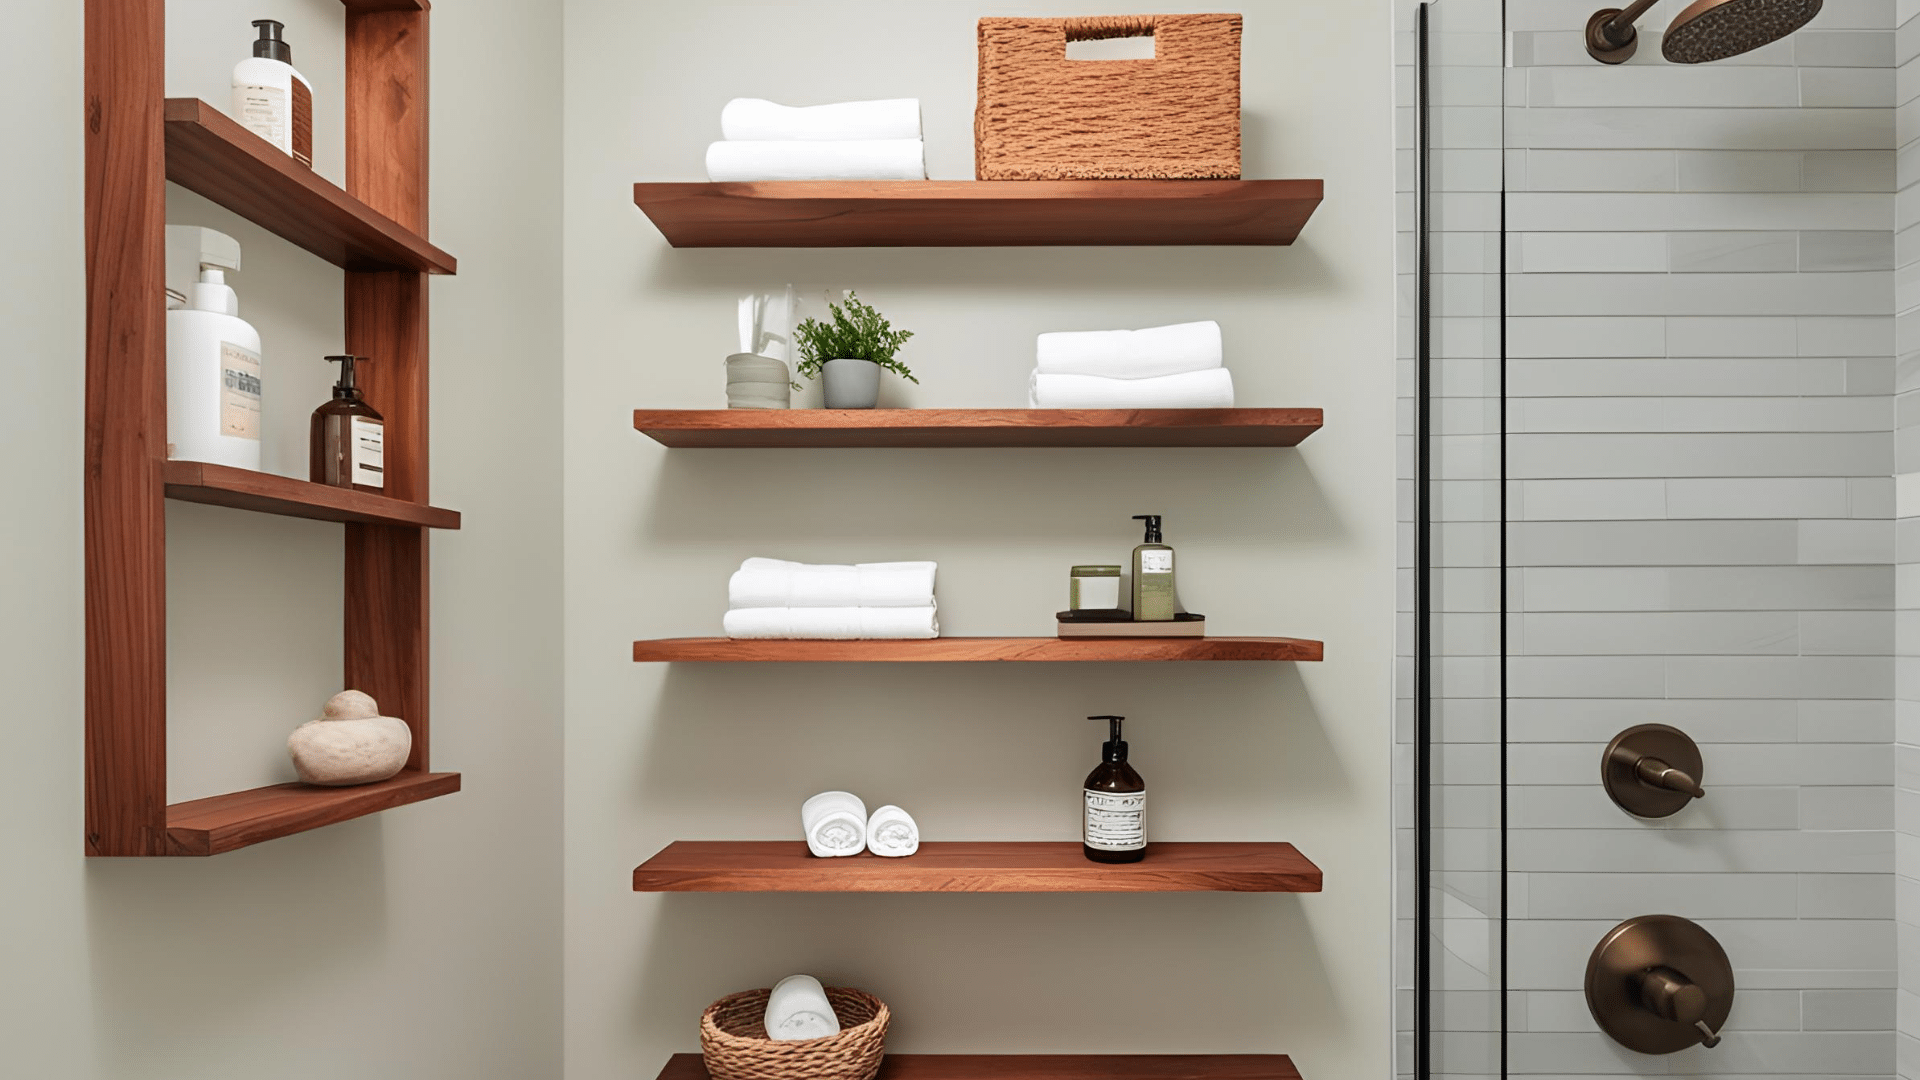
Bathroom wall shelves add storage without taking up precious floor space. Choose materials that resist moisture like cedarglassor sealed hardwoods.
Measure your available wall space and plan shelf placement away from shower spray but within easy reach. Cut wood to size or purchase glass shelves cut to order.
Sand wood pieces and apply several coats of waterproof sealer. Mount brackets securely into studs or use proper wall anchors rated for bathroom use.
Style your shelves with rolled towelsglass containers for cotton balls and swabsor your favorite toiletries. This addition increases storage in even the smallest bathrooms.
24. Install a Barn Door

A sliding barn door adds character while saving space that a swinging door would require. You’ll need a solid wood doortrack hardwarespacersand mounting materials.
Mount the track into wall studs to ensure your wall can support the door’s weight. Thenfollow the manufacturer’s instructions to install the tracktypically 2 inches above the door opening.
Attach door hangers to the top of your door and hang it on the track. Add a floor guide to prevent swinging. This statement piece works well for closetsbathroomsor between living spacescombining function with rustic or modern .
25. DIY Decorative Throw Blanket
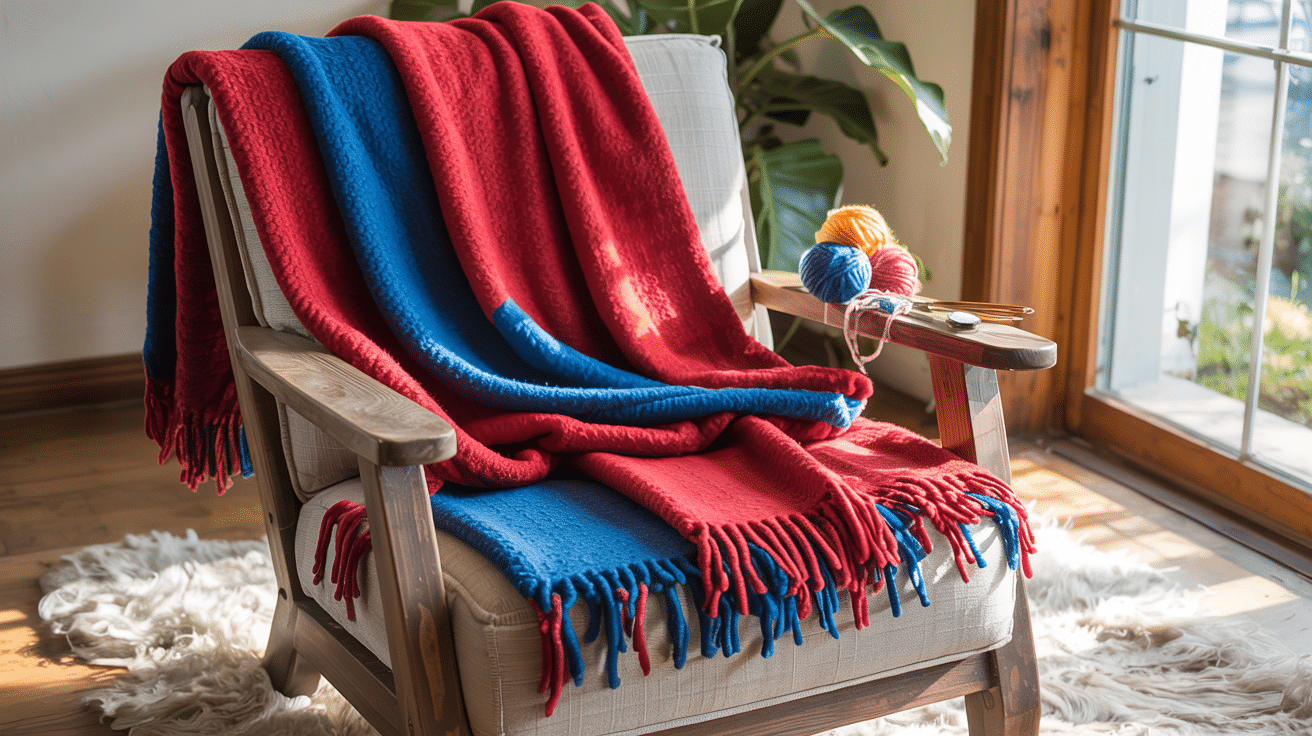
A handmade throw blanket adds warmth and color to any room. Choose fabric based on your needs – fleece for maximum warmthcotton for lighter weightor a blend for durability.
For a no-sew optioncut two equal-sized pieces and tie the edges together with small knots. For sewn blanketsplace fabric pieces with right sides togethersew around the edgesleaving a small openingthen turn right-side out and stitch closed.
Add personal touches with embroideryappliquéor fabric paint. This simple project creates a useful item that matches your exact color scheme and adds texture to sofaschairsor beds.
26. Make a Wooden Spice Rack
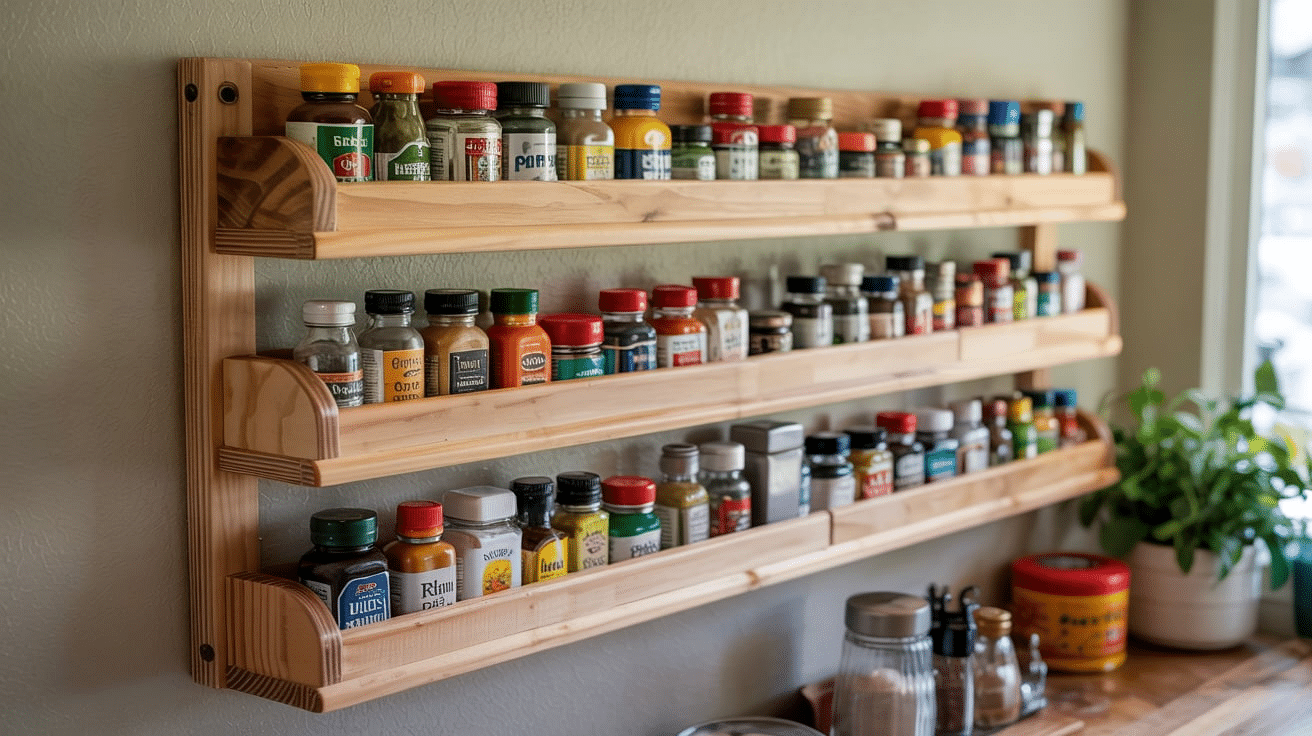
A custom spice rack keeps cooking ingredients organized and within reach. Select thin wood boards for the shelves and sidestypically 1/2-inch thick.
Design with slightly angled shelves so labels are visible from below. Cut all the piecessand them until smoothand assemble them using wood glue and small nails.
Add a small lip at the front edge of each shelf to prevent bottles from falling. Finish with food-safe paint or sealer.
Mount securely to your kitchen wall using screws into studsor make it freestanding for counter placement. This practical project makes cooking more efficient while adding a handcrafted touch to your kitchen.
27. Create a DIY Coffee Bar
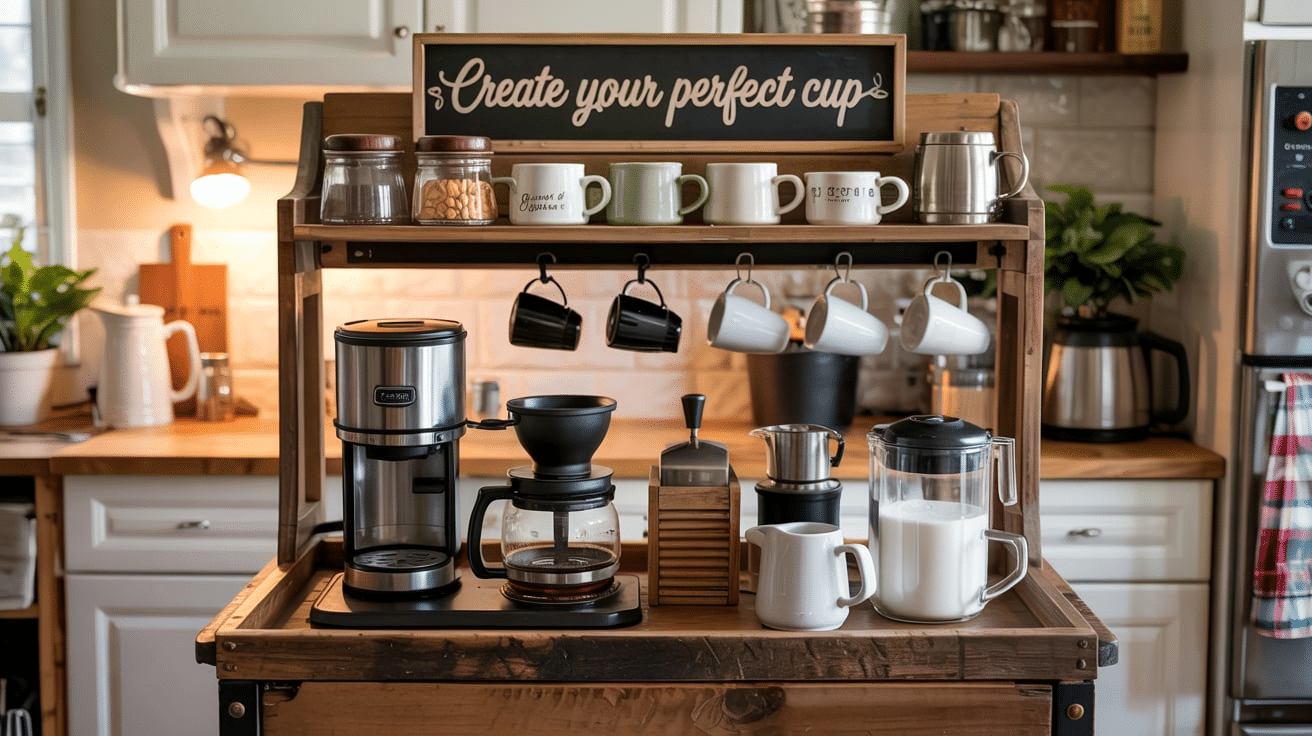
A dedicated coffee bar brings a coffee shop to your home. Start with a small tablecartor repurposed cabinet as your base. Add shelving above or beside it for mugs and supplies.
Include storage containers for coffee beanssugarand other items. Install hooks underneath the upper shelves for hanging mugs. Add a power strip for your coffee makergrinderor milk frother.
Personalize with signsartworkor photos of favorite coffee shops. Keep frequently used items within easy reach. This morningthe hub centralizes everything needed for your perfect cup while adding a fun element to your kitchen or dining area.
28. Build a Ladder Shelf
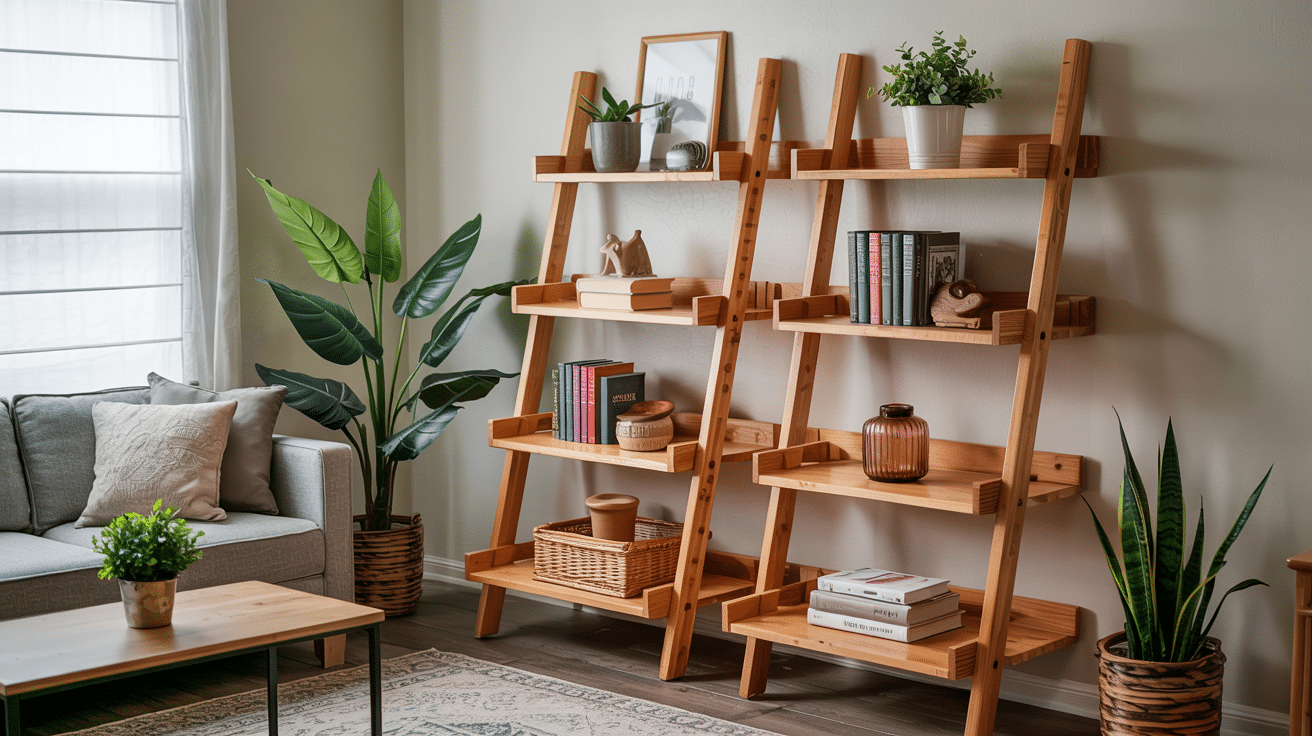
A ladder shelf maximizes vertical space with a small footprint. Choose lumber that matches your decortypically 1x2s for the frame and 1x10s for the shelves.
Cut two long pieces for the sides with angled tops and cross pieces for each shelf level. Sand all parts before assemblysecuring shelves to the frame with screws from the back.
Attach the top to the wall with brackets for stability. Finish with a paint or stain that complements your room.
Arrange items with heavier objects on bottom shelves and decorative pieces on top. This versatile piece works in bathroomsliving roomsor home offices.
29. DIY Wine Rack

A custom wine rack keeps bottles properly stored while adding to your space. Choose wood that can support the weight of filled bottleslike pine or oak.
Design with angled slots that keep corks moist by storing bottles horizontally. Cut all pieces according to your plansand edges smoothand assemble using wood glue and screws.
Test spacing with an actual bottle before finalizing. Finish with stain or paintavoiding strong scents near wine storage.
Mount to wall studs for securityor create a freestanding version. This project saves money compared to store-bought racks while perfectly fitting your space and bottle collection.
30. Install a Wall-Mounted TV Stand
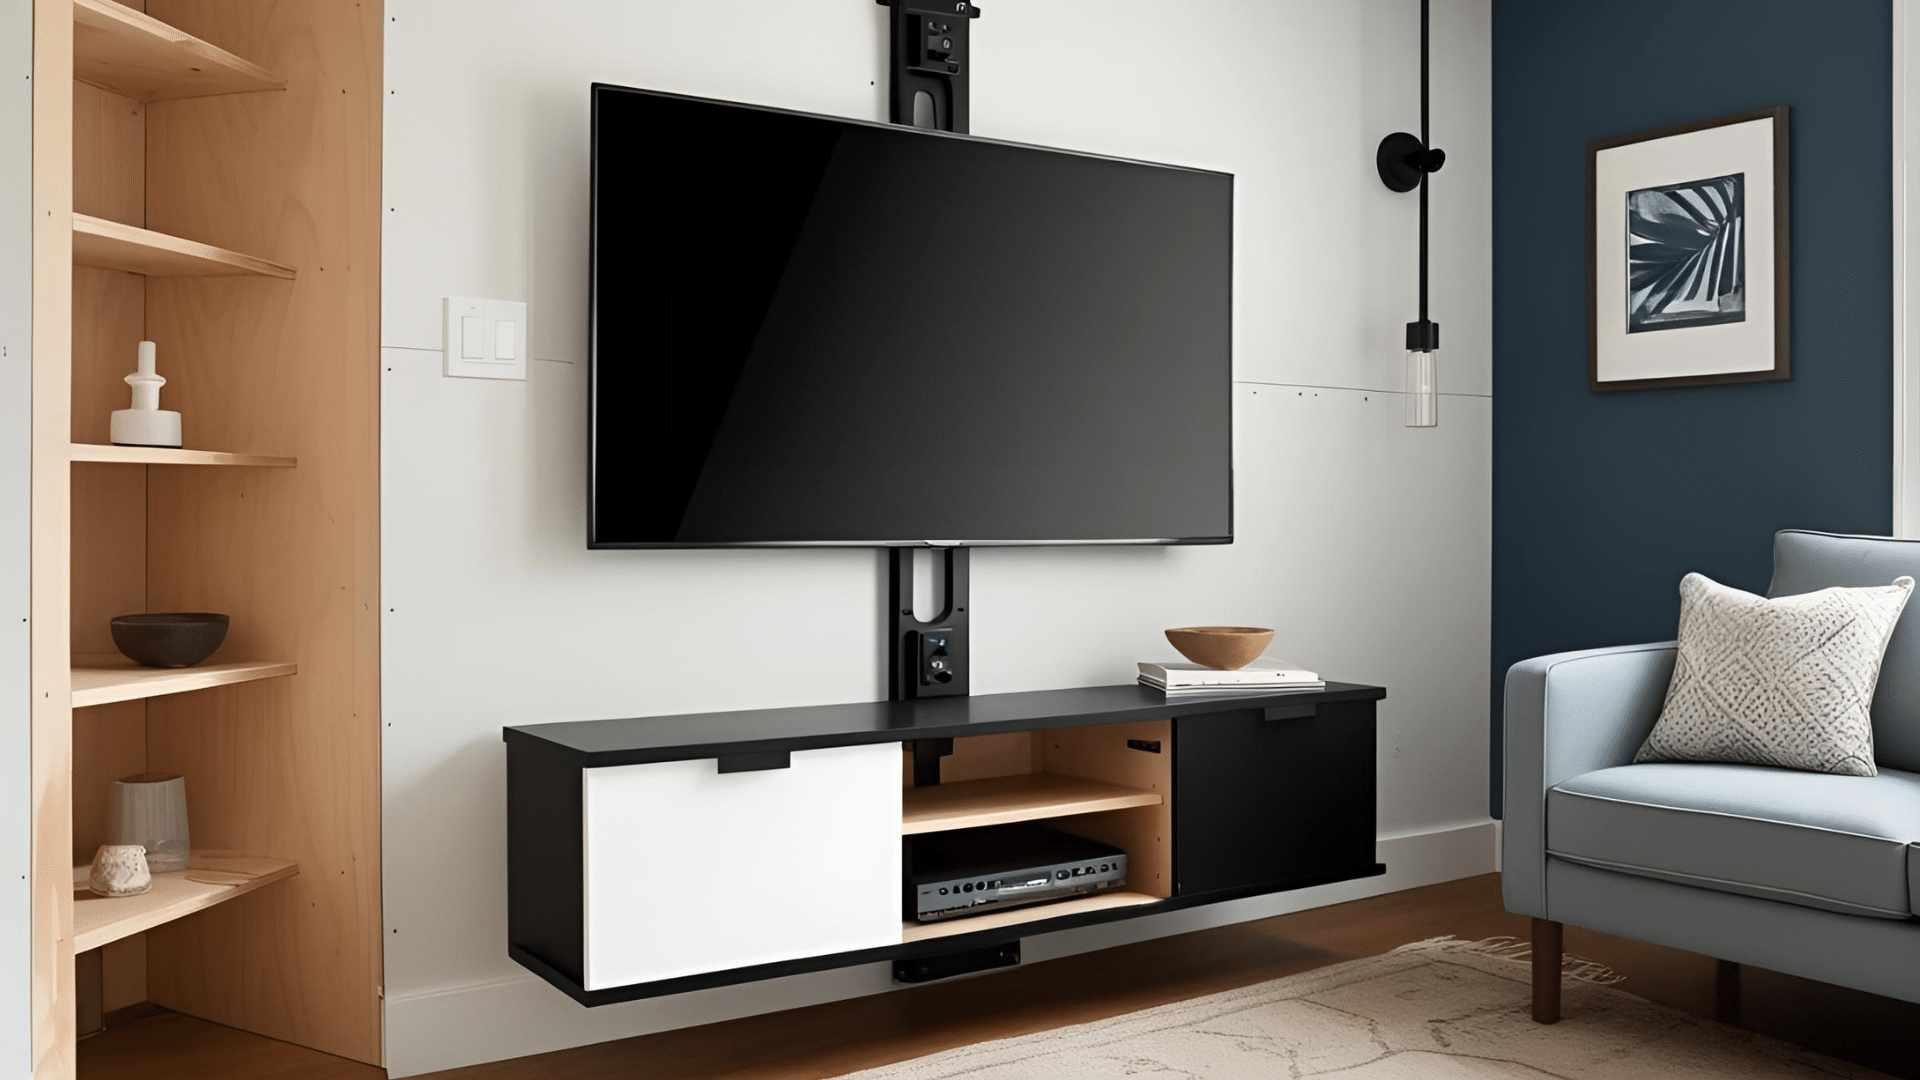
A wall-mounted TV stand creates a cleanmodern look while freeing up floor space. Purchase a mounting bracket rated for your TV’s size and weight.
Locate and mark wall studs using a stud finder – never mount directly to drywall alone. Follow the bracket manufacturer’s instructions for proper installation height and spacing.
Use a level to ensure your mount is perfectly straight before securing it with lag bolts into the studs.
Plan for cable management by installing cord covers or creating a small channel in the wall when possible. This project creates a floating appearance that makes rooms look larger and more streamlined.
31. Create a DIY Desk Organizer
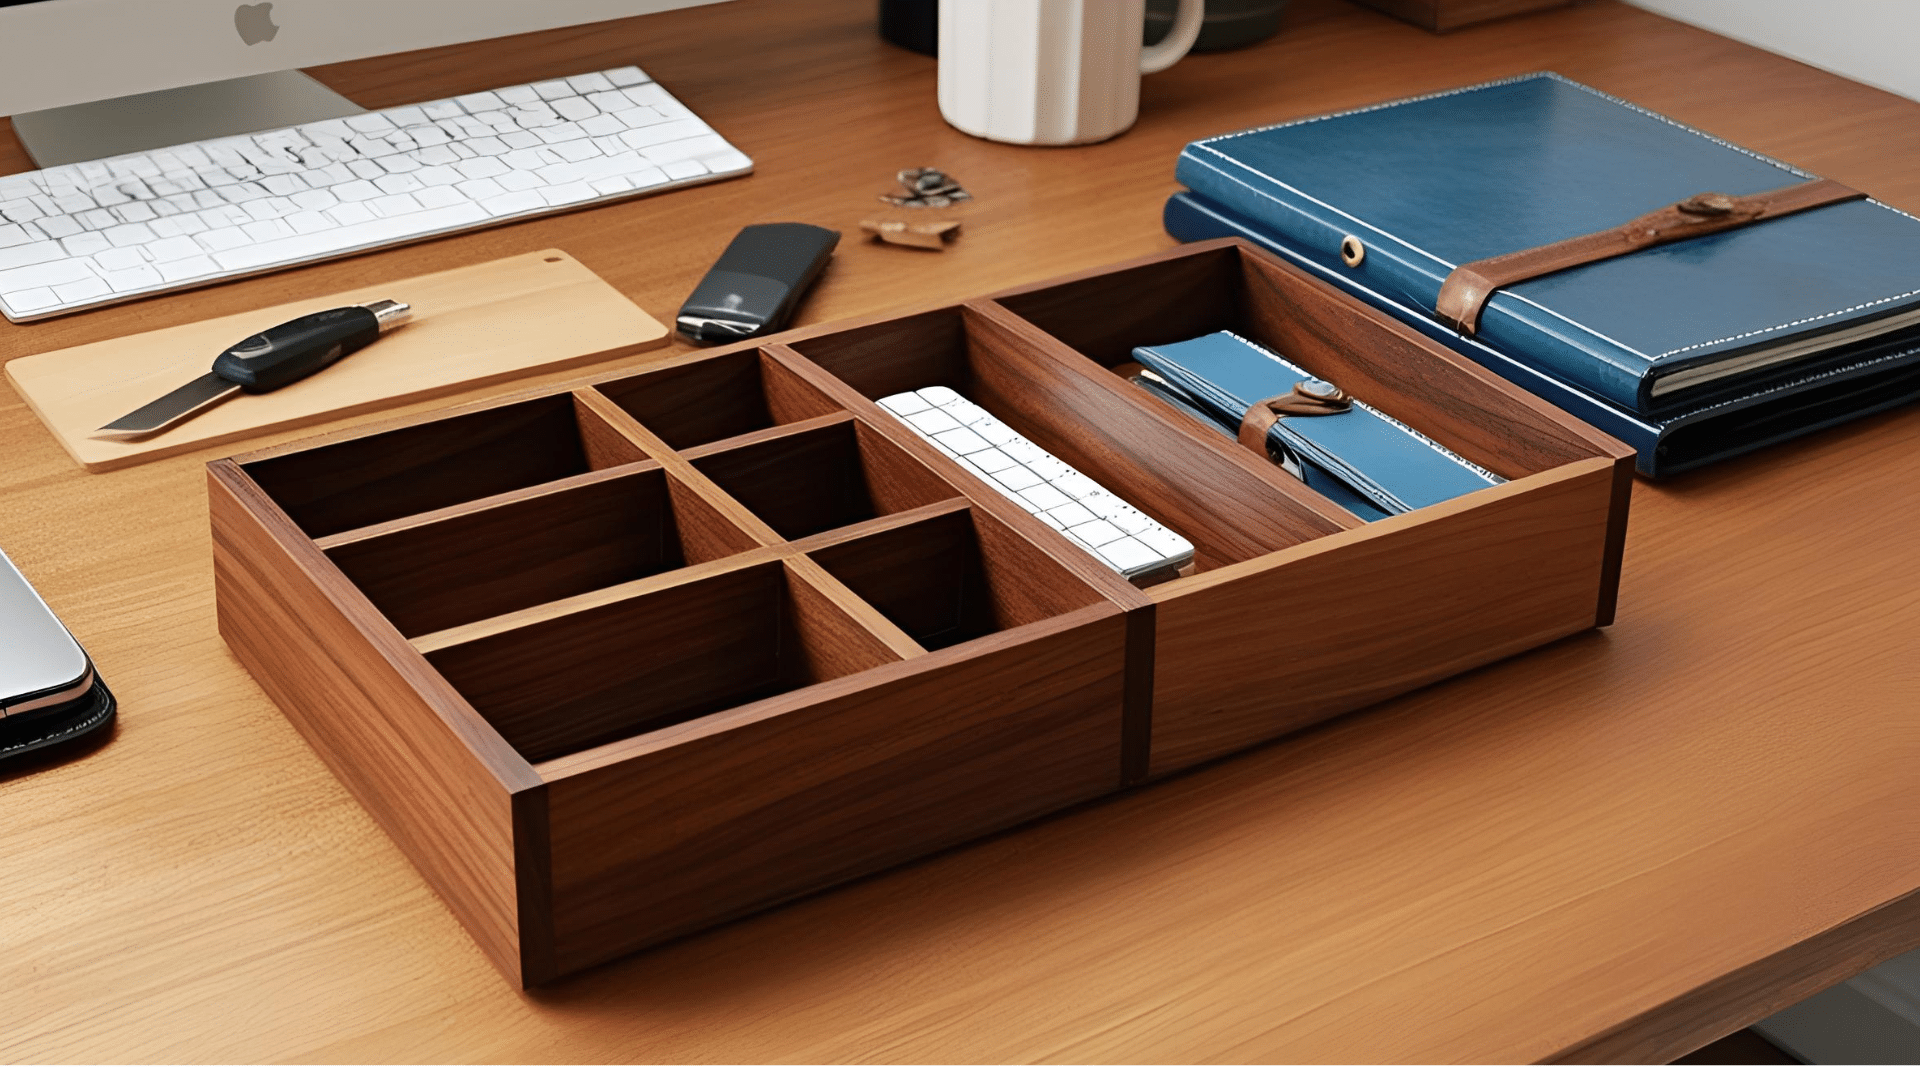
A custom desk organizer keeps workspaces neat and efficient. Choose materials like woodacrylicor upcycled containers that match your desk .
Measure items you use daily to ensure proper compartment sizes. For a wooden organizercut dividers and a basesand all the piecesand assemble using wood glue.
Create sections for penspaper clipssticky notesand other small items. Consider including a raised platform for a computer monitor with storage underneath.
Add a personal touch with paint or a decorative paper lining. This practical project saves time by keeping everything within reach during work or creative sessions.
32. Build a Floating Nightstand
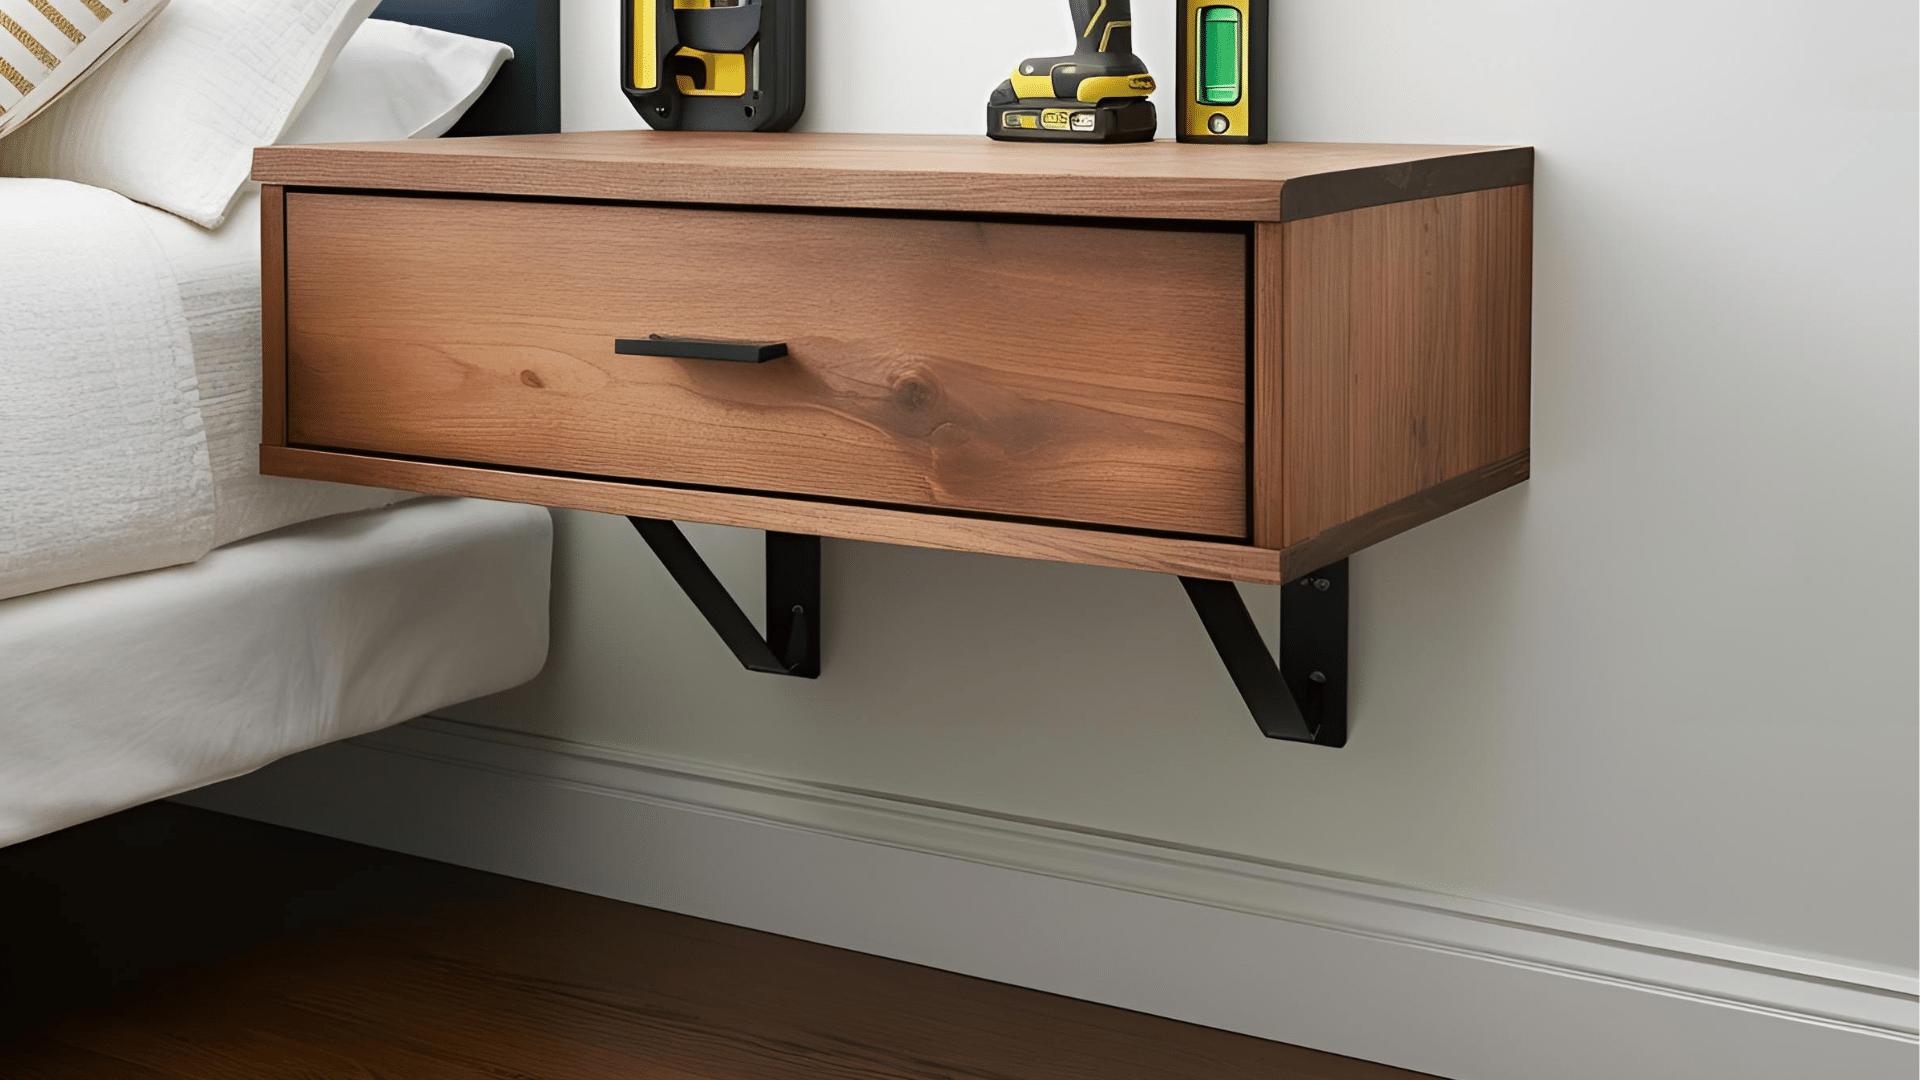
A floating nightstand saves floor space while creating a modern bedroom look. You’ll need a wood panel for the topbrackets for mountingand toolsincluding a drillleveland stud finder.
Cut your wood to the desired sizetypically 16-20 inches squareand sand all edges. Apply your chosen finish – paintstainor clear coat.
Locate wall studs and mark mounting positions at your preferred heightusually level with the mattress top. Attach brackets to the studs following the manufacturer’s weight guidelines.
Mount your finished wood top to the brackets and ensure it’s level. Add a small drawer or shelf beneath for extra storage.
33. Make a DIY Potting Bench
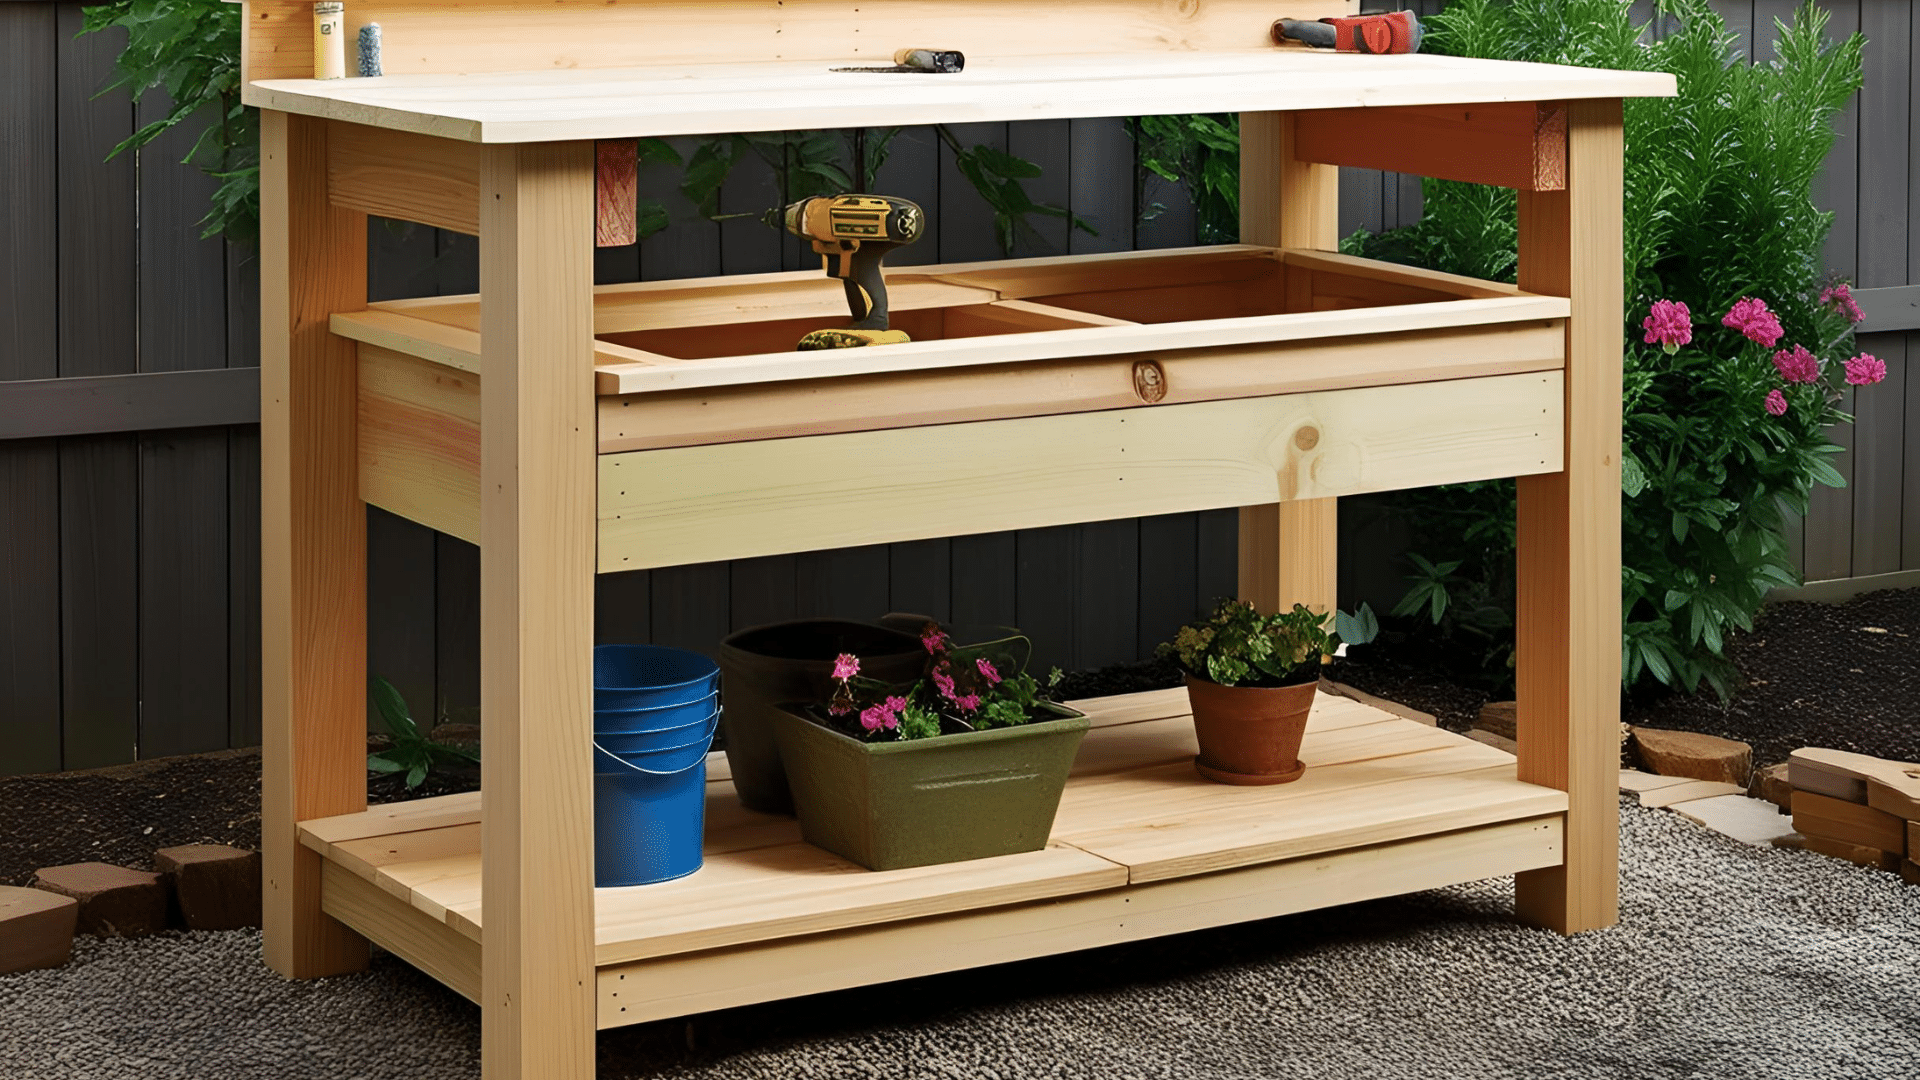
A potting bench creates a dedicated space for garden tasks. Select weather-resistant wood like cedar or pressure-treated pine. You’ll need lumber for the frametopand lower shelfplus screwsa sawdrilland sandpaper.
Build a sturdy frame about waist-high for comfortable working. Add a solid top for potting activities and a lower shelf for storing pots and soil. Consider including hooks for hanging tools and a small bin for soil.
Place near a water source if possible. Finish with an exterior-grade sealer for protection from the elements. This useful station keeps gardening supplies organized while making planting tasks easier on your back.
Maintenance Tips for Long-Lasting DIY Projects
Keeping your DIY projects looking good requires regular care. To protect the finish of wooden itemsdust them weekly with a soft cloth and apply furniture wax twice a year.
Check all screws and fasteners every few months and tighten any that have come loose. Touch up paint chips or scratches as soon as you notice them to prevent further damage.
For outdoor projectsclean them each season and reapply weather sealant yearly. Fabric items should be cleaned according to their specific needs – some can be machine-washed while others need spot-cleaning.
Taking photos of your projects when completed helps you remember how things should look if repairs are needed later.
Common DIY Project Mistakes to Avoid
Starting DIY projects can be excitingbut even small mistakes can affect your results. Being aware of common errors helps you create betterlonger-lasting items on your first try.
Taking time to plan and prepare properly saves both money and frustration in the long run.
- Skipping proper measurements and rushing into cutting materials
- Not using the right tools for specific tasks
- Forgetting to sand wood before applying paint or stain
- Applying too much paint in a single coat instead of multiple thin layers
- Choosing the wrong type of screws or nails for your project
- Skipping the primer step when painting
Conclusion
DIY projects are an excellent way to improve your home without breaking the bank.
By selecting the right materialstaking it step by stepand avoiding common mistakesyou can create personalizedfunctional pieces that will bring new life to your space.
Rememberpatience is key. Each projectbig or smallwill help you develop new skills while making your home truly yours.
Now it’s time to get startedchoose your next projectgather your materialsand enjoy the process of building something special!